
How to validate LLM output
Every LLM API call can fail in two very different ways. The obvious one is a transport failure: a timeout, a 500, a rate limit. The one that actually costs teams the most is the quiet one: the call succeeds, HTTP 200, and the answer is wrong. Missing a required field. A hallucinated fact. A policy violation nobody catches until a customer complains. Deterministic validation exists to catch the second kind, the failures that look fine until you actually check them.
This tutorial is the on-ramp: attaching your first validator to an agent, understanding exactly what happens when a rule fails, and testing it without waiting for real traffic to expose a gap. By the end, you'll know:
- What a deterministic validator actually is, and why it's fundamentally different from asking a second LLM to check the first one's work
- How to attach validators to an agent, either individually or from a template pack
- What each rule field (
priority,severity,on_fail,params) controls - How to test a rule in the Playground without spending an API call
- How to route real traffic through the validation layer and read the result
1How It Works
A validator is a small, pure check that runs against an LLM's completion in well under a millisecond: a JSON schema match, a regex, a required-field check, a numeric consistency comparison, a PII pattern scan. "Deterministic" is the key word: given the same input, a validator always returns the same result. There's no model call involved in the check itself, which is what makes this layer fast, auditable, and free of the variance you'd get from asking an LLM to judge another LLM's output.
ValGuard ships 160+ built-in validators spanning structure/format (
required_fields,json_schema_validate,enum_validator), regex/pattern (regex_pattern,forbidden_patterns), numeric/logic (numeric_consistency,cross_field_logic), PII/compliance (pii_detection,pii_ssn_us,gdpr_data_guard), security (sql_injection,prompt_injection), anti-LLM-failure (no_refusal_phrases,no_placeholder_text), RAG/citations (rag_source_match,citation_format_valid), and more. Each is configured per agent with a handful of fields:Field Meaning nameThe validator's identifier: must match a name in the catalog enabledOn/off for this agent priorityExecution order (lower runs first) severityerrororwarn: mostly informational, used in dashboards and health metricsparamsValidator-specific configuration: a field list, a regex, an allowed-values enum, etc. on_failWhat happens when the rule fails: block,reask,warn,pass, orlogon_failis the setting that actually decides consequences.blockrejects the response before it reaches your application.reaskretries the upstream model automatically.warn/passlog the failure but let the response through.logis a per-rule shadow setting, same aswarnfor delivery, but explicitly excluded from block-rate metrics, useful when you're testing a new rule without wanting it to skew your dashboards.2Prerequisites
- A ValGuard account and API key
- An agent to attach validators to. New accounts usually start with a
defaultagent, or create one from Dashboard → Agents - A rough idea of what "correct" output looks like for your use case (a JSON shape, a set of required fields, a list of forbidden phrases). This tutorial uses a simple contact-extraction example: a JSON response with
nameandemail
3Step-by-Step Setup
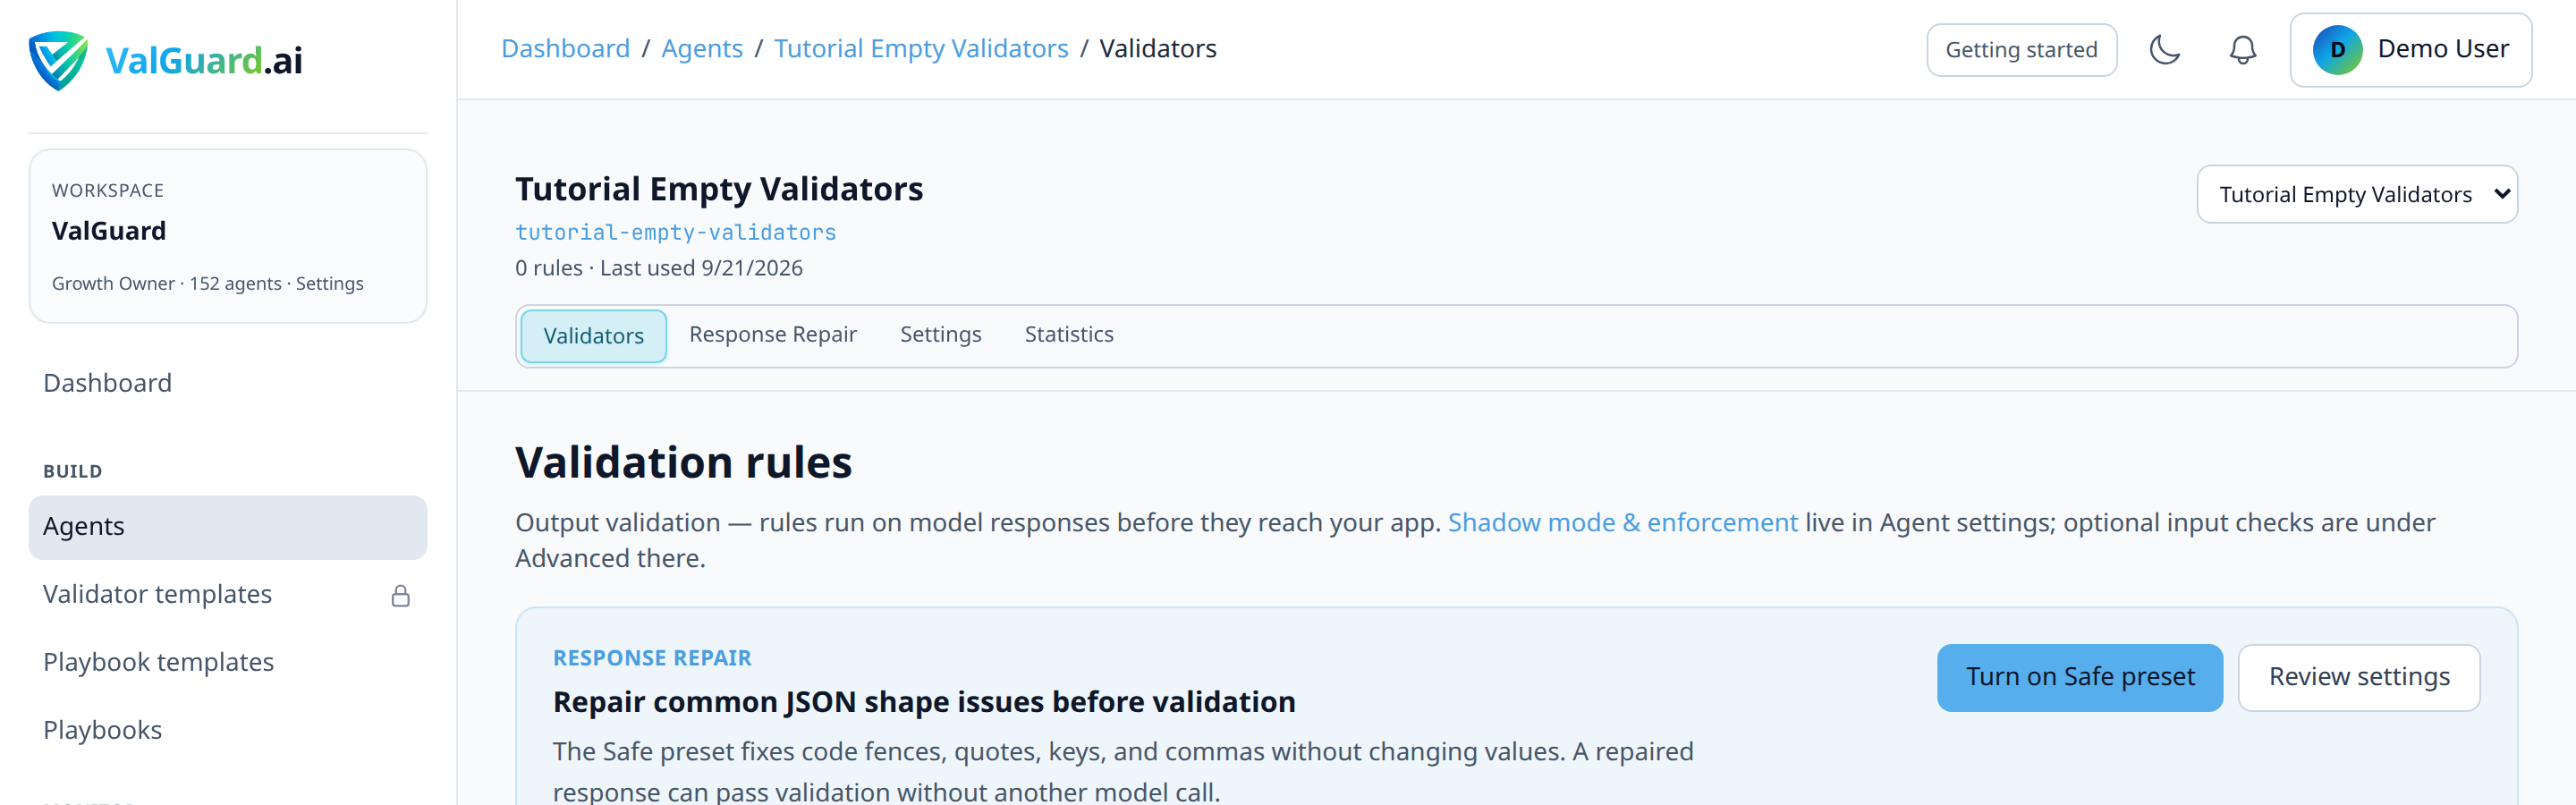
Step 1: Open your agent's Validators tab
Go to Dashboard → Agents, select your agent, then open the Validators tab.
Step 2: Browse for a template pack, or add an individual rule
For common shapes, browse Marketplace → Templates for a curated pack (JSON schema, PII detection, invoice fields, and dozens more) and apply it to copy a tested set of rules in one click. For something specific, use Add rule and search the validators catalog directly.
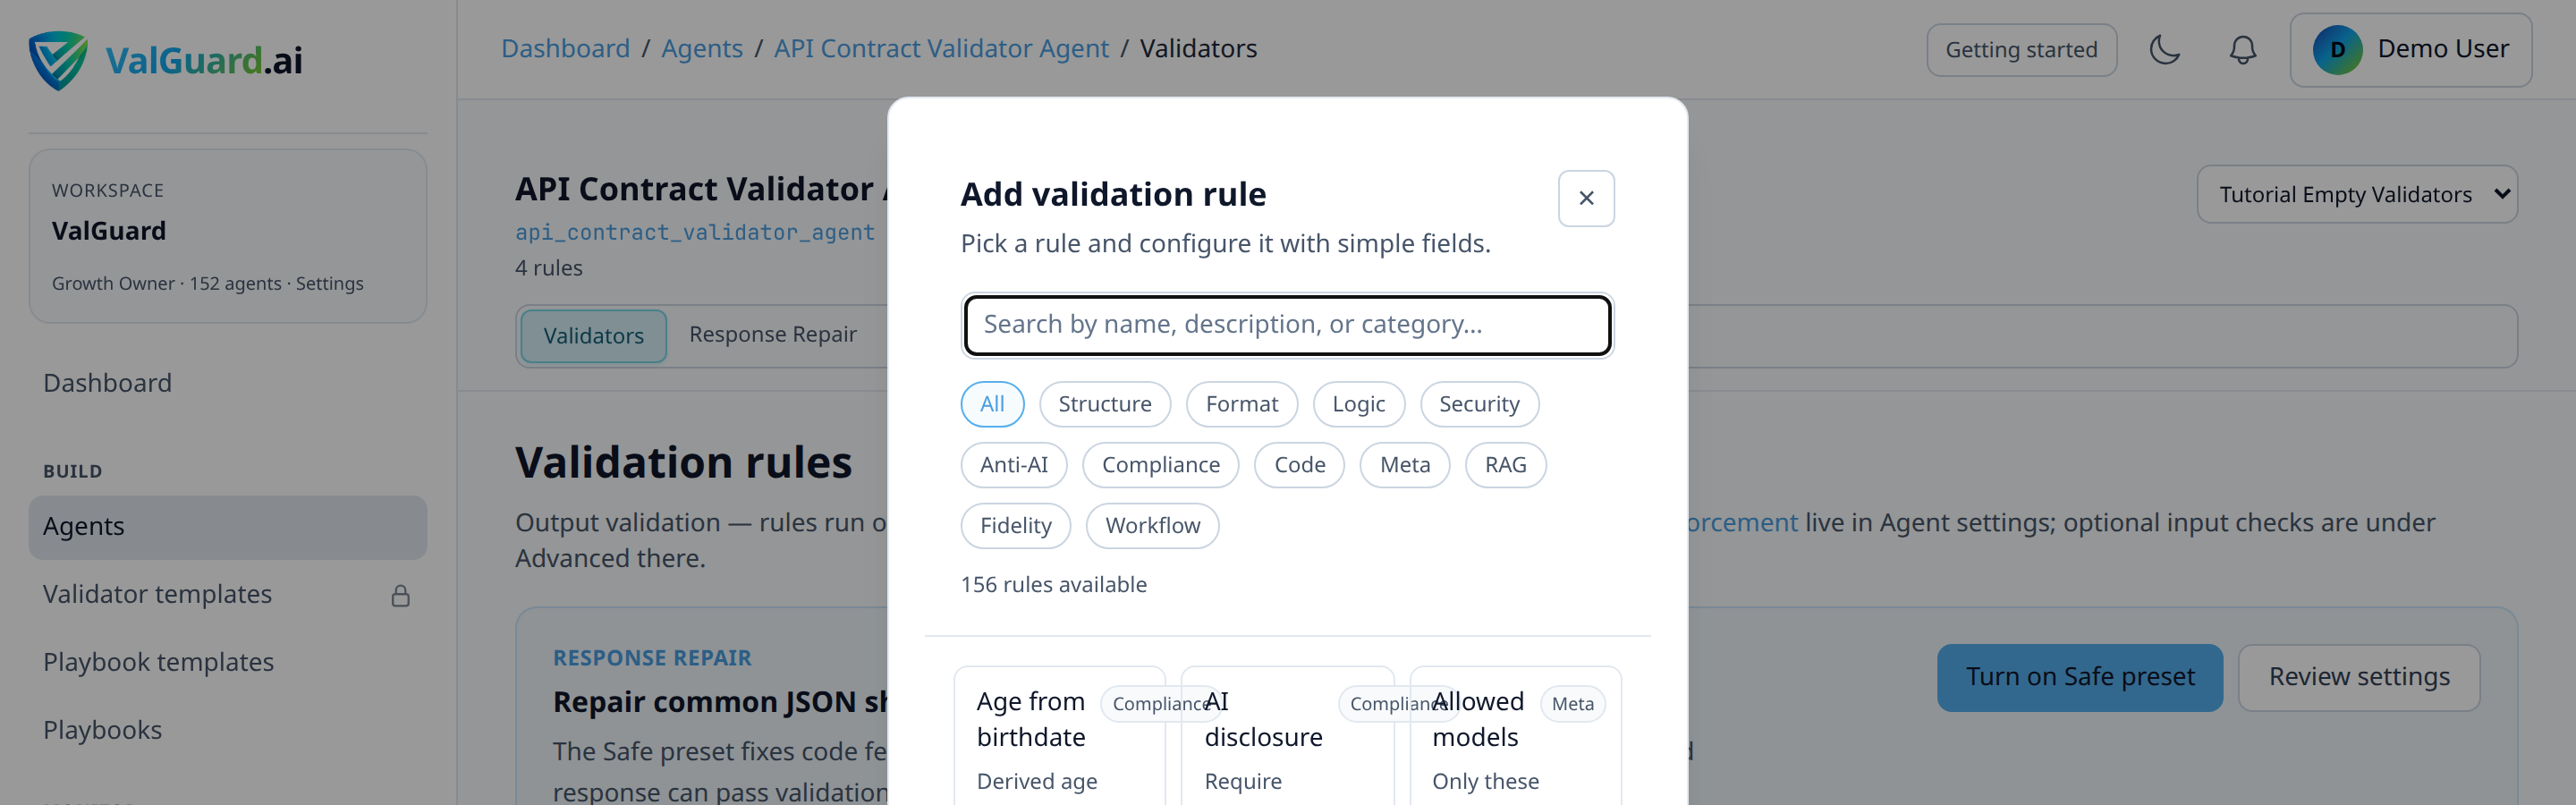
For this walkthrough, add
required_fieldsdirectly.Step 3: Configure the rule's parameters
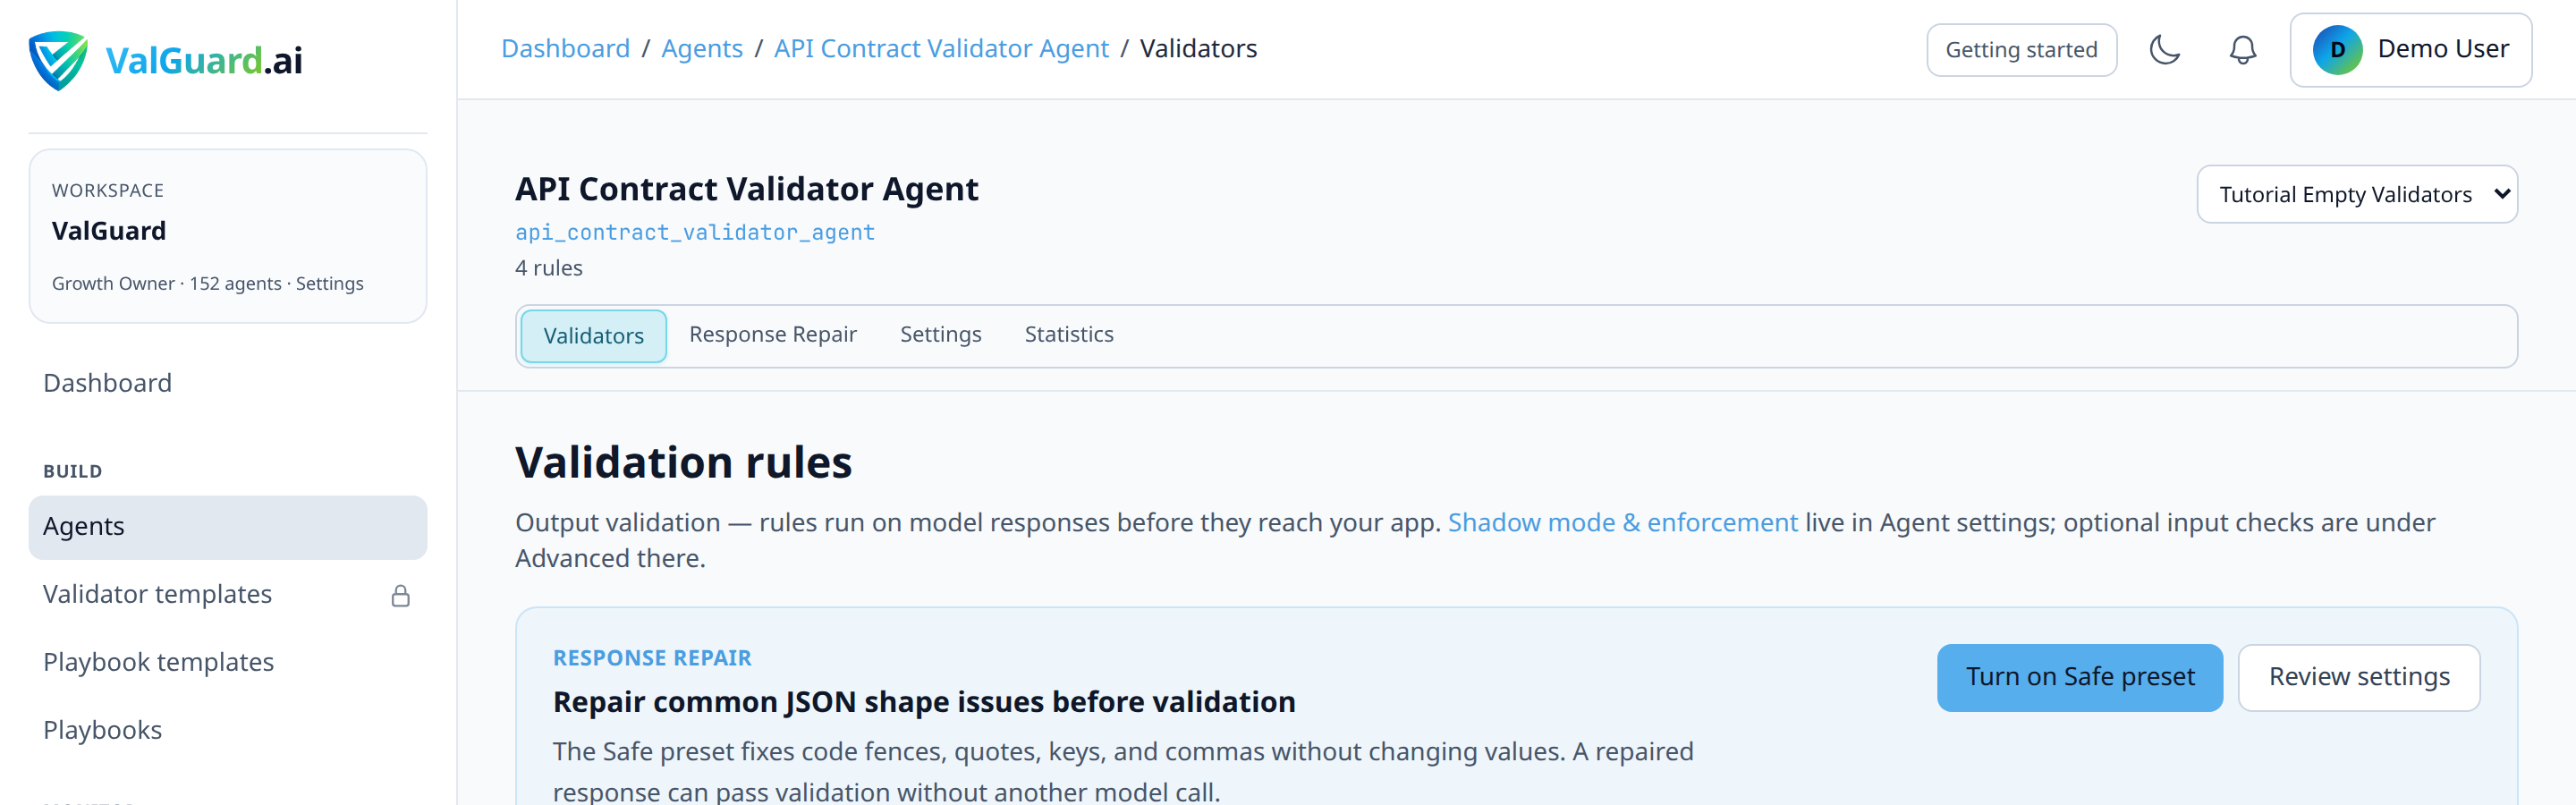
Set the fields your response must contain:
Step 4: Set severity and on_fail
For a first rule, start conservative:
severity: error,on_fail: block. You'll roll this out through shadow mode before trusting it against real traffic (see the shadow-mode-rollout tutorial), but it's useful to configure the rule as you actually intend to run it, even before enforcing it.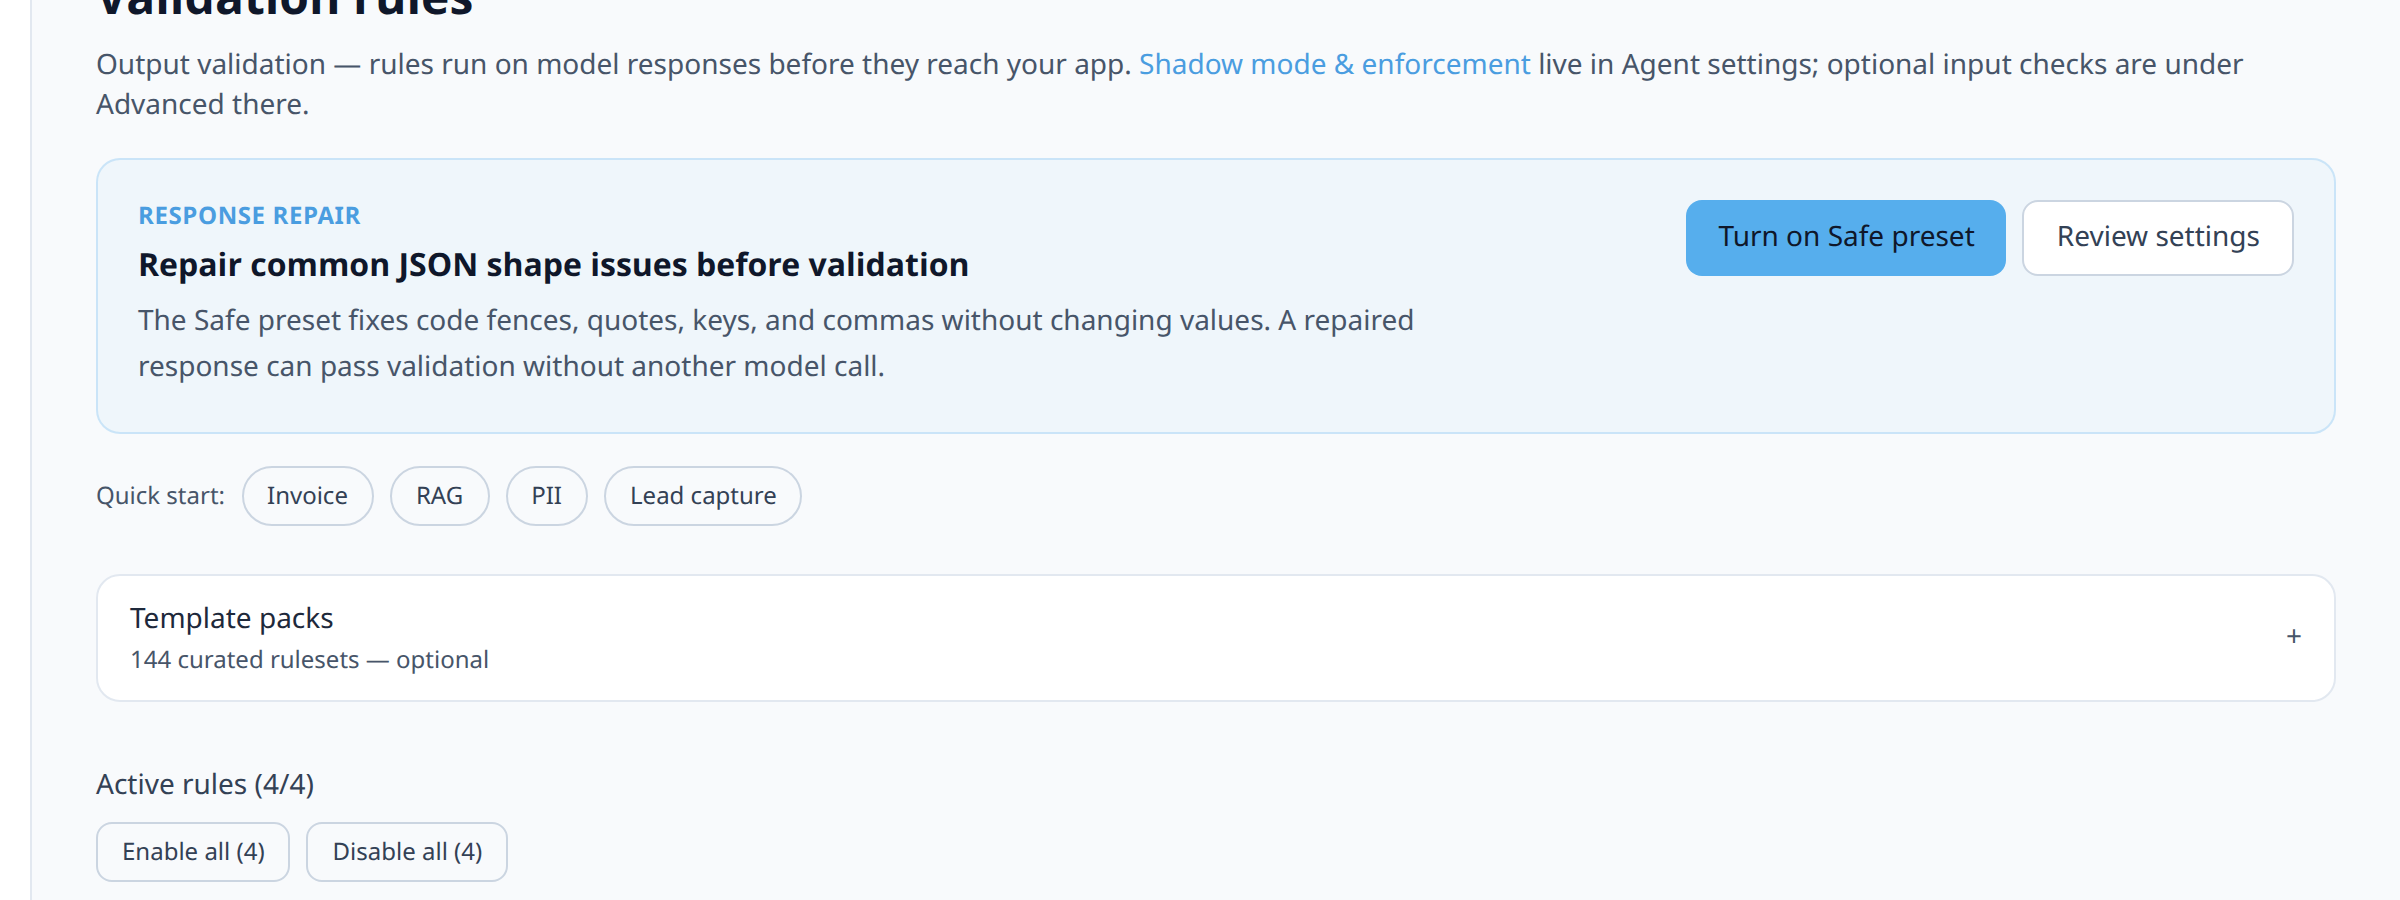
Step 5: Test without an LLM call
Open Dashboard → Playground, paste a sample completion, and see which rules pass or fail before spending anything on a real API call.
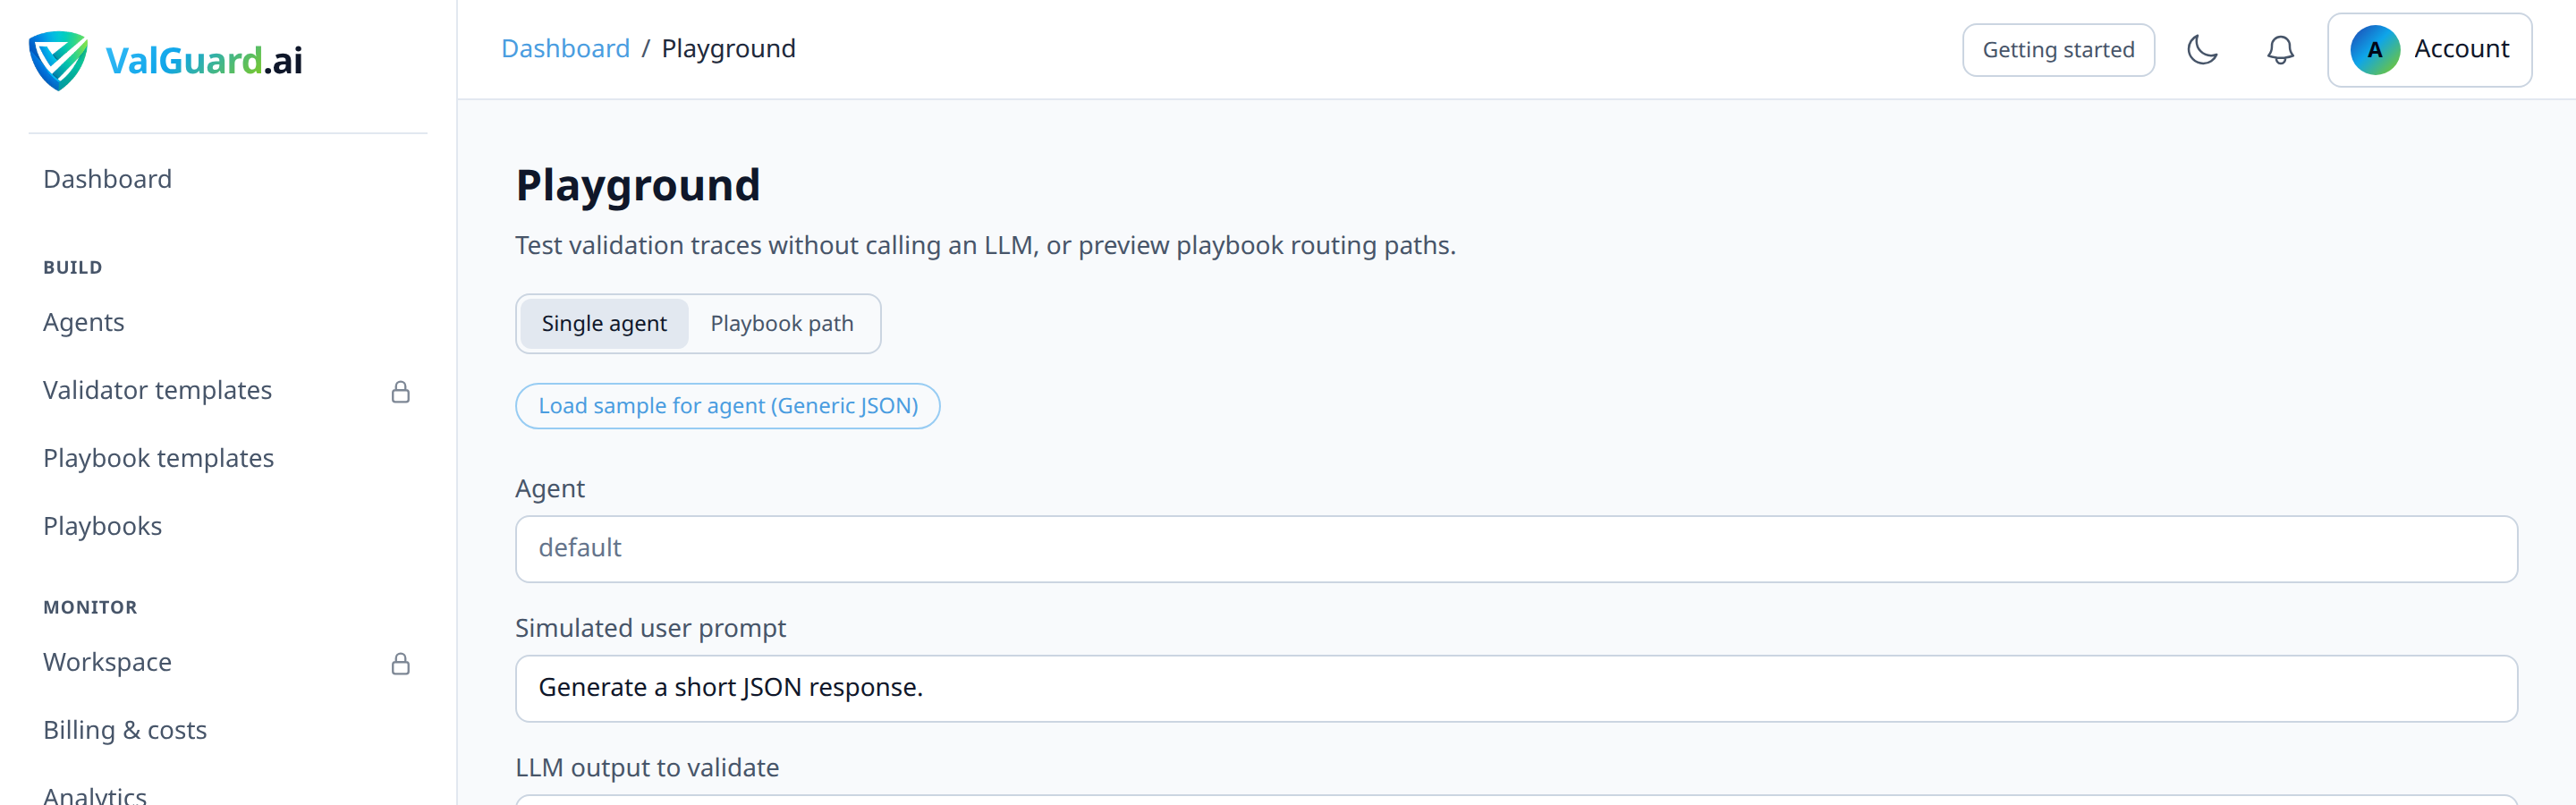
Try both a complete sample and one missing the
emailfield, and confirm the rule catches the second one.Step 6: Add a second rule for a different concern
Real agents usually need more than one rule. Add
pii_detectionalongsiderequired_fieldsto also catch accidental personal-data leakage in fields that shouldn't contain it.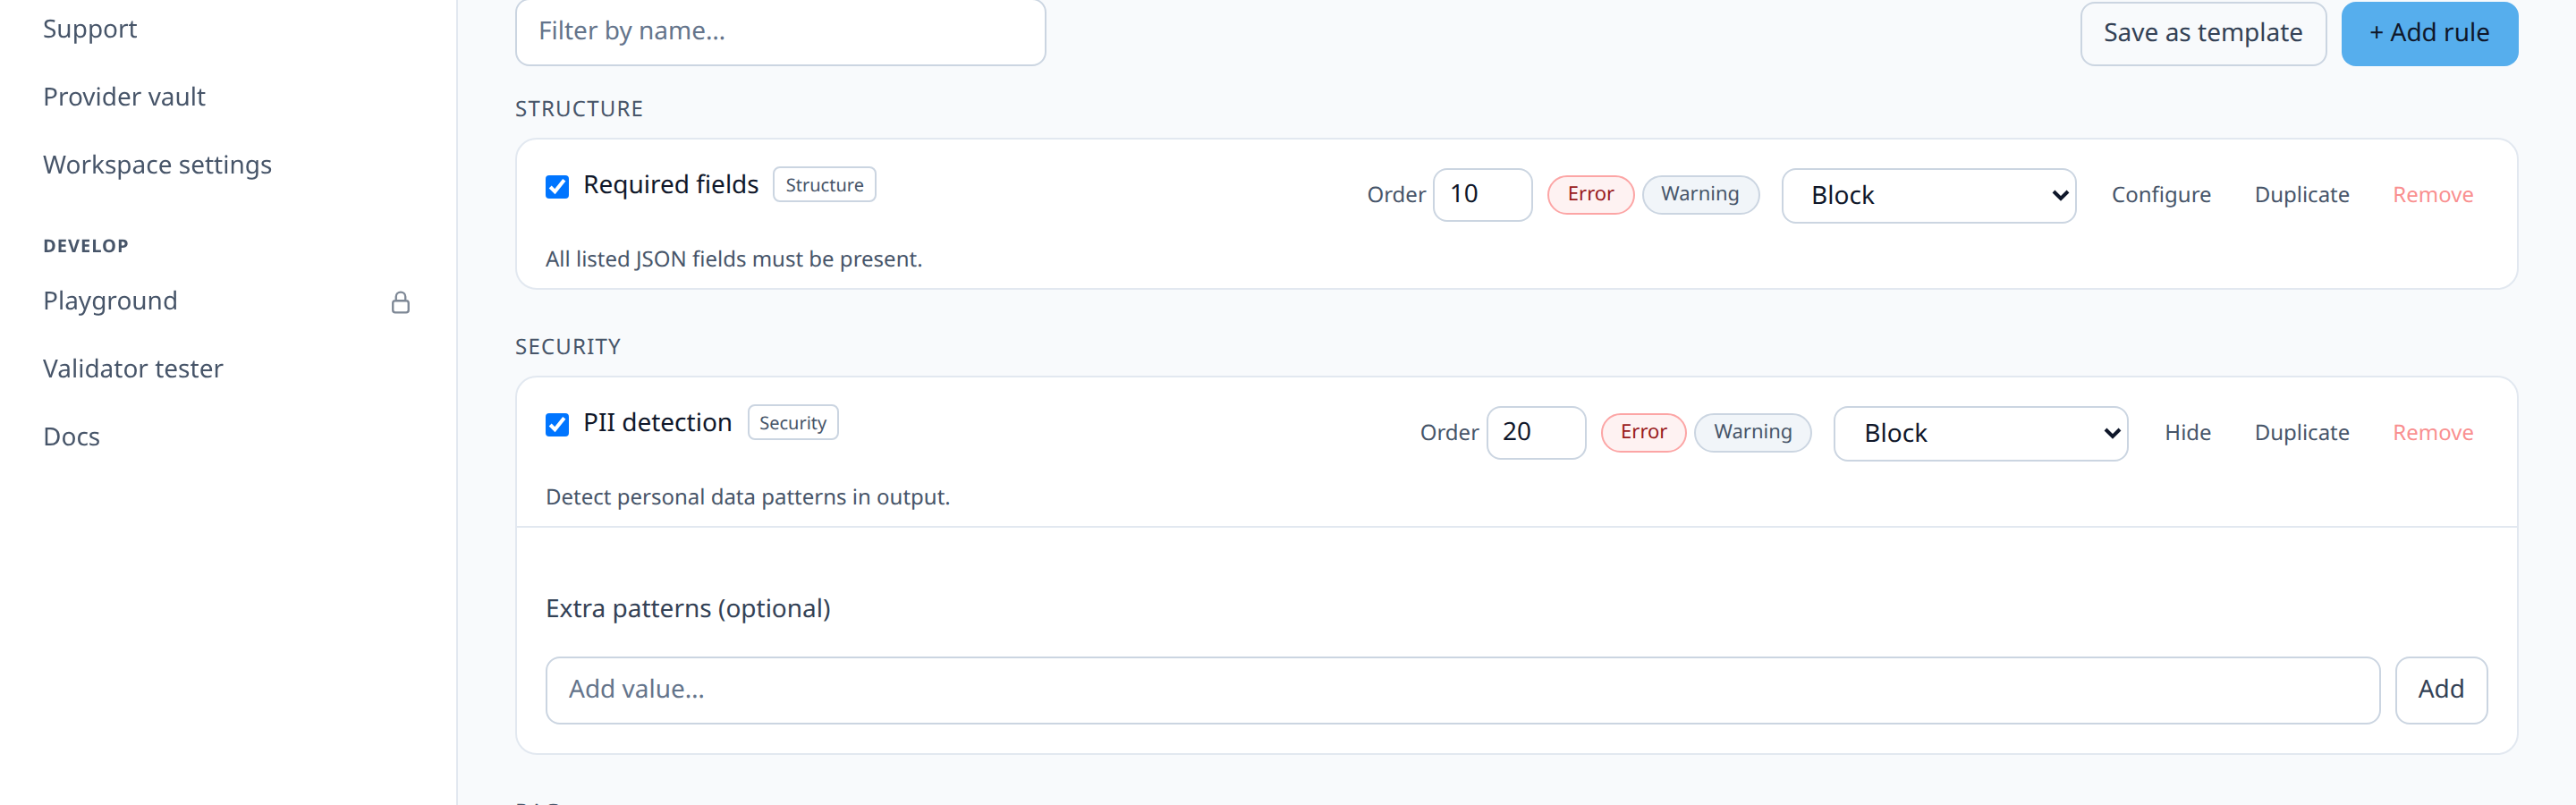
Step 7: Route real traffic through the validation layer
Point your OpenAI-compatible client at the API with the agent's slug in the
X-VG-Agentheader.curl -si "$VG_PROXY/v1/chat/completions" \ -H "Authorization: Bearer $VG_API_KEY" \ -H "X-VG-Agent: default" \ -H "Content-Type: application/json" \ -d '{"model":"openai/gpt-4o-mini","messages":[{"role":"user","content":"Return JSON with fields name and email for: John Doe, contact at john@example.com"}]}'Step 8: Read the validation status
Every response carries a status header regardless of outcome.
X-VG-Validation-Status: passA blocked response instead returns a non-2xx status by default (or a
valid: falseenvelope layered on top of the original completion, if your agent'svalidation_fail_modeis set tohttp_okinstead) with details on which rule failed.Step 9: Review results in the dashboard
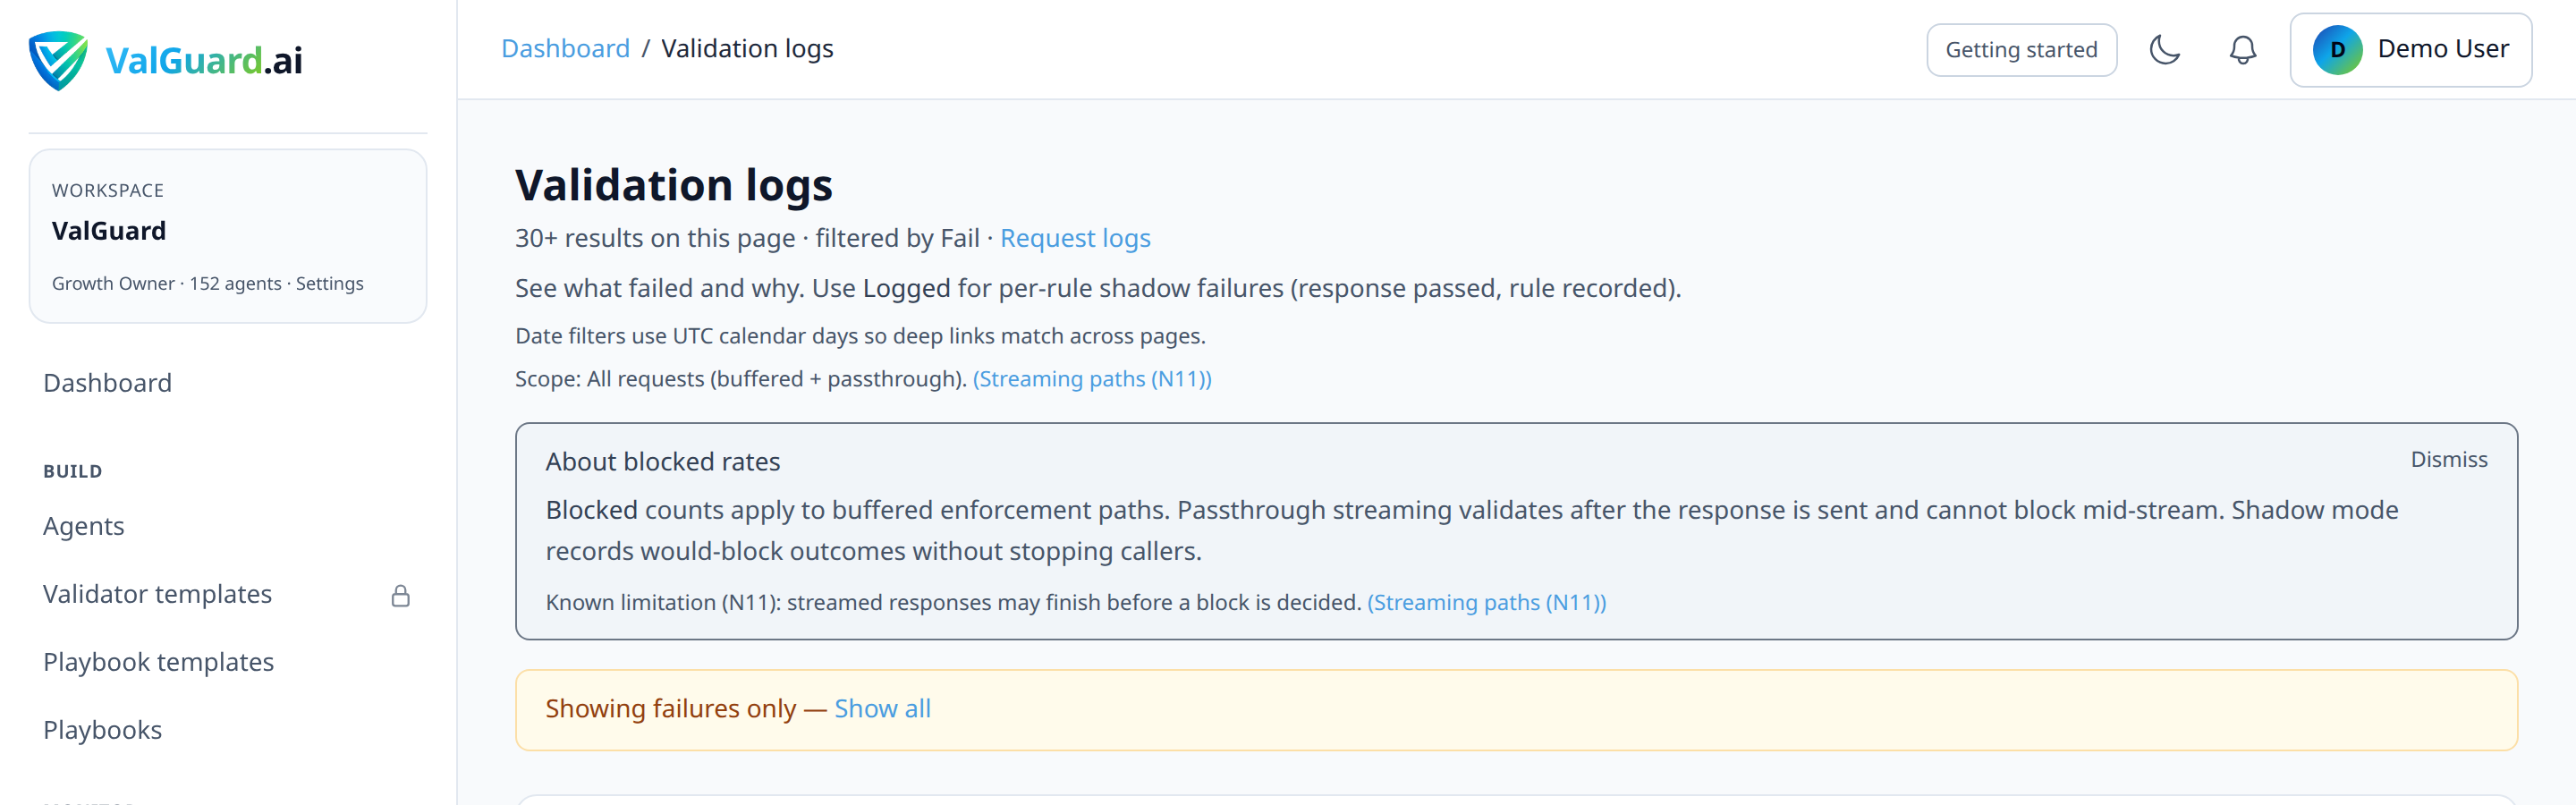
Dashboard → Validation logs shows every rule evaluation, per request, with pass/fail status and the specific reason for any failure. It's your primary tool for understanding what's actually happening once real traffic starts flowing.
4Diagram / Flow
5Configuration Examples
Agent validator configuration:
{ "slug": "default", "validators": [ { "name": "required_fields", "enabled": true, "priority": 10, "severity": "error", "on_fail": "block", "params": { "fields": ["name", "email"] } }, { "name": "pii_detection", "enabled": true, "priority": 20, "severity": "warn", "on_fail": "log", "params": {} } ] } ``` **Successful response headers:** ``` HTTP/1.1 200 OK X-VG-Validation-Status: pass X-VG-Latency-ms: 612 ``` **Blocked response (default `validation_fail_mode: http_error`, status defaults to 403 and is configurable per agent via `validation_fail_status`):** ``` HTTP/1.1 403 Forbidden X-VG-Validation-Status: block ``` ```json { "error": { "type": "validation_block", "reason": "required_fields", "message": "response blocked by validation policy", "details": { "failures": [ { "validator_name": "required_fields", "message": "Missing required field: email", "on_fail": "block", "severity": "error" } ] } } }6Testing and Verification
- Playground pass/fail pair. Test one sample that should pass and one that should fail for every rule you add. A rule you've only ever seen pass hasn't actually been proven to work.
- Live call with a known-good prompt. Send a real request through
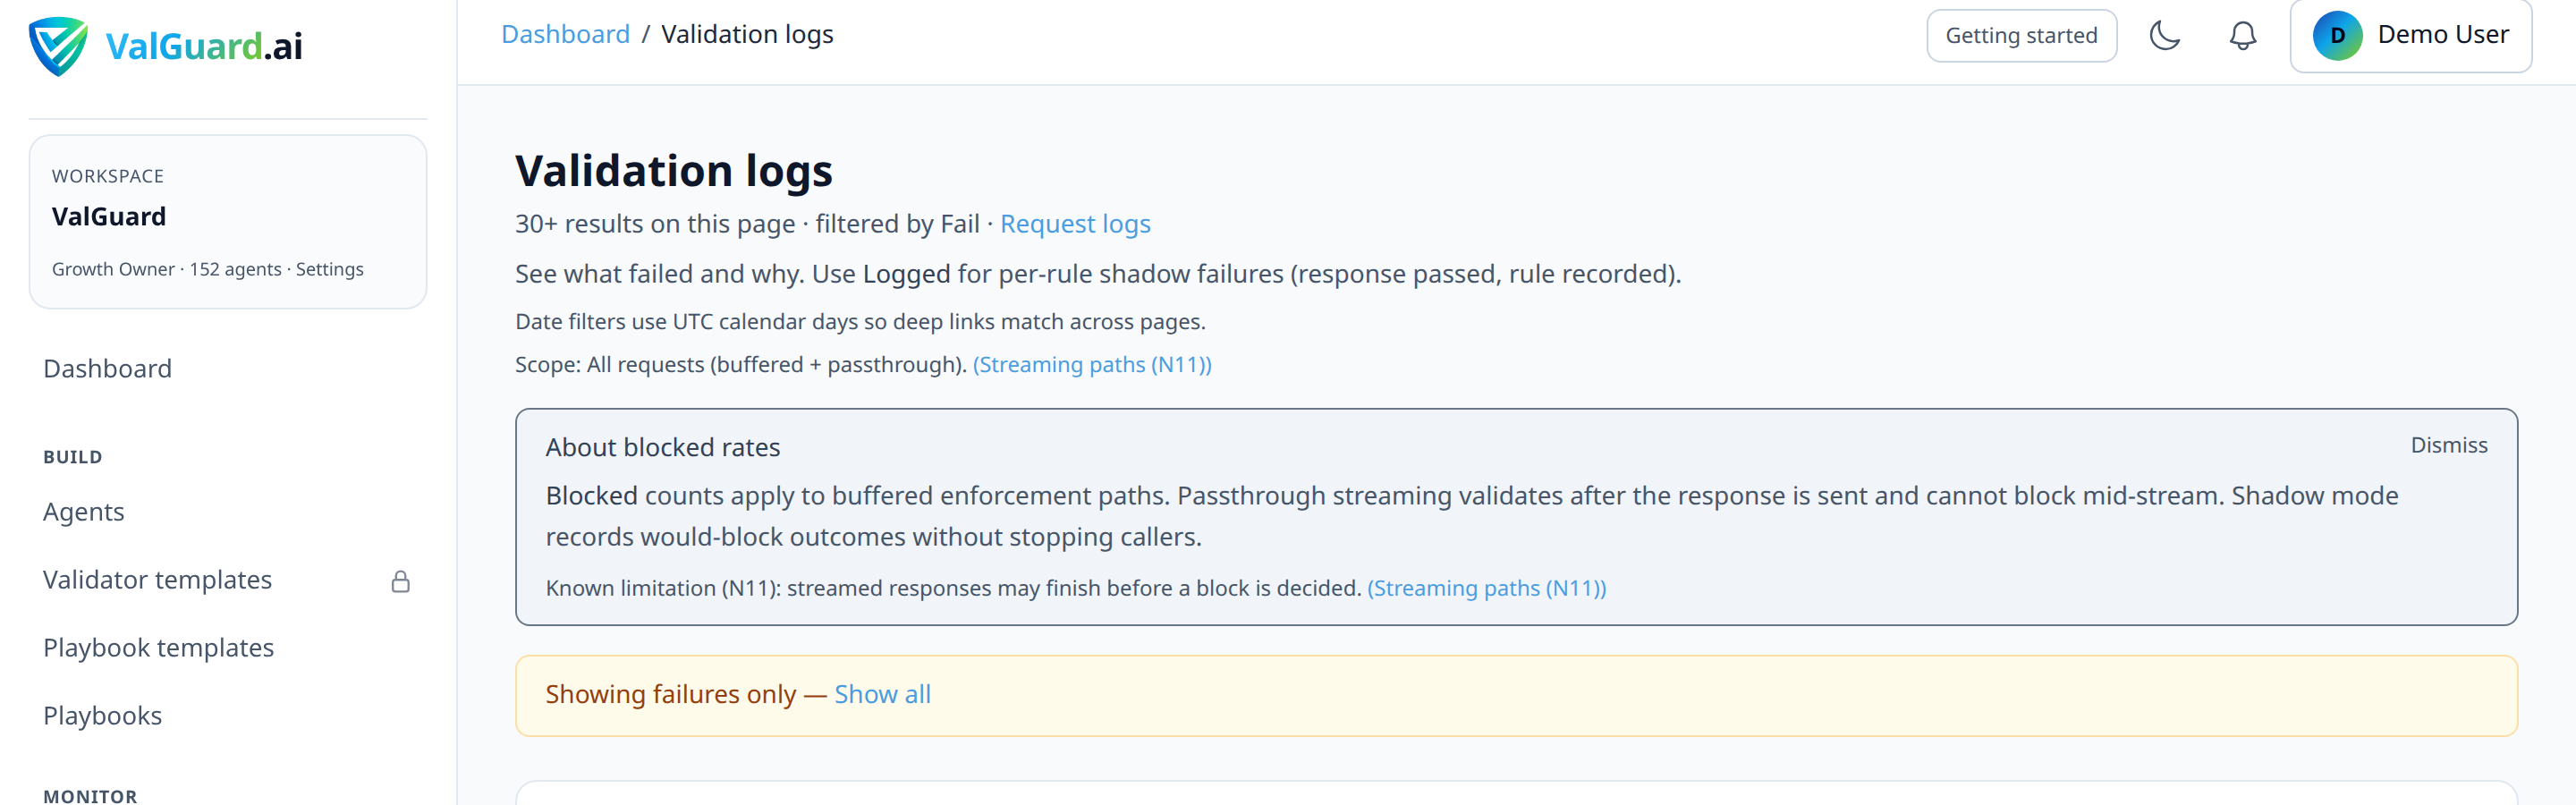
X-VG-Agentand confirmX-VG-Validation-Status: passand the expected completion. - Live call with a prompt likely to fail. Send a request designed to produce incomplete output and confirm the block response, and that it shows up correctly in Validation logs.
7Troubleshooting
"My rule never fails, even on input I expect it to catch." Test the exact completion shape your model actually produces in the Playground. A common cause is the rule checking a field name that doesn't match what your prompt actually asks for (e.g., checking
email_addresswhen your prompt saysemail)."The rule blocks correct-looking output." Check whether the completion is wrapped in markdown code fences or extra prose the rule's JSON parsing doesn't expect. Pattern-based and schema-based rules generally expect bare JSON, not a fenced block.
"I added a rule but don't see it running on real traffic." Confirm
enabled: trueand that you saved the agent after adding the rule. An unsaved change reverts on page reload."I can't tell which specific rule caused a block from my application code." Parse the response body's
error.reasonfield (the name of the first failing rule) orerror.details.failures(the full list, each withvalidator_nameandmessage), or check theX-VG-Request-Idheader and look up the request in Validation logs for full detail.8Best Practices
- Start with structural rules (
required_fields,json_schema_validate) before semantic ones. A response that's missing fields is a cheaper, clearer bug to catch than a subtly wrong value. - Test every rule with a failing example, not just a passing one, before trusting it.
- Use template packs where one fits, rather than assembling rules from scratch. They've been tuned across many organizations' real traffic.
- Don't jump straight to
on_fail: blockon unproven rules against real traffic. See the shadow-mode-rollout tutorial for the safe way to graduate a new rule to enforcement. - Order rules by cost of being wrong, not alphabetically. Cheap structural checks first, so an obviously malformed response fails fast before more expensive semantic checks run.
- Start with structural rules (
9Advanced Options
Combining multiple rules with different
on_failbehaviors on one agent. A well-designed agent typically mixesblockfor safety-critical rules,reaskfor self-correctable structural issues, andwarn/logfor informational checks. Not every rule needs the same consequence.Building your own validator template. Once you've tuned a rule set you like on one agent, save it as a template so the same tested configuration applies consistently across every agent that needs it, instead of reconfiguring from scratch each time.
Writing a custom validator. If nothing in the ~150-rule catalog covers a genuinely domain-specific check, the custom validator tutorial covers extending the engine itself with your own Go rule.
10Summary and Next Steps
Validating LLM output is fundamentally about deciding, per rule, what "correct" means and what should happen when a response isn't. The mechanics are simple: attach a rule, configure its params and
on_fail, test it in the Playground, then route real traffic through it. The judgment is in choosing the right rules and consequences for your specific use case.From here, preventing hallucinations goes deeper on grounding and citation-style validators specifically, and rolling out shadow mode safely covers exactly how to trust a new rule against real production traffic before letting it block anything.