
How to chain agents
Some tasks are cleanly one step: classify this message, extract this field. Others need a sequence: retrieve context, then generate an answer, then check the answer against the context. Chaining agents means the validated output of one step becomes the input context for the next, with each step keeping its own specialized prompt and its own validator pack rather than cramming everything into one enormous, hard-to-validate prompt.
This tutorial covers the mechanics of chaining: modeling a workflow as discrete steps, creating a focused agent per role, wiring them together in the playbook editor, and controlling exactly what context each step receives from the ones before it (the part that trips people up most). By the end, you'll know:
- Why splitting a task into role-specific agents usually validates better than one do-everything agent
- How to model a workflow as a sequence of steps before touching the editor
- The four
input_modeoptions and when to use each - How to wire a linear chain in the playbook editor
- How to confirm context is actually flowing the way you expect
1How It Works
In a playbook, each step is (usually) an
agentnode: a full validated LLM call, with its own prompt and its own validator pack, exactly like a single-agent request. Chaining is simply connecting these steps with routes so one step's output becomes available to the next.What "available" means is controlled by each step's
input_mode:Input mode Behavior pass_throughThe step receives the original playbook input, ignoring what earlier steps produced append_previousThe step receives the original input plus the previous step's output appended as additional context replace_with_previousThe step receives only the previous step's output, not the original input custom_templateThe step receives a custom-assembled context you define, combining specific fields from earlier steps Choosing the right mode per step is the actual skill in chaining. It's easy to leave every step on the same setting and end up with a step that doesn't have the context it needs, or one that's needlessly re-processing the entire original input. A retrieve-then-answer-then-format chain, for example, typically uses
pass_throughfor retrieval,append_previousfor the answer step (needs both the original question and the retrieved context), andreplace_with_previousfor a final formatting step (only needs the answer, not the original question).2Prerequisites
- Comfort with the first-playbook tutorial's basic publish/call cycle
- A workflow with at least two genuinely sequential stages in mind (this tutorial uses a three-stage example: extract structured fields from a support ticket, classify its urgency, then draft a response)
- An agent per stage, or a willingness to let the playbook wizard scaffold them
3Step-by-Step Setup
Step 1: Write out your stages before opening the editor
List the stages in plain language first: extract → classify → respond. Naming each stage's single responsibility up front makes the next steps mechanical instead of improvised.
Step 2: Create one agent per role
In Dashboard → Agents, create an agent per stage with a clear, descriptive slug:
ticket-extract,ticket-classify,ticket-respond. Apply the validator template pack that matches each role (field-presence rules on the extraction agent, enum validation on the classification agent, tone/policy rules on the response agent).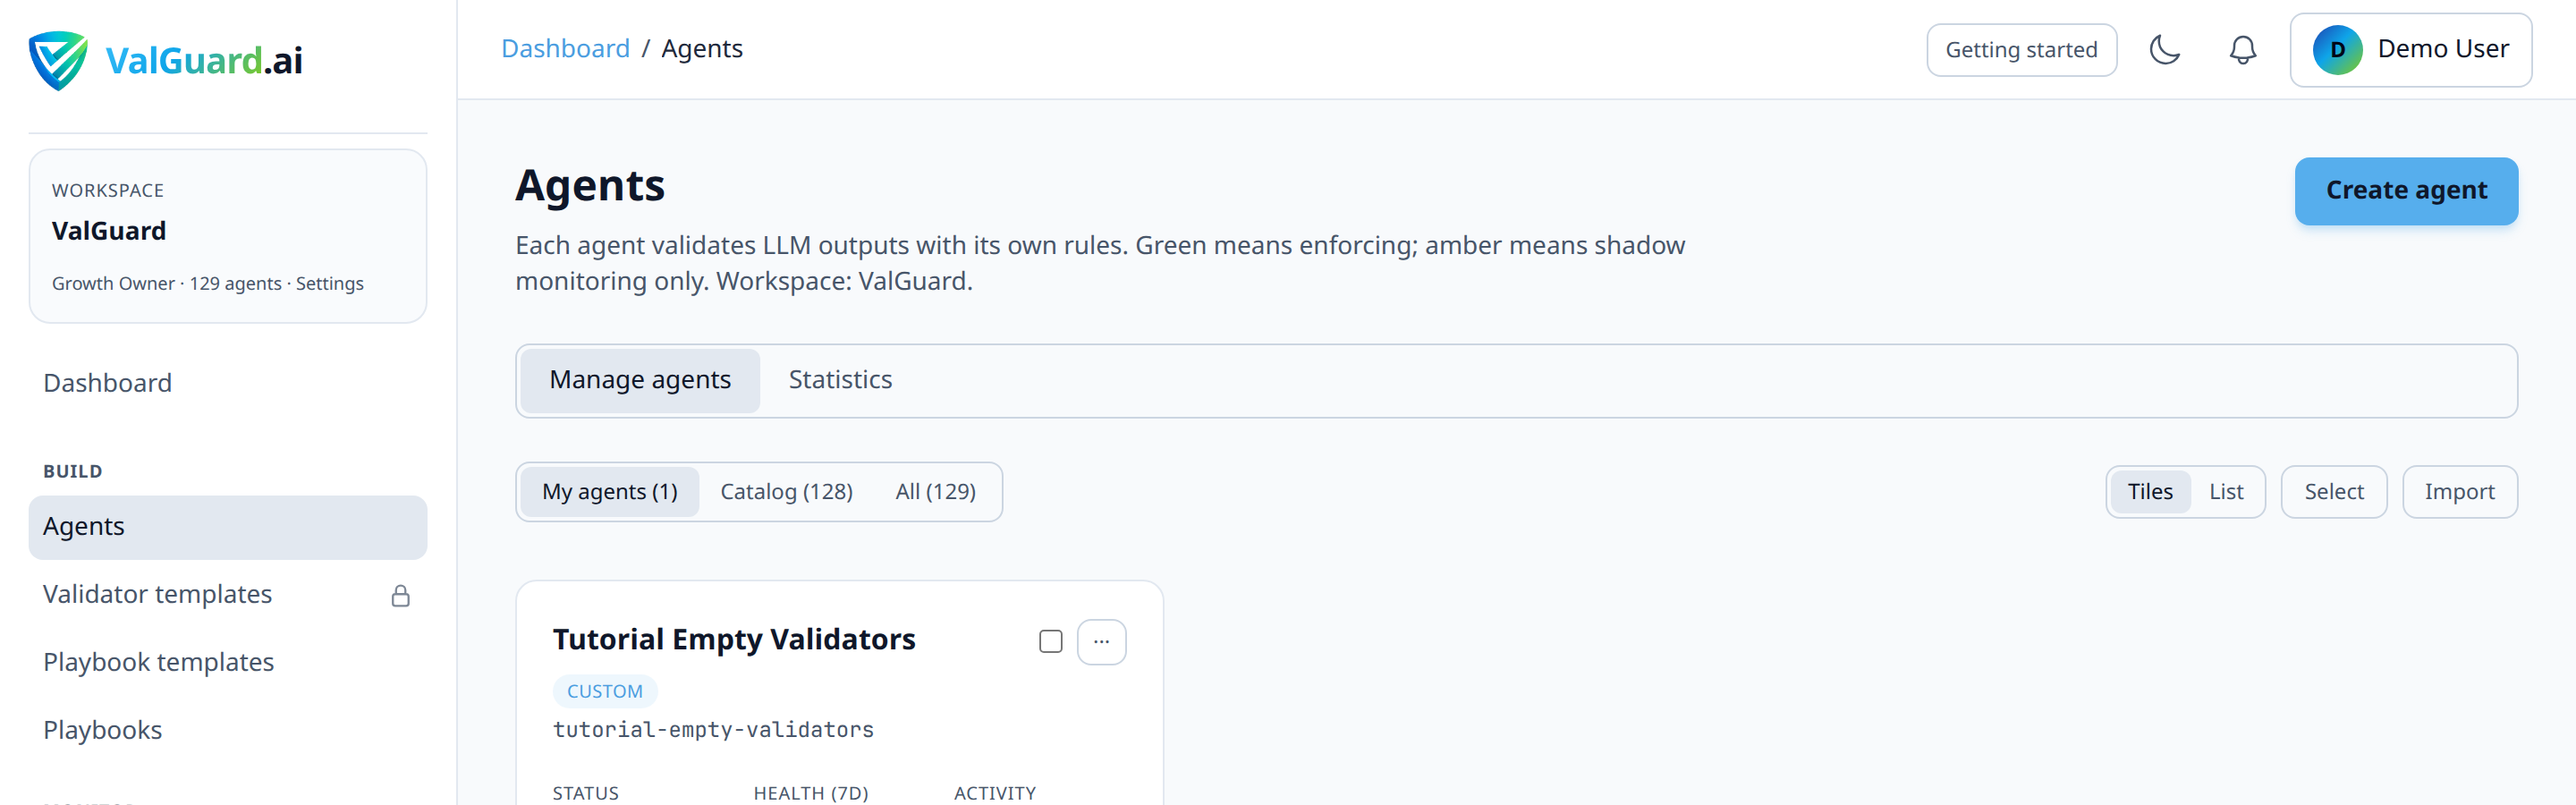
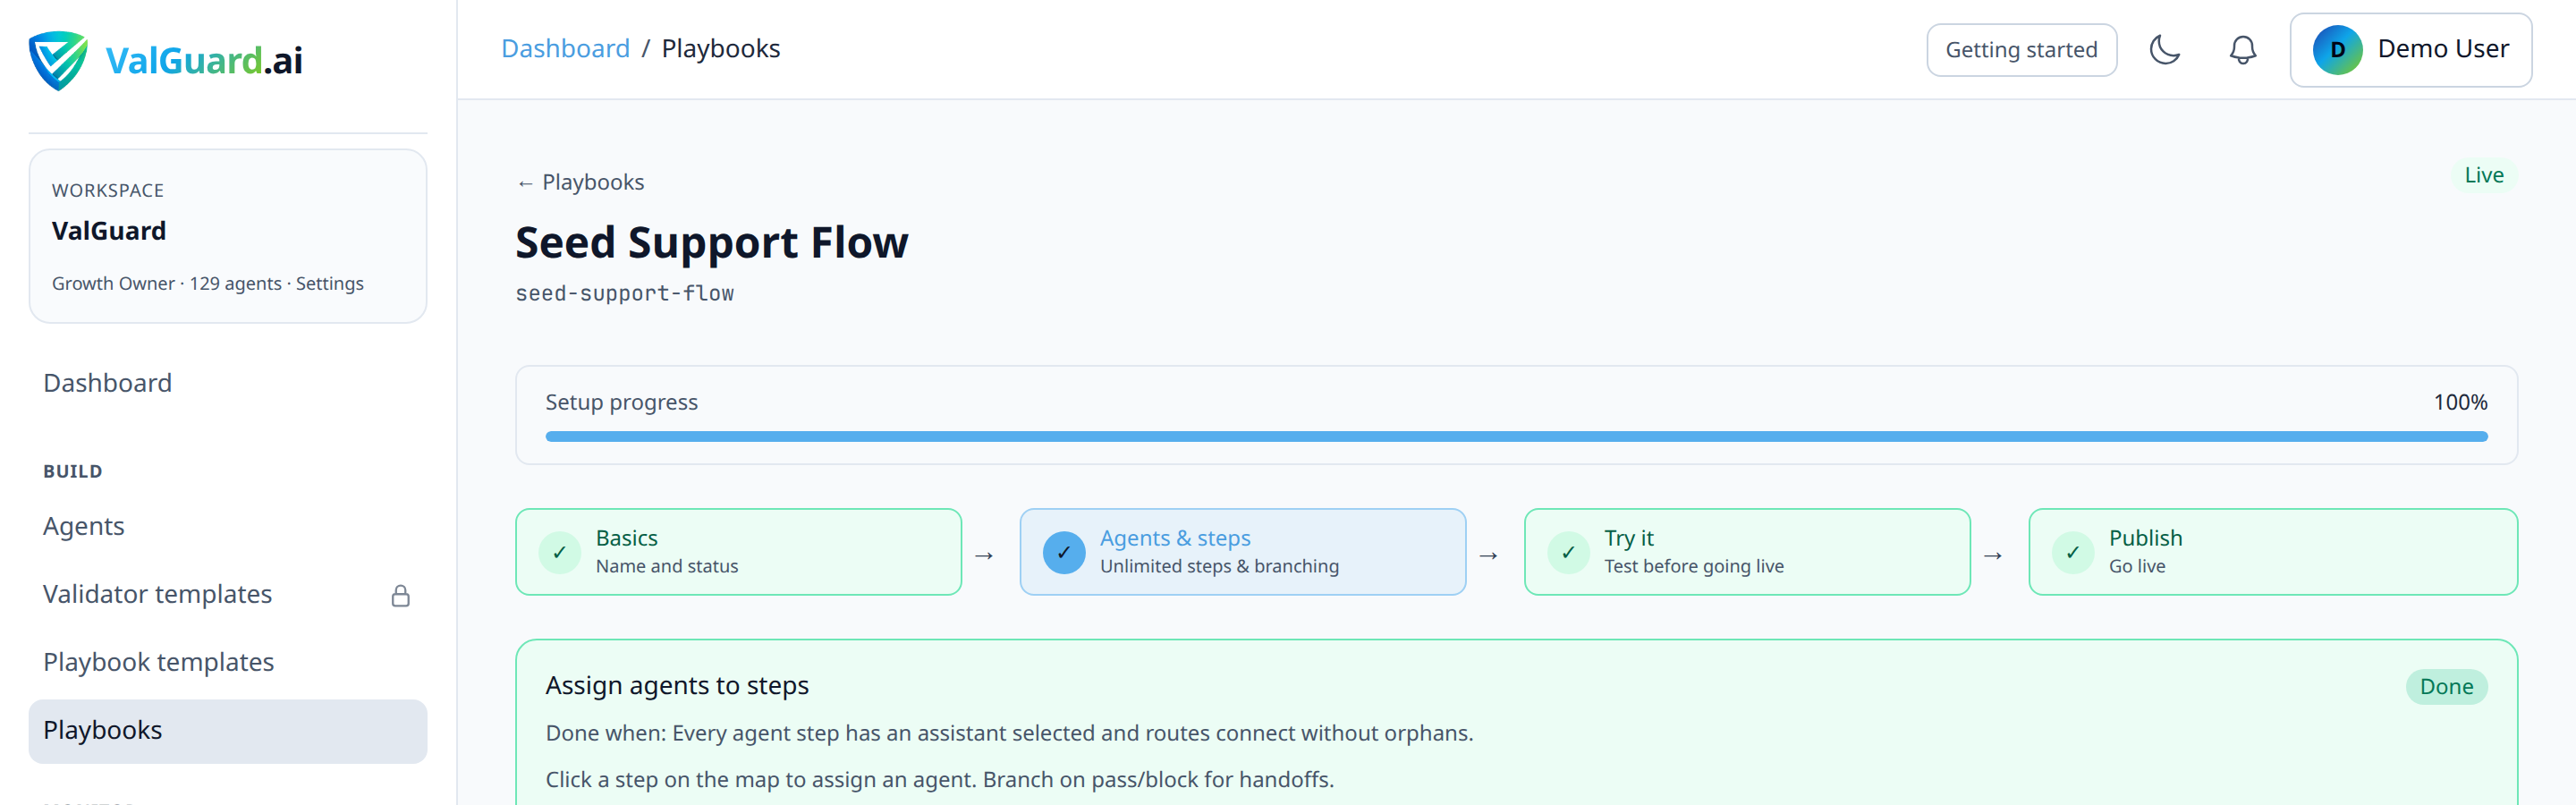
Step 3: Create the playbook and add steps
Open Dashboard → Orchestration, create a new playbook (or start from a blank graph rather than a template, since this is a custom chain), and add three steps in Storyboard view, one per agent.
Step 4: Wire linear routes between the steps
Connect
extract → classifyandclassify → respondwithalwaysroutes. For a simple linear chain with no branching yet, every step unconditionally proceeds to the next.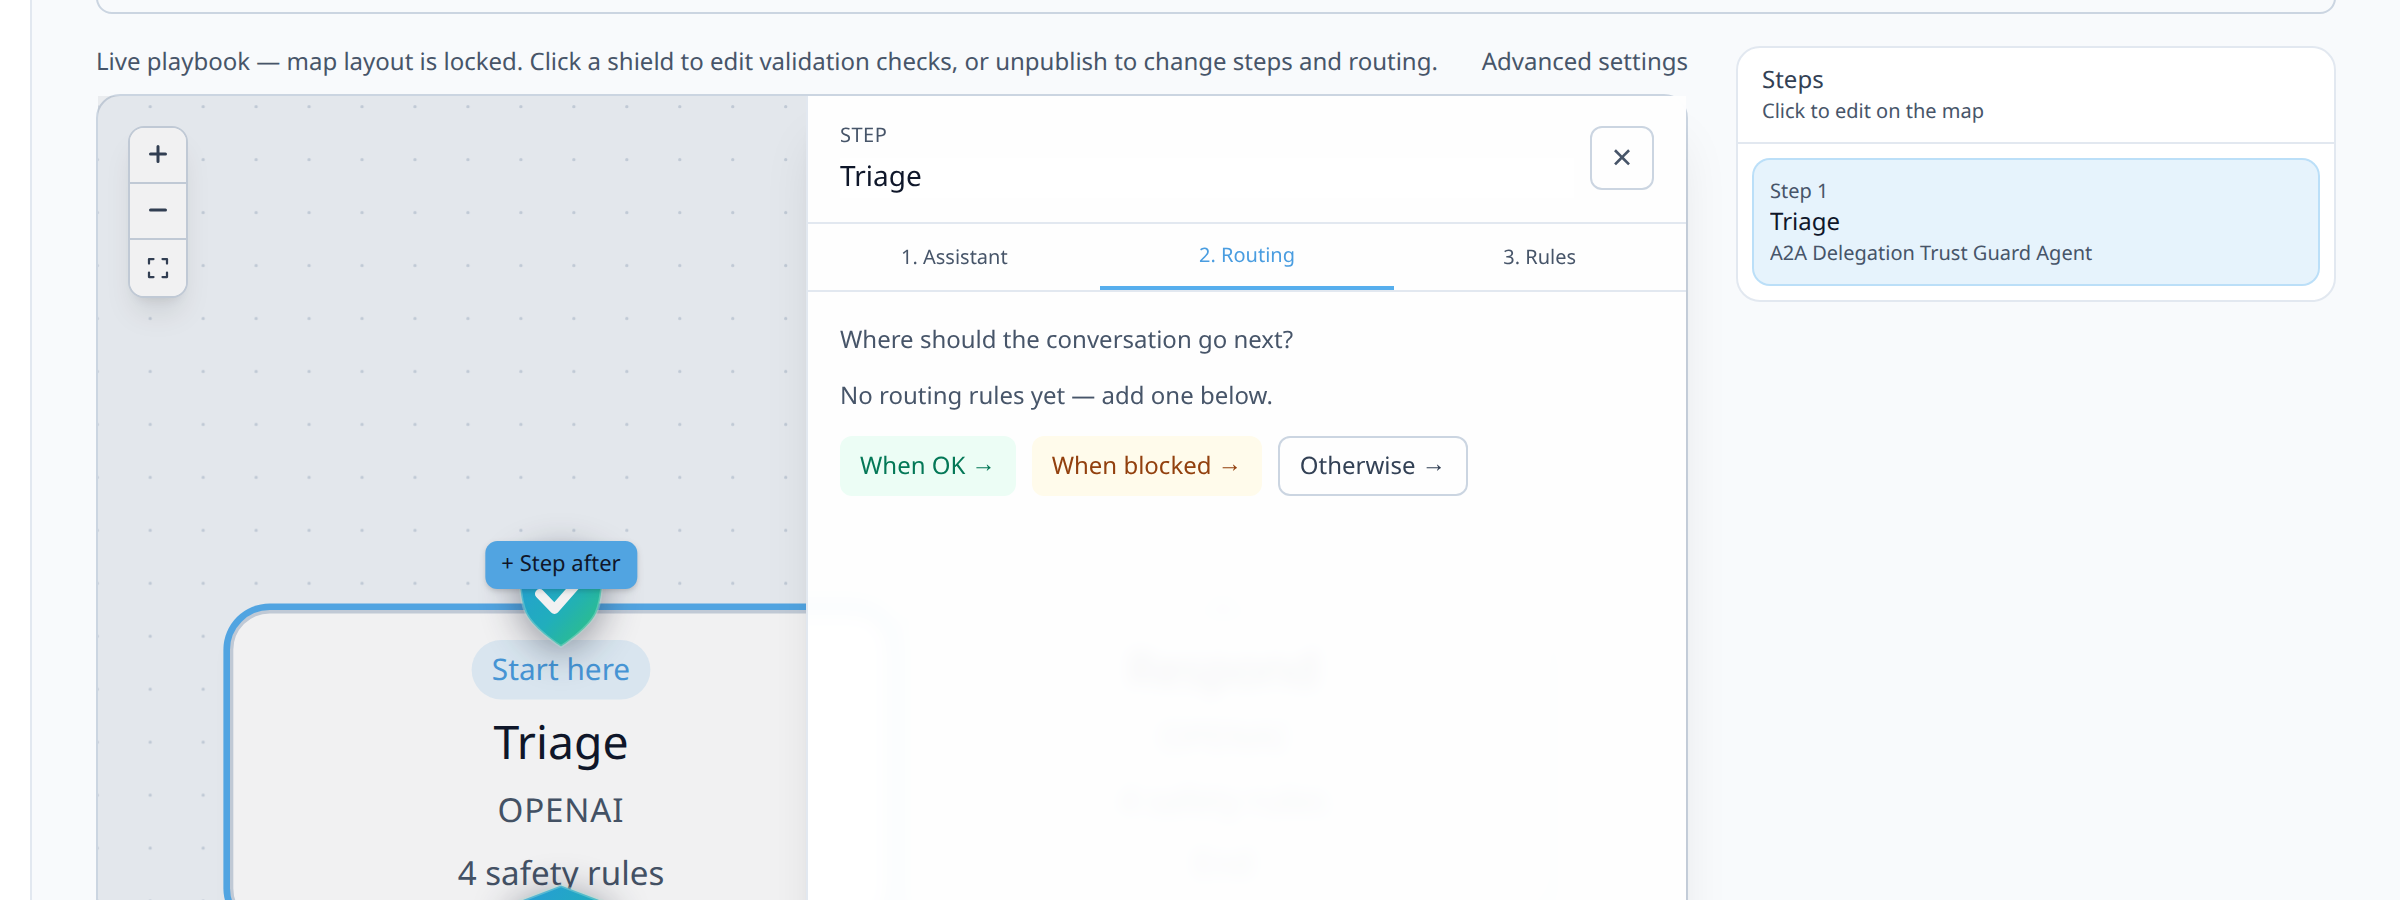
Step 5: Set the extract step's input mode
The extraction step should read the original ticket text, so set its
input_modetopass_through.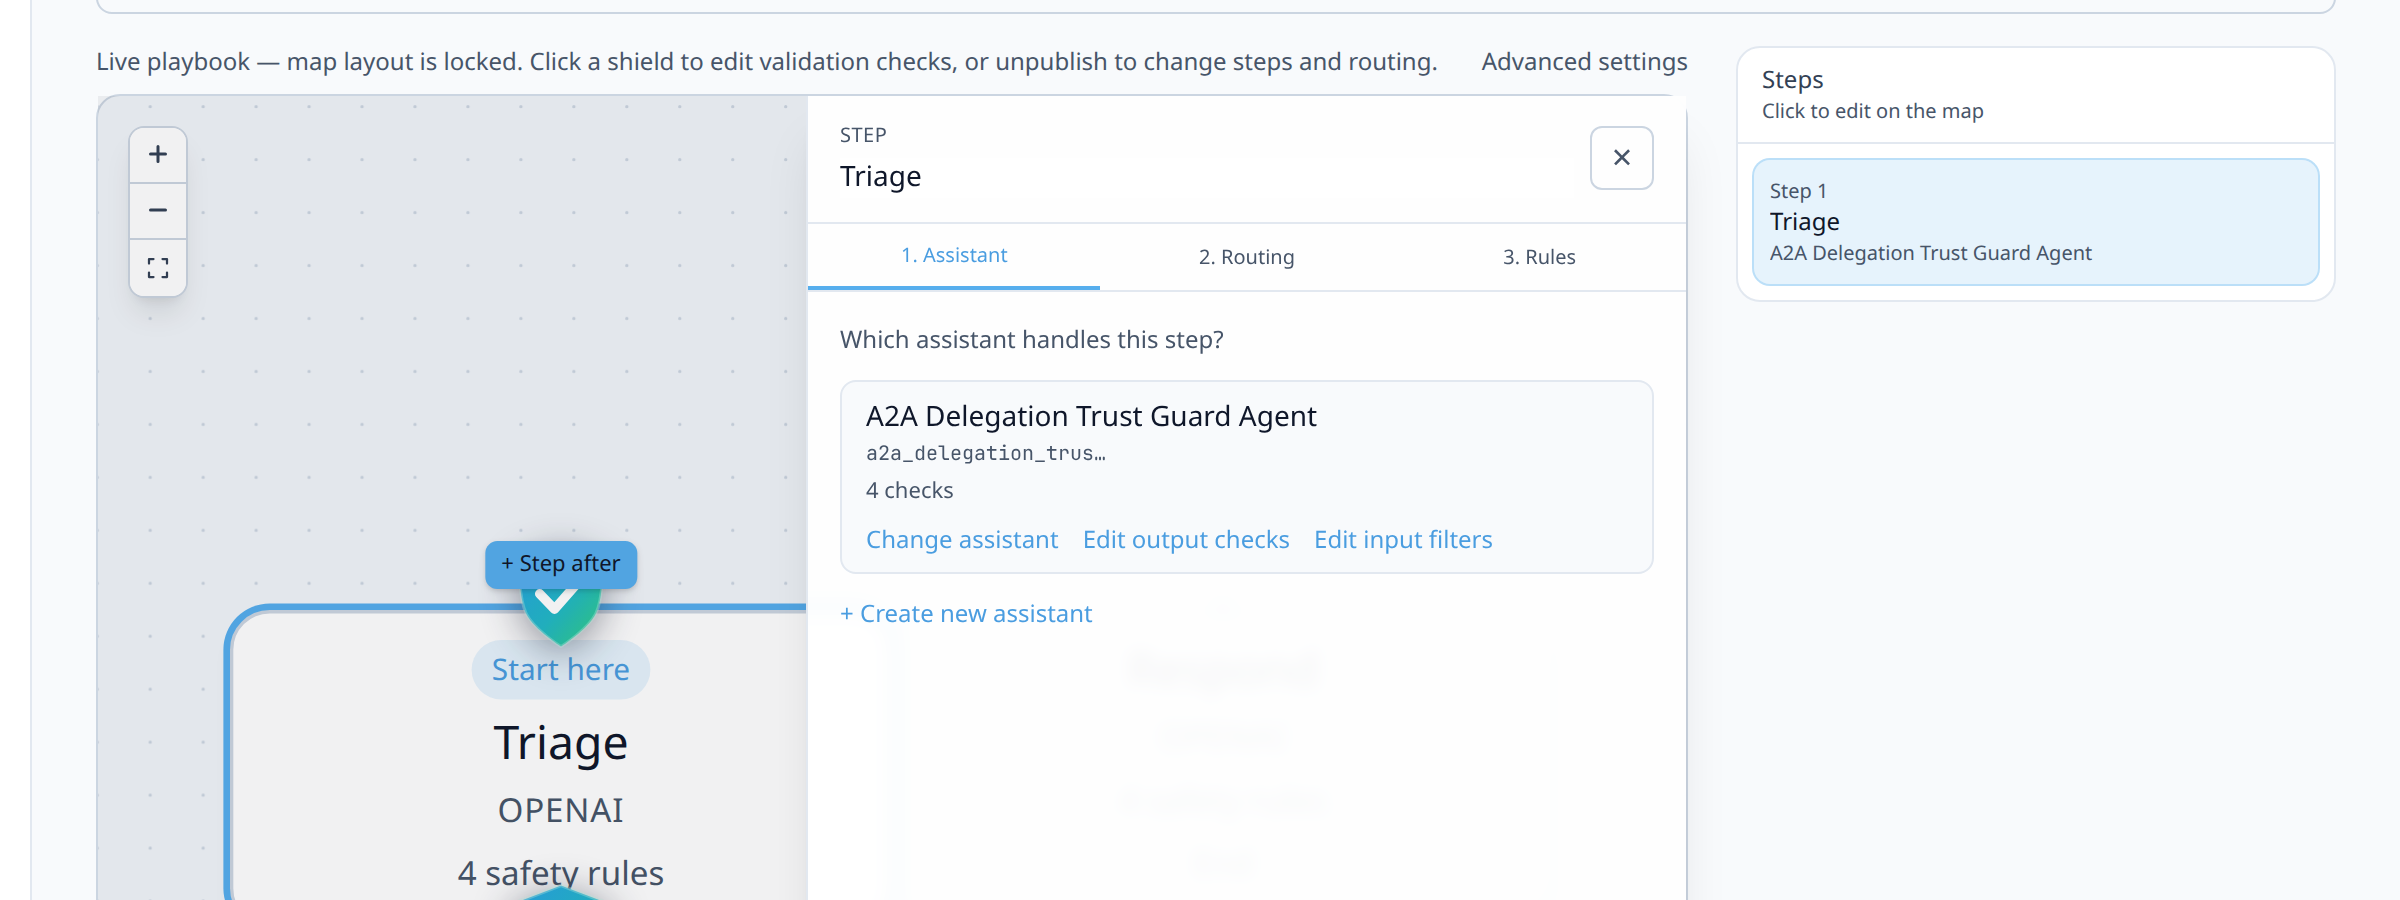
Step 6: Set the classify step's input mode
Classification needs the extracted fields (and often benefits from also seeing the original text for tone/context), so set
input_modetoappend_previous.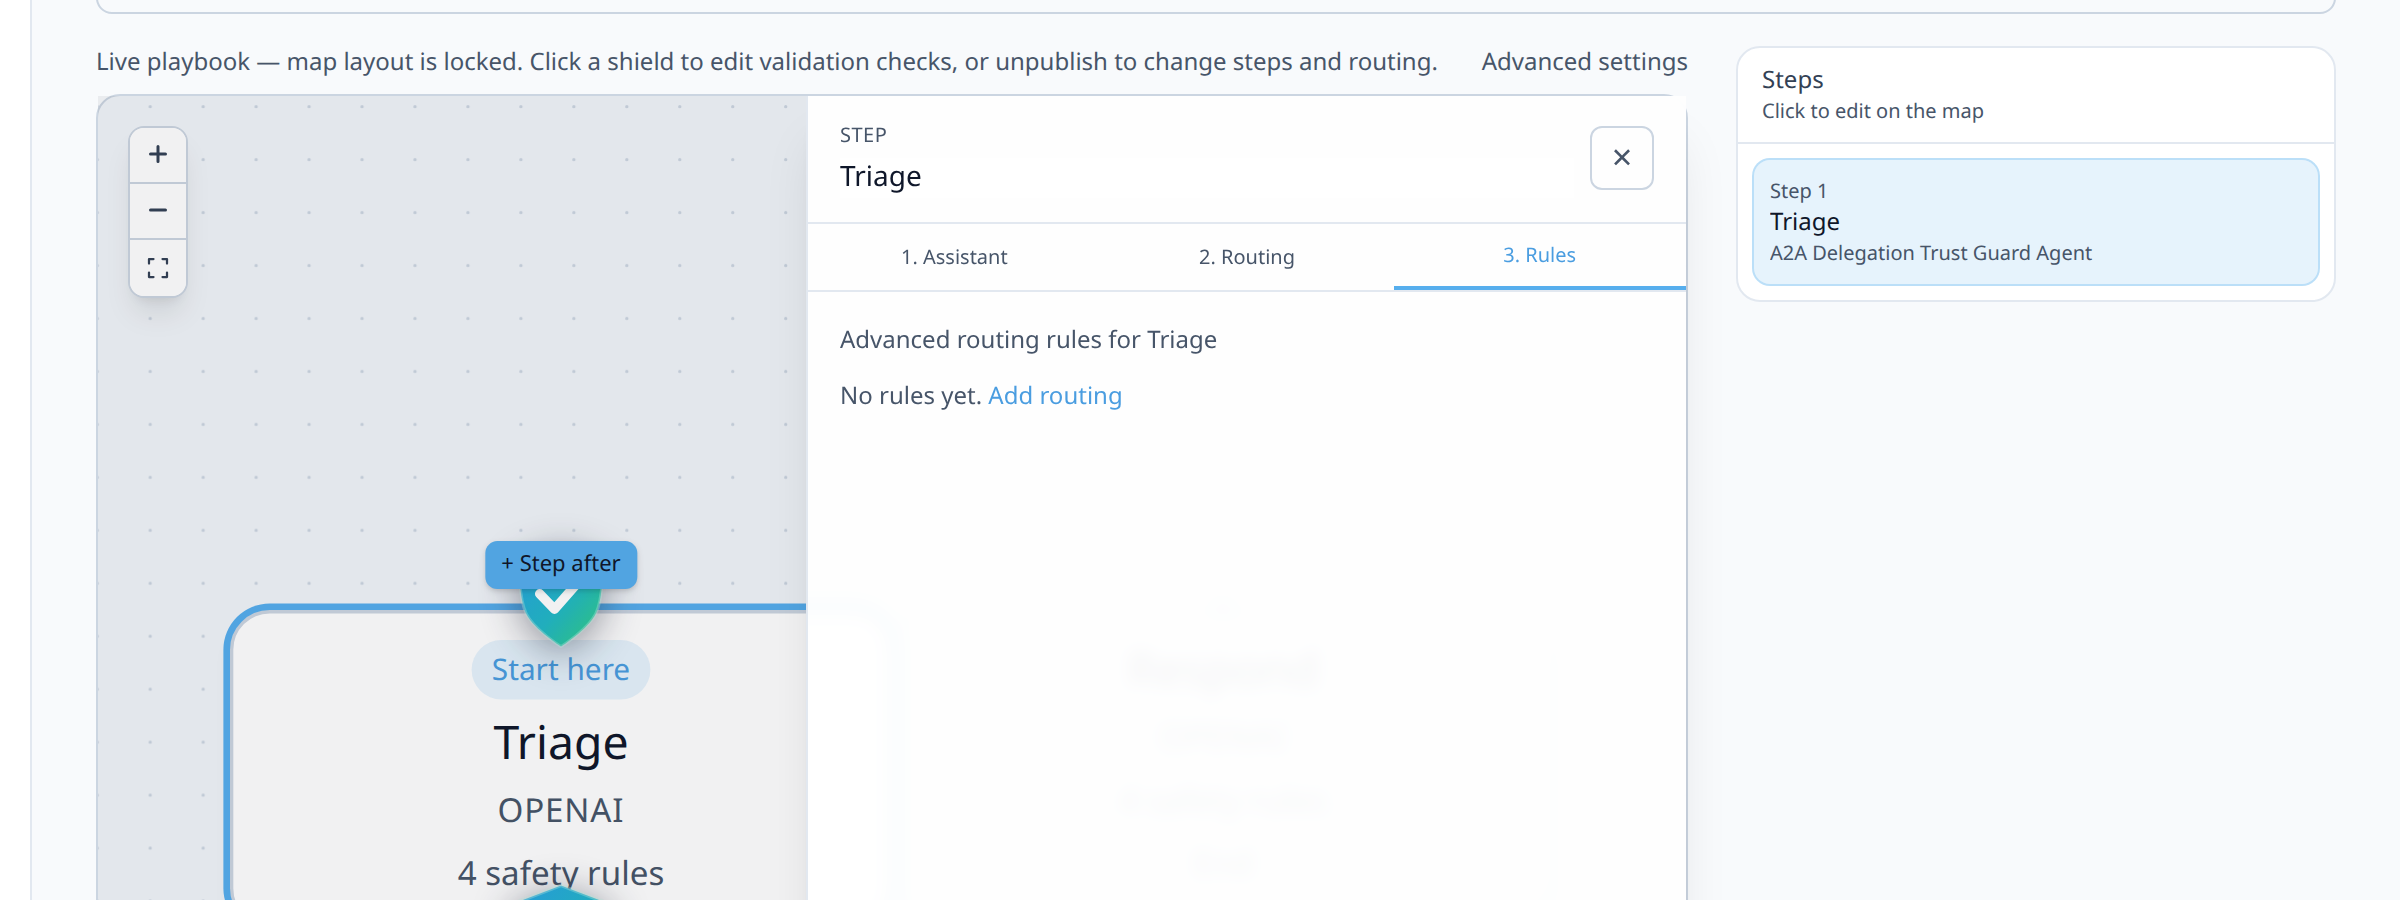
Step 7: Set the respond step's input mode
The response draft typically only needs the classified result (urgency, category) rather than re-reading the raw extraction, so set
input_modetoreplace_with_previous, orappend_previousif your response prompt also benefits from the raw ticket text. Simulate can't help you choose here, since it doesn't model input assembly or generate a draft at all. Try both settings with a real Live request and compare the actual drafts (see Step 9).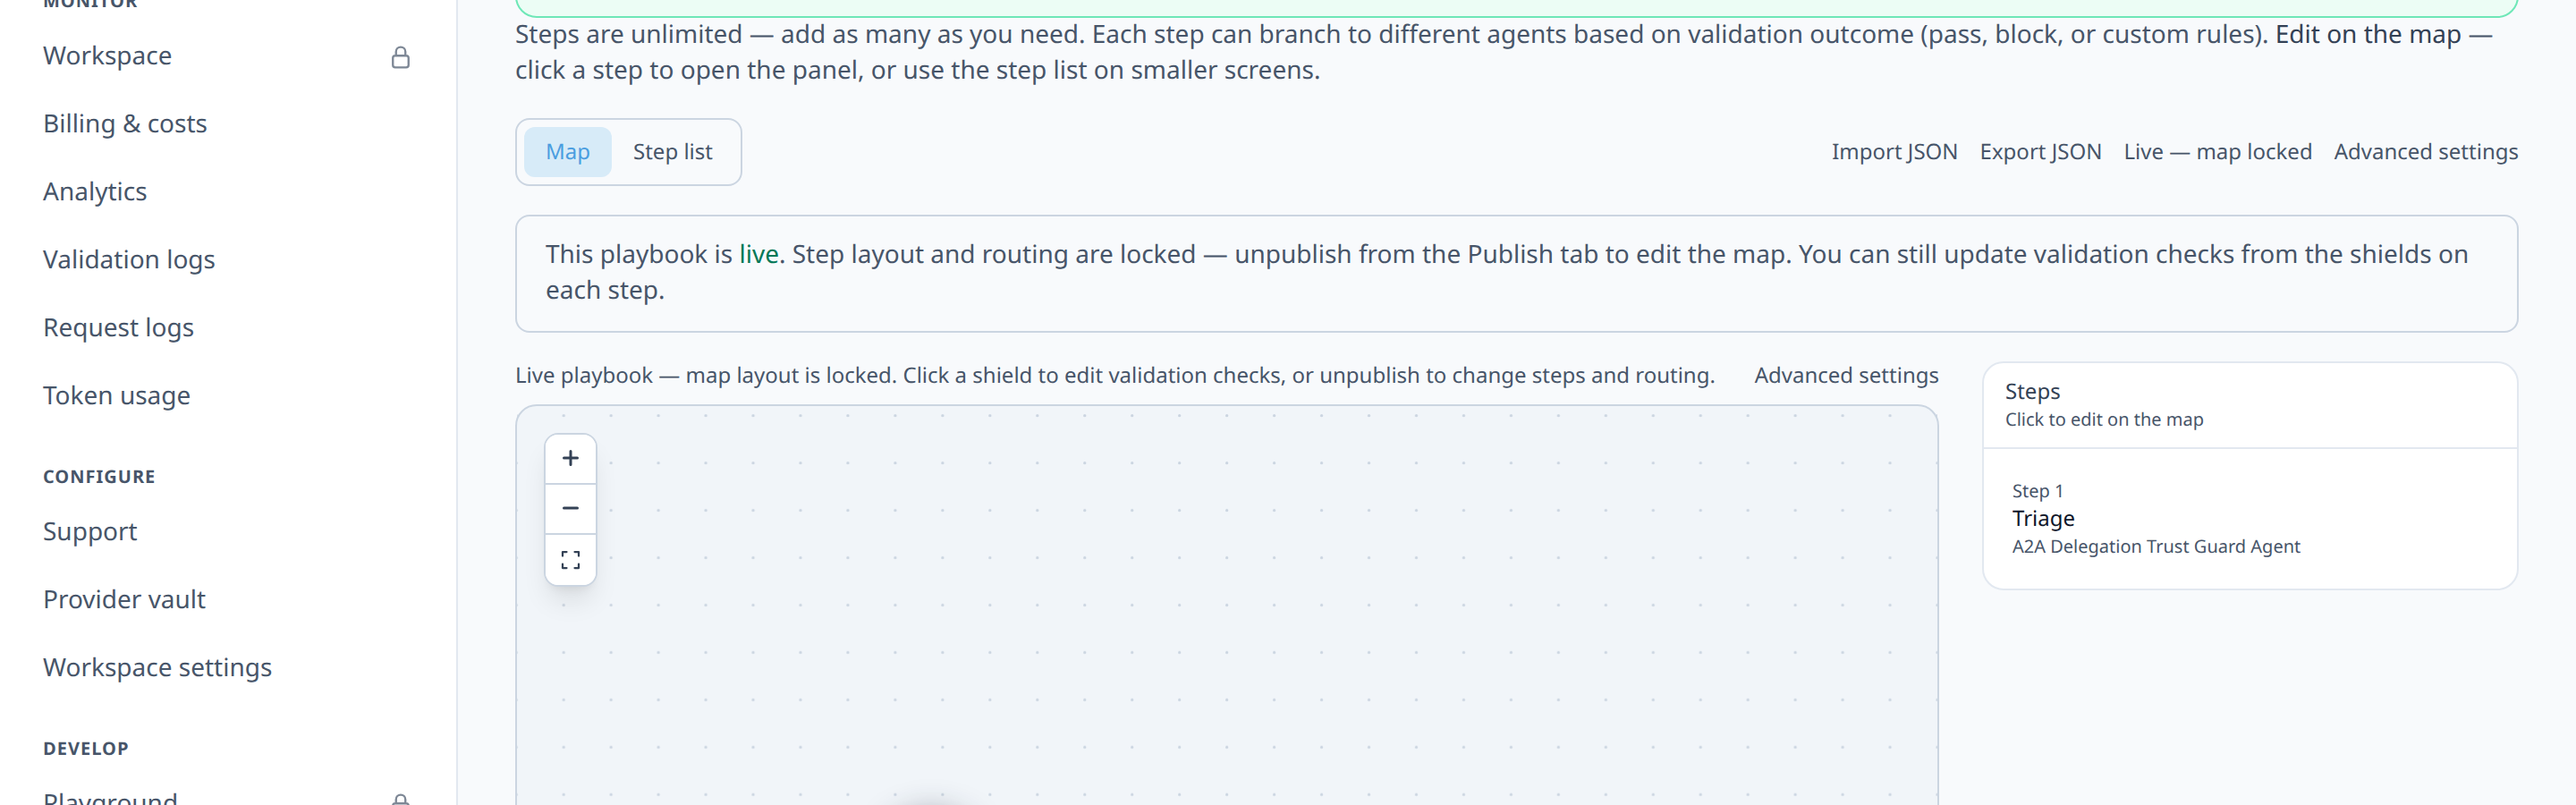
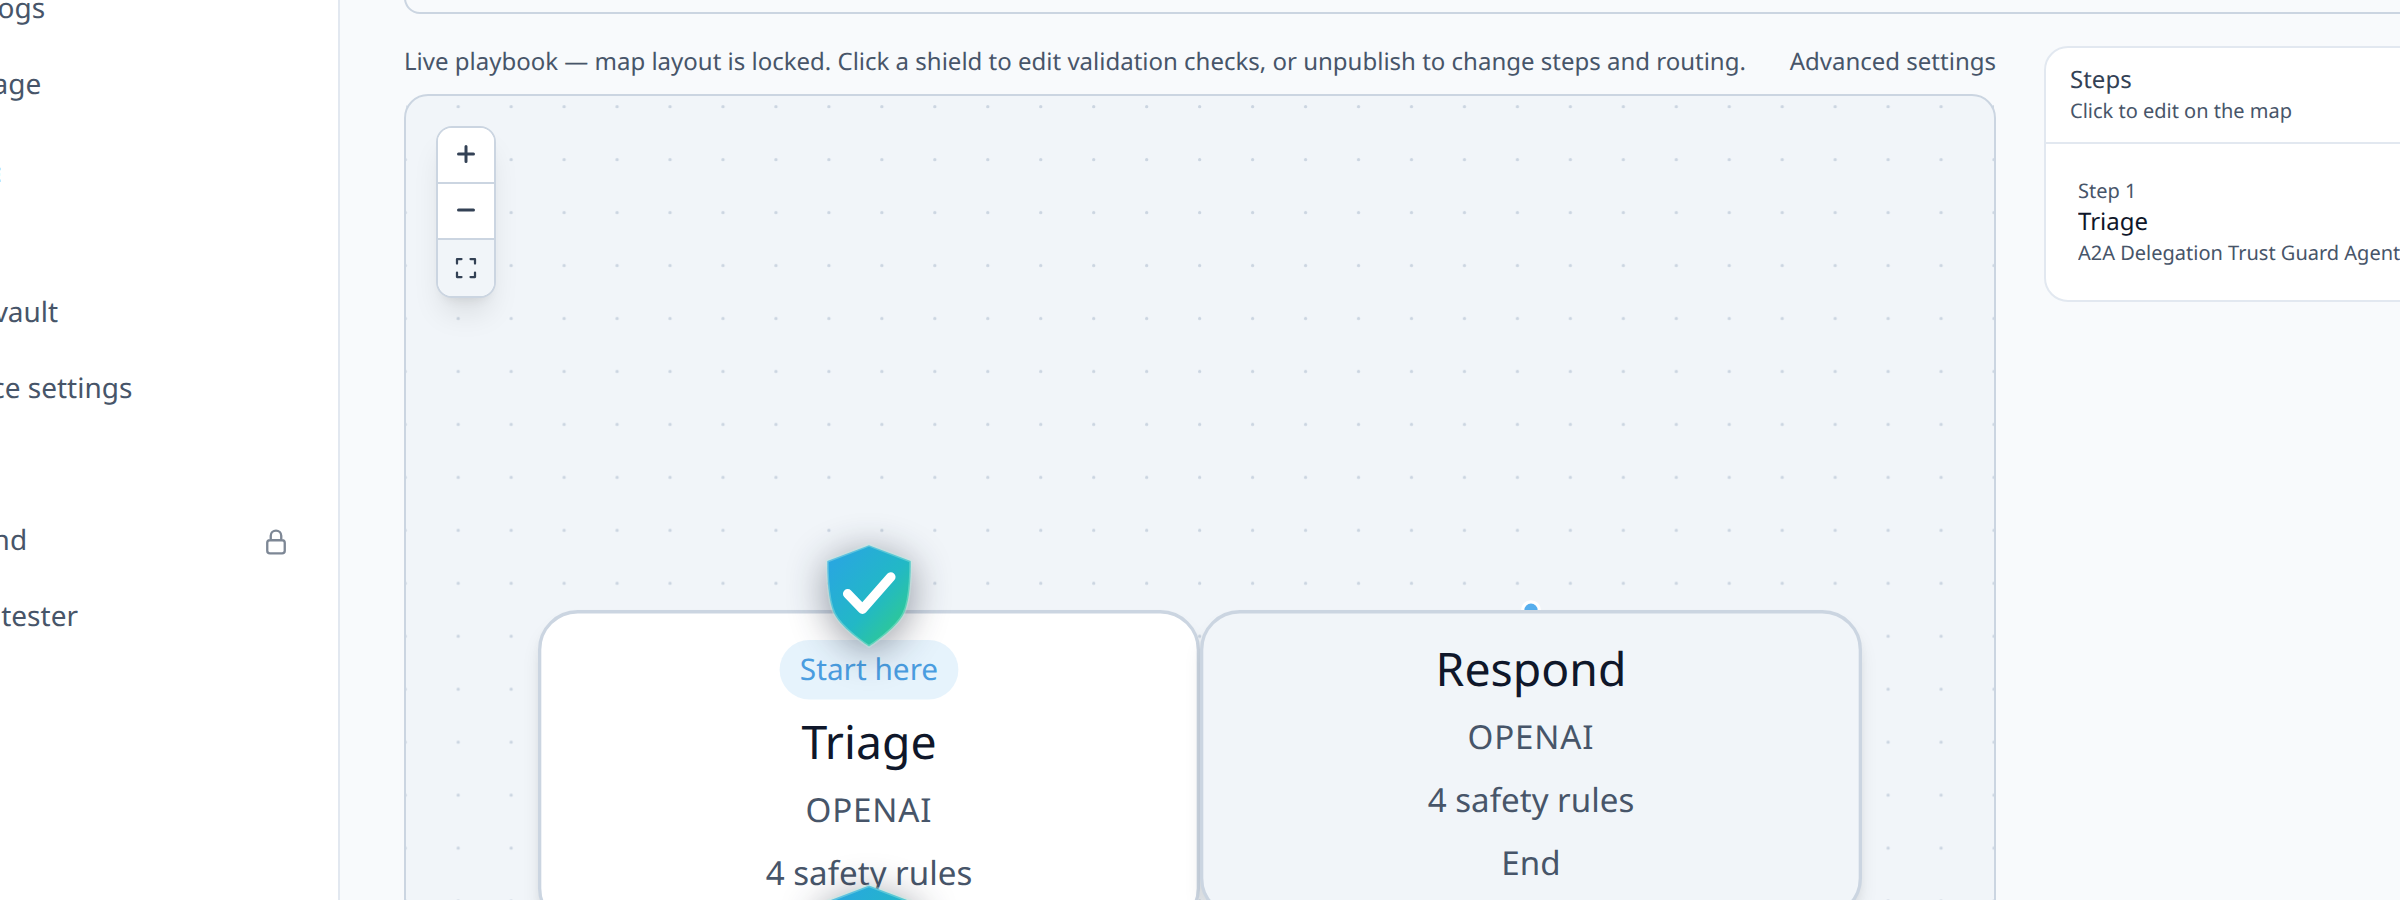
Step 8: Use Map view once the chain has more than three steps
As chains grow, switch to Map view for a clearer visual layout. Storyboard's top-to-bottom list gets harder to scan past three or four steps.
Step 9: Confirm each step's actual assembled input with a real Live run
Simulate's timeline shows routing (which step ran and which route it took), but it doesn't model
input_modeassembly at all, since it never actually builds a real prompt for any step. To see the literal text each step receives onceappend_previousorreplace_with_previousis applied, run a realistic support ticket through Live and open the request's entry in Dashboard → Requests, which shows the real per-step input and output text for a published playbook's execution.
Step 10: Publish once every step's context checks out
Go Live once you've confirmed, with a real request, that every step received what it needed, not just that Simulate's routing preview looked right.
4Diagram / Flow
5Configuration Examples
Playbook steps with distinct input modes:
6Testing and Verification
- Inspect each step's actual received input via a real Live run, not Simulate. The request detail page in Dashboard → Requests shows the real text each agent saw, which is the only reliable way to confirm
input_modebehaved as intended, since Simulate doesn't model input assembly at all. - Try a chain-breaking edge case, like an empty or malformed ticket, through Live and confirm the extraction step's validators catch it before classification runs on garbage data.
- Compare two
input_modesettings on the same step side by side (toggle it, re-run the same message through Live) when you're unsure which produces better results. This is the only way to actually see which one produces a better draft.

- Inspect each step's actual received input via a real Live run, not Simulate. The request detail page in Dashboard → Requests shows the real text each agent saw, which is the only reliable way to confirm
7Troubleshooting
"The second step doesn't seem to know what the first step found." Check that step's
input_mode.pass_throughdeliberately ignores prior output, which is a common accidental cause of a step that "forgot" earlier context."A later step is re-processing the entire original ticket instead of the summarized result." Switch that step to
replace_with_previousif it should only see the prior step's output, notappend_previous(which keeps the original input in context too)."I need one specific field from an earlier step, not its entire output." This is what
custom_templateis for. It lets you define exactly which fields from which steps get assembled into the next step's context, rather than passing everything."My chain's routing looked right in Simulate but production calls feel slower than expected." Simulate doesn't call any model, so it can't warn you about latency. That's expected, not a bug. Each step in a chain is a full sequential LLM call in production, so a three-step chain is, at minimum, three sequential upstream calls' worth of latency. If steps are genuinely independent rather than sequential, consider whether fan-out/merge (see that tutorial) is a better fit than a linear chain.
8Best Practices
- Give every agent in a chain one clear responsibility. A step that both extracts and classifies is harder to validate and debug than two focused steps.
- Default to the smallest context that gets the job done.
replace_with_previouswhen a step only needs the prior result,append_previouswhen it genuinely needs both. Resist reaching for the broadest option out of caution. - Read a real Live execution's actual per-step input, not just your mental model of the configuration, before trusting a chain.
input_modebehavior is simple in principle but easy to misjudge for a specific prompt, and Simulate can't show it to you. - Name steps for their role, not their position (
extract, notstep1). This pays off the moment you insert a new step in the middle of an existing chain. - Keep validators focused per step. A classification step's validators should check the classification is valid, not re-check things the extraction step's validators already covered.
9Advanced Options
Custom template context assembly. For chains where a step needs a specific subset of fields from one or more earlier steps (not "everything" and not "only the last step"),
custom_templateinput mode lets you assemble exactly that context, keeping prompts tight and avoiding token waste on irrelevant history.Branching mid-chain. Once a linear chain feels comfortable, most real workflows add at least one branch. See the fallback-logic tutorial for routing on validation failure, and fan-out/merge for genuinely parallel (not sequential) steps.
Reusing a proven chain as a sub_flow. A chain that works well and is reused across several larger playbooks is a good candidate to extract into its own playbook, called via a
sub_flownode, rather than duplicated inline everywhere it's needed.10Summary and Next Steps
Chaining agents is fundamentally about two decisions per step: what should this step's prompt focus on, and exactly what context does it need to do that well. Splitting a task into focused, single-responsibility agents connected by deliberate
input_modechoices produces chains that are easier to validate, easier to debug, and usually produce better results than one large agent trying to do everything at once.From here, adding fallback logic covers what happens when a step in the chain fails validation instead of just moving forward, and testing branches in sandbox mode goes deeper on building a repeatable test suite for a chain before every publish.