
How to build your first playbook
A single validated agent solves a lot of problems: extract this, classify that, answer with a schema-checked JSON. But real workflows are rarely one step. A support ticket needs to be classified, then routed, then answered, with a validated escalation path if anything looks wrong along the way. A KYC review needs to extract two documents, cross-check them, and hand off to a human on any mismatch. That's what a playbook is for: a multi-step, multi-agent workflow with routing logic and validation gates built in, callable through the exact same API endpoint you already use for single agents.
This tutorial is the fastest path from zero to a published, callable playbook: starting from a template, wiring up the steps, and calling it in production with a single header change. By the end, you'll know:
- What a playbook actually is, and how it differs from calling several agents yourself from your own backend
- How to provision your first playbook from a template in under 15 minutes
- How steps, routes, and node types fit together in the underlying graph
- How to publish a playbook and call it with
X-VG-Flow - What to check before you trust a playbook with real traffic
1How It Works
A playbook is a directed graph stored in ValGuard: a set of steps (mostly agents, each with their own validators) connected by routes that decide what happens next based on what happened at the previous step. When your application calls
/v1/chat/completionswith anX-VG-Flowheader instead ofX-VG-Agent, the engine walks this graph on your behalf, calling each step's agent, running its validators, and following whichever route condition matches, until it reaches a terminal step.The most common node type is
agent: a normal validated LLM call, exactly like a single-agent request, but as one node in a larger graph. Other node types exist for structural needs:terminal(end state),merge(join parallel branches),fan_out(start parallel branches),httpandwebhook(calls outside the LLM), andsub_flow(nest another playbook inside this one).Routes connect steps and carry a condition type that decides when they're taken:
always(unconditional, for simple linear chains),on_validation_pass/on_validation_block/on_validation_warn(branch based on what the previous step's validators decided),json_field_equals/json_field_exists(branch based on the previous step's actual output content),output_contains/output_not_contains, andon_rule_failed/on_rule_passed(branch based on a specific named rule, not just the overall pass/fail). Each route has apriority, so when multiple routes could match, the graph walker picks the highest-priority one that does.This tutorial builds the simplest meaningful shape: a linear chain with one validation-based branch: extract structured data, then route to an approval step on success or a review-handoff step on failure. Once this is comfortable, the chain-agents and fallback-logic tutorials go deeper on multi-step chains and branch design.
2Prerequisites
- A ValGuard account with orchestration enabled for your plan (most plans include multi-agent playbooks; check Pricing if Playbooks is hidden in the Build section of the sidebar; a platform admin needs to enable orchestration in Admin → System configuration on self-hosted setups)
- An API key
- 15-20 minutes and a concrete use case in mind. This tutorial uses invoice processing as the running example, but any two-or-three-step workflow with a validation gate works the same way
3Step-by-Step Setup
Step 1: Open Playbooks in the dashboard
Go to Dashboard → Playbooks (under Build in the sidebar).
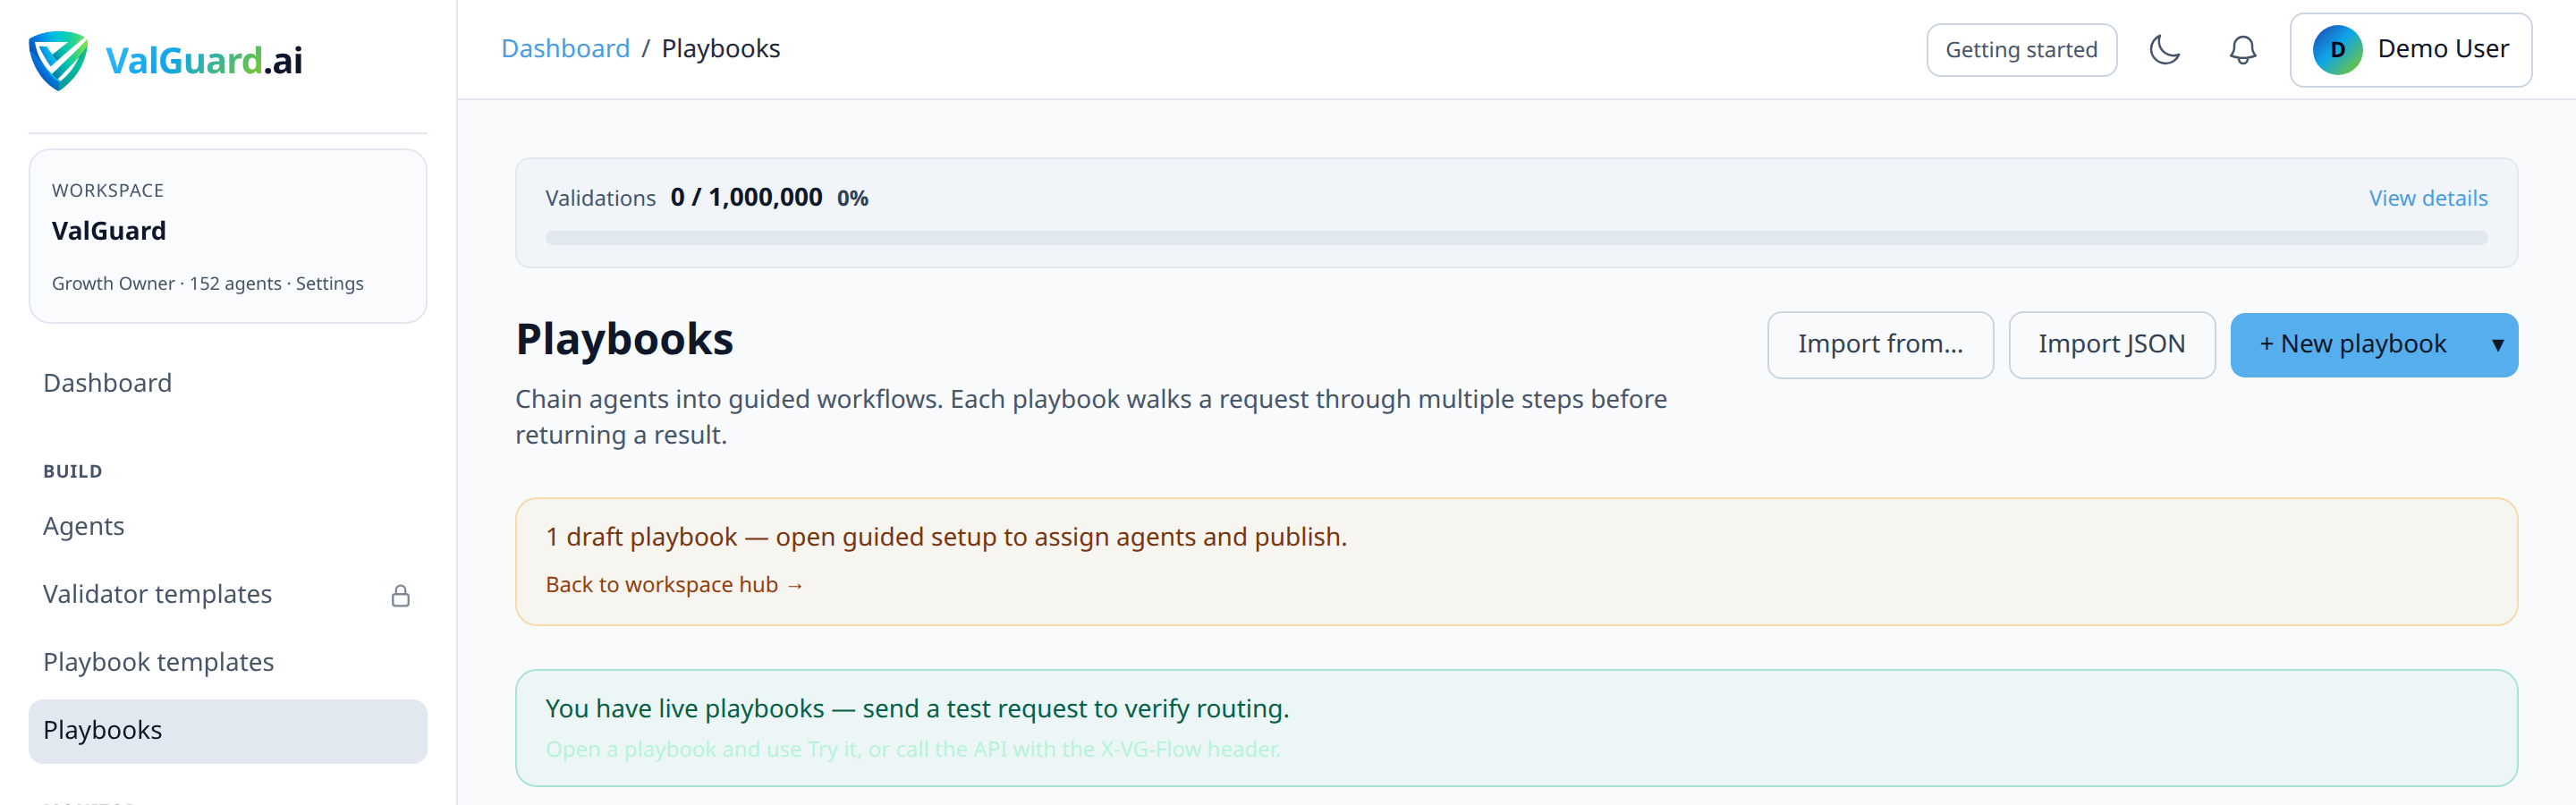
If this is your first playbook, you'll see an empty state with a template picker instead of a graph editor.
Step 2: Pick a starter template
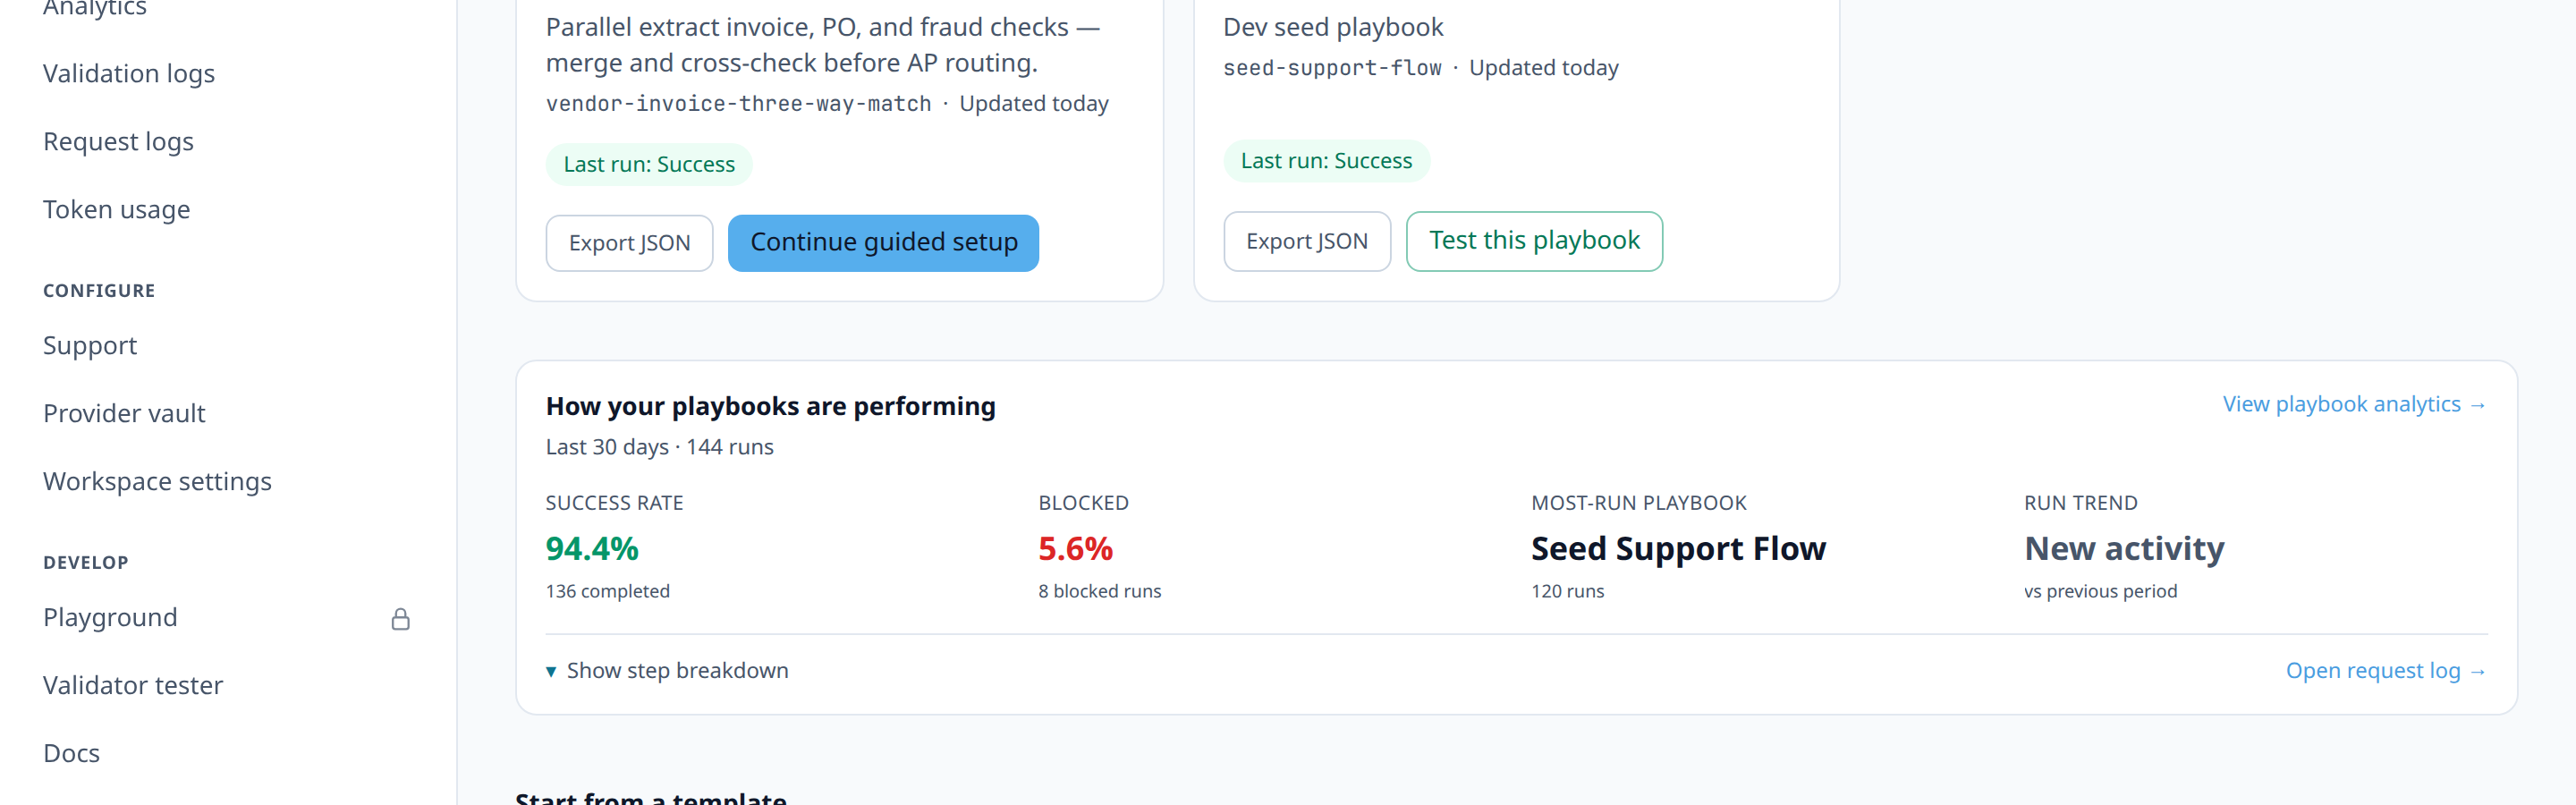
Scroll to Start from a template. Use Search templates by name or use case and the All categories filter if the catalog is long. For this walkthrough, pick Invoice processing. ValGuard ships with dozens of playbook templates (KYC document review, ticket routing, support automation, refund handling, and many more); you can also browse the same catalog from Playbook templates in the sidebar.
Step 3: Let the wizard create or map agents
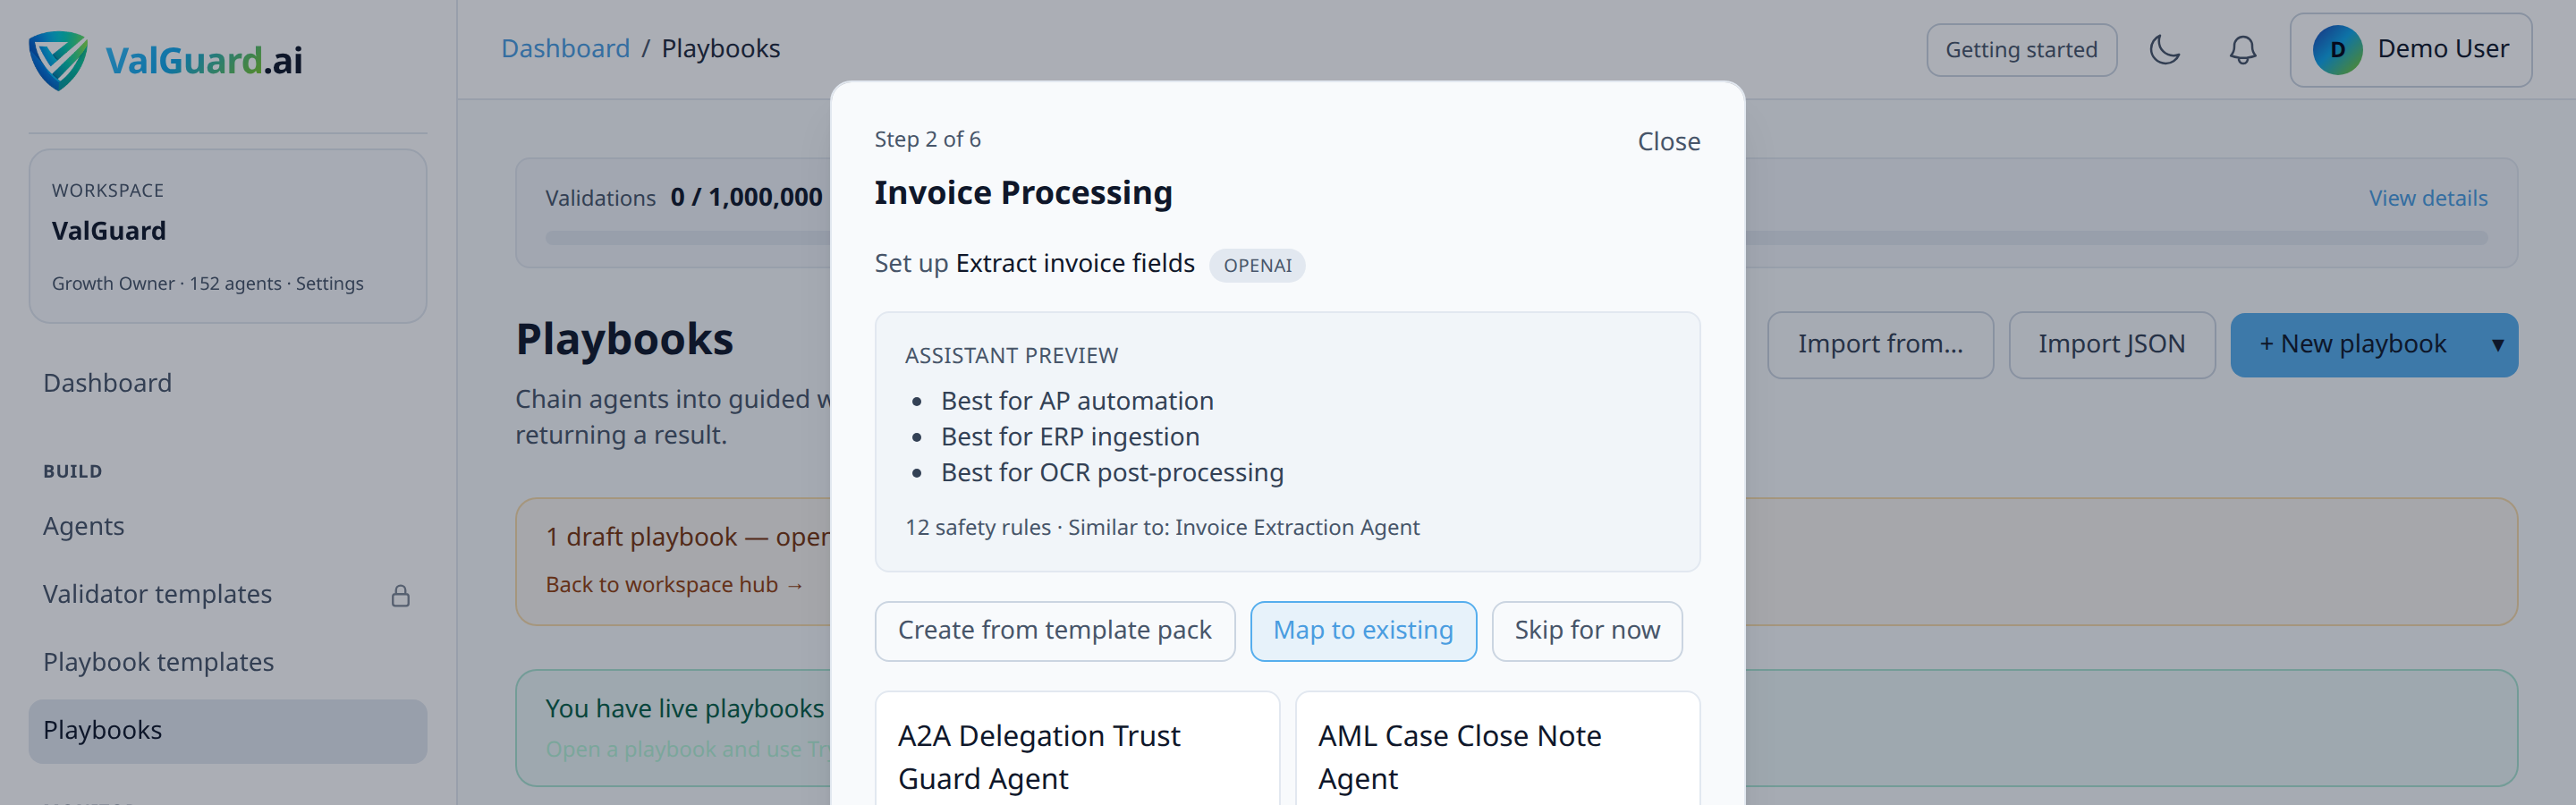
The template wizard needs an agent for each step. If you have no existing agents, it creates draft ones with sensible default validators for that role. If you already have an agent that fits a step (say, an existing invoice-extraction agent), use Map to existing instead of creating a duplicate. The wizard shows you a diff so you know exactly what changes.
Step 4: Review the generated graph
Once the wizard finishes, you land in the playbook editor with a draft graph already built, typically in Storyboard view for a template this simple (a straight chain plus one branch).
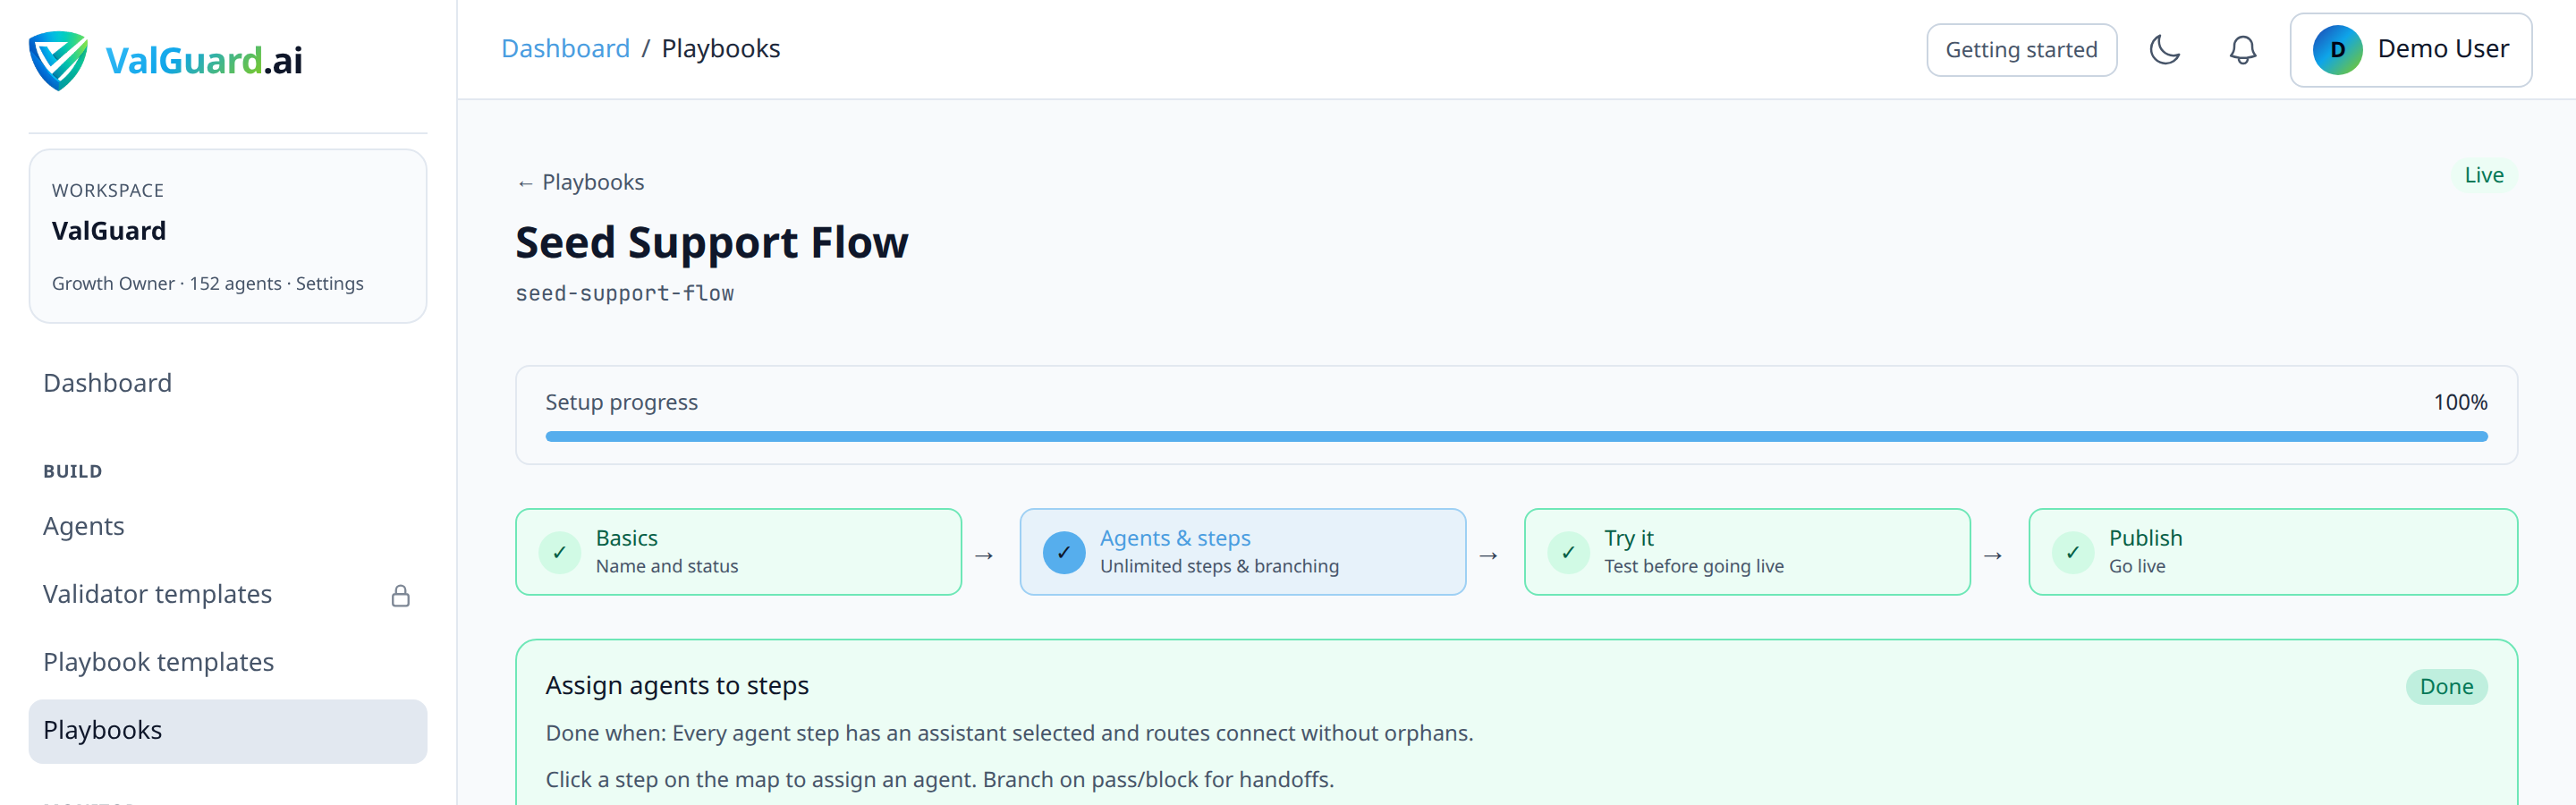
Storyboard view reads top-to-bottom like a flowchart description; Map view (a toggle at the top of the editor) shows the same graph as connected nodes, which becomes more useful once you add parallel branches or fan-out later.
Step 5: Fix any unassigned steps
Every step needs an assigned agent before you can publish. If the wizard skipped a step (for example, an optional fraud-check node you didn't map), assign an agent to it now or delete it from the graph if you don't need it for your first version. Unmapped steps show a red Assign agent badge in Storyboard view.
Step 6: Check the route conditions
Open the branch after your validation step and confirm the two routes make sense: one for
on_validation_passleading to approval, one foron_validation_blockleading to review-handoff.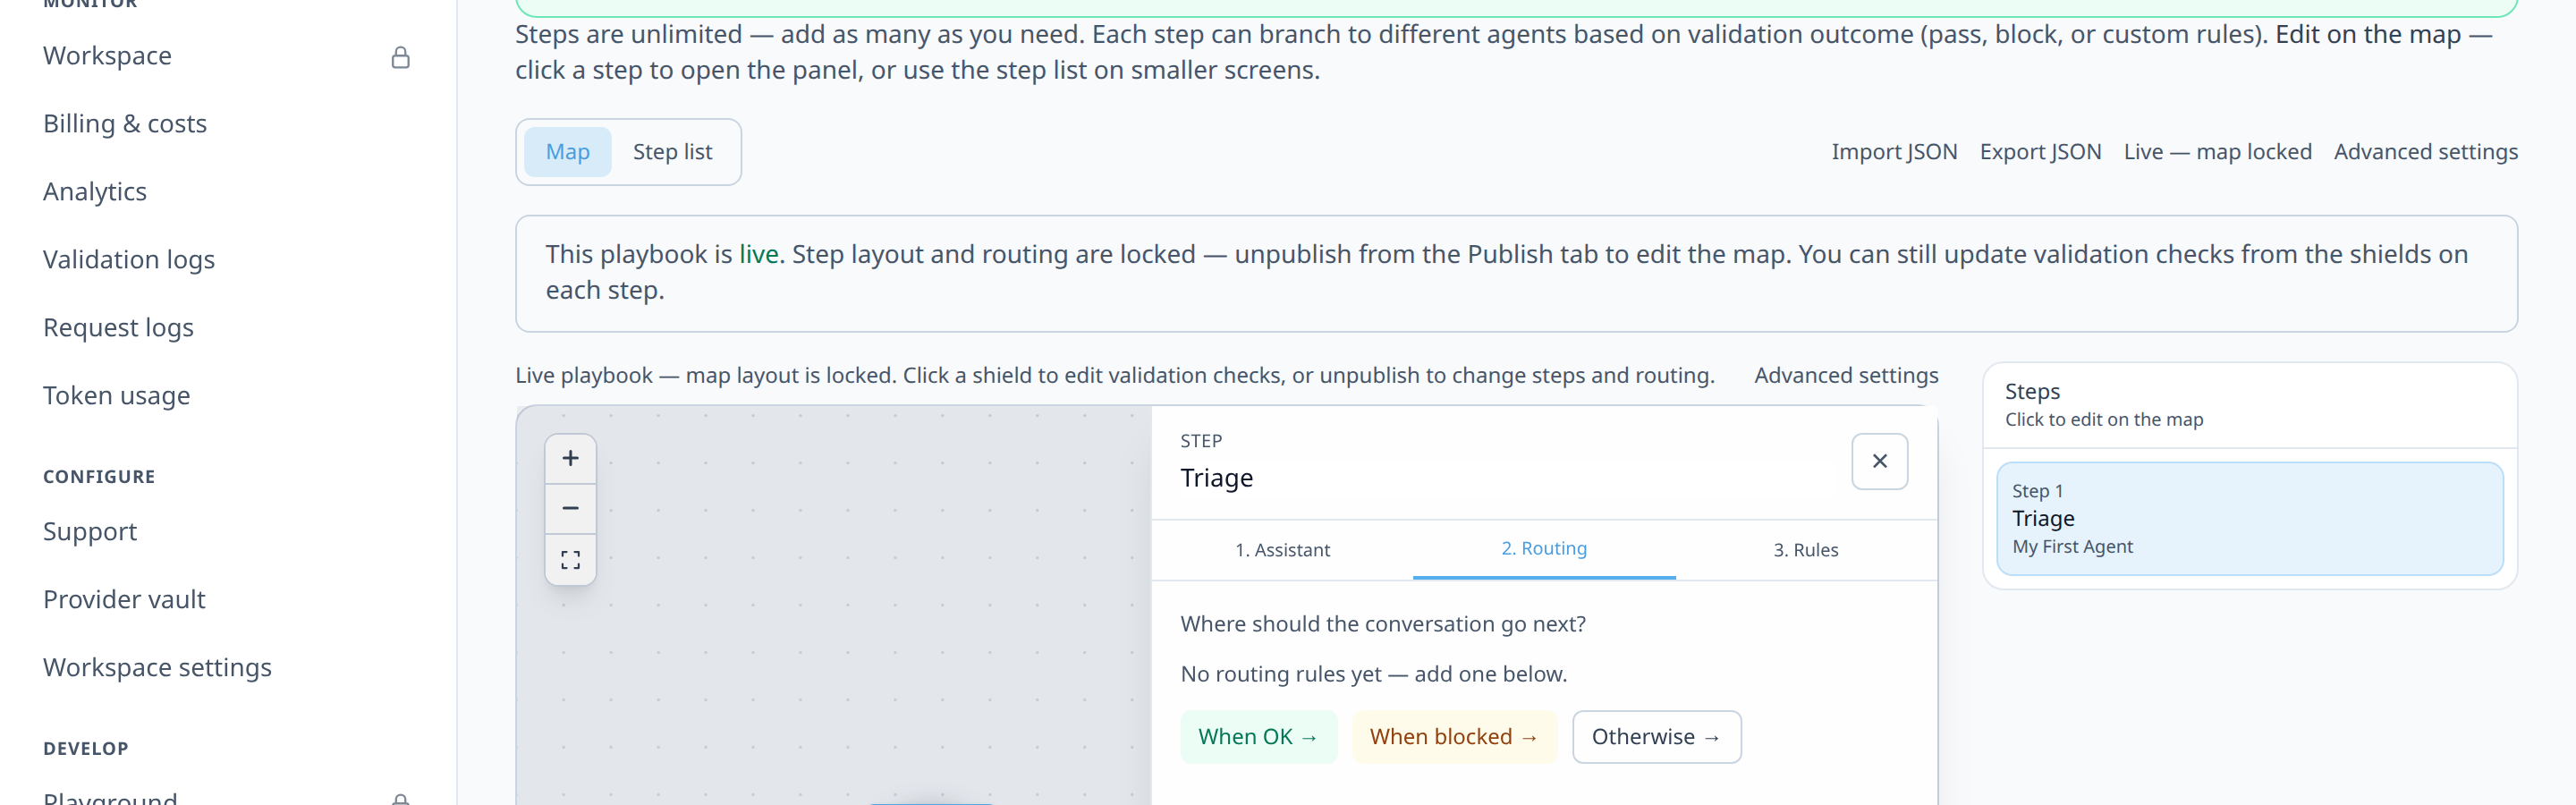
Step 7: Test in Simulate before publishing
Before going live, use the Try it → Simulate panel to preview the graph's routing. Simulate never calls a real agent or validator. It's a free, client-side walk of the graph, where you declare each agent step's outcome (Pass, Block, or Warn) via Advanced per-agent, and Simulate shows you which route that produces. It doesn't count against your monthly request quota, since nothing is actually executed.
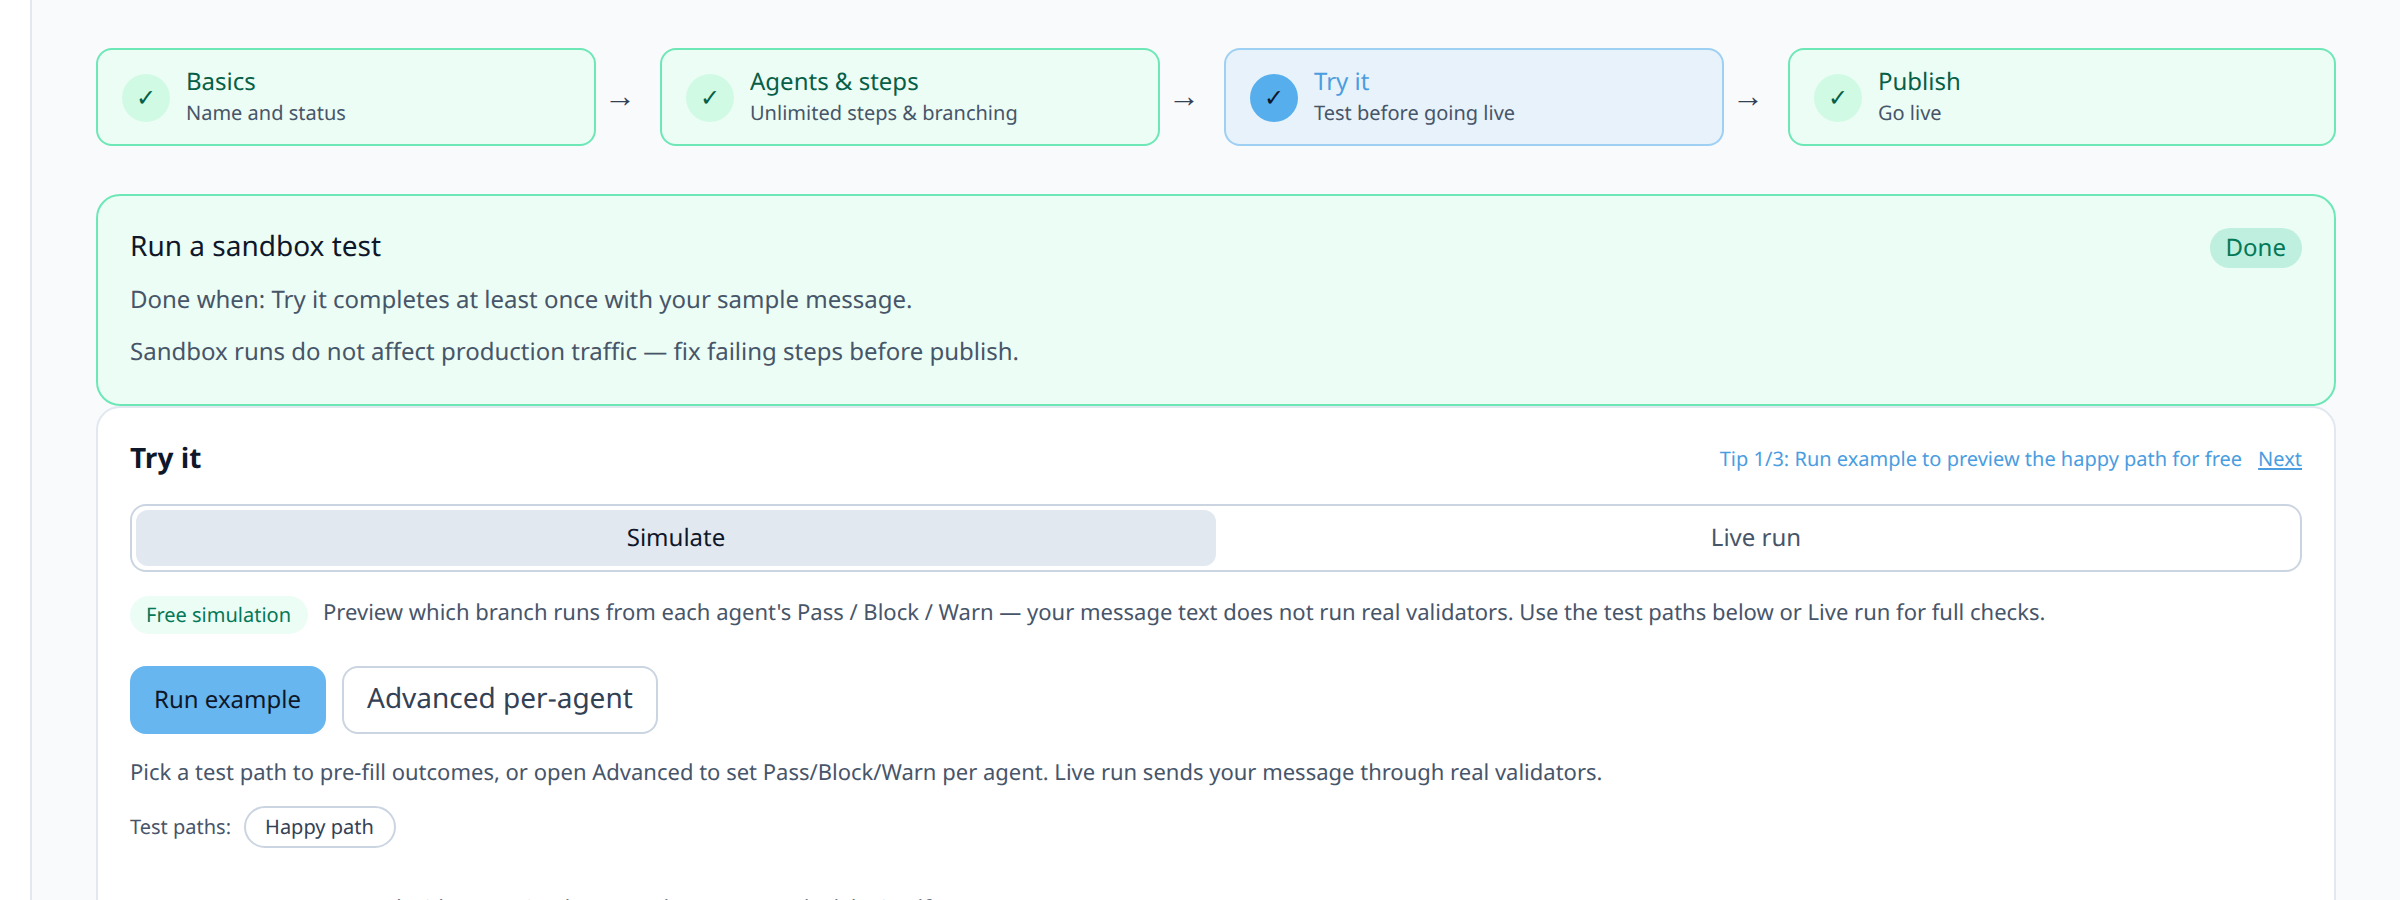
Run at least one scenario where you declare the validation step as Pass and one where you declare it Block, and confirm the graph takes the branch you expect in both cases.
Step 8: Publish with Go Live
Once Simulate confirms the graph behaves correctly, open the publish panel and click Go Live.
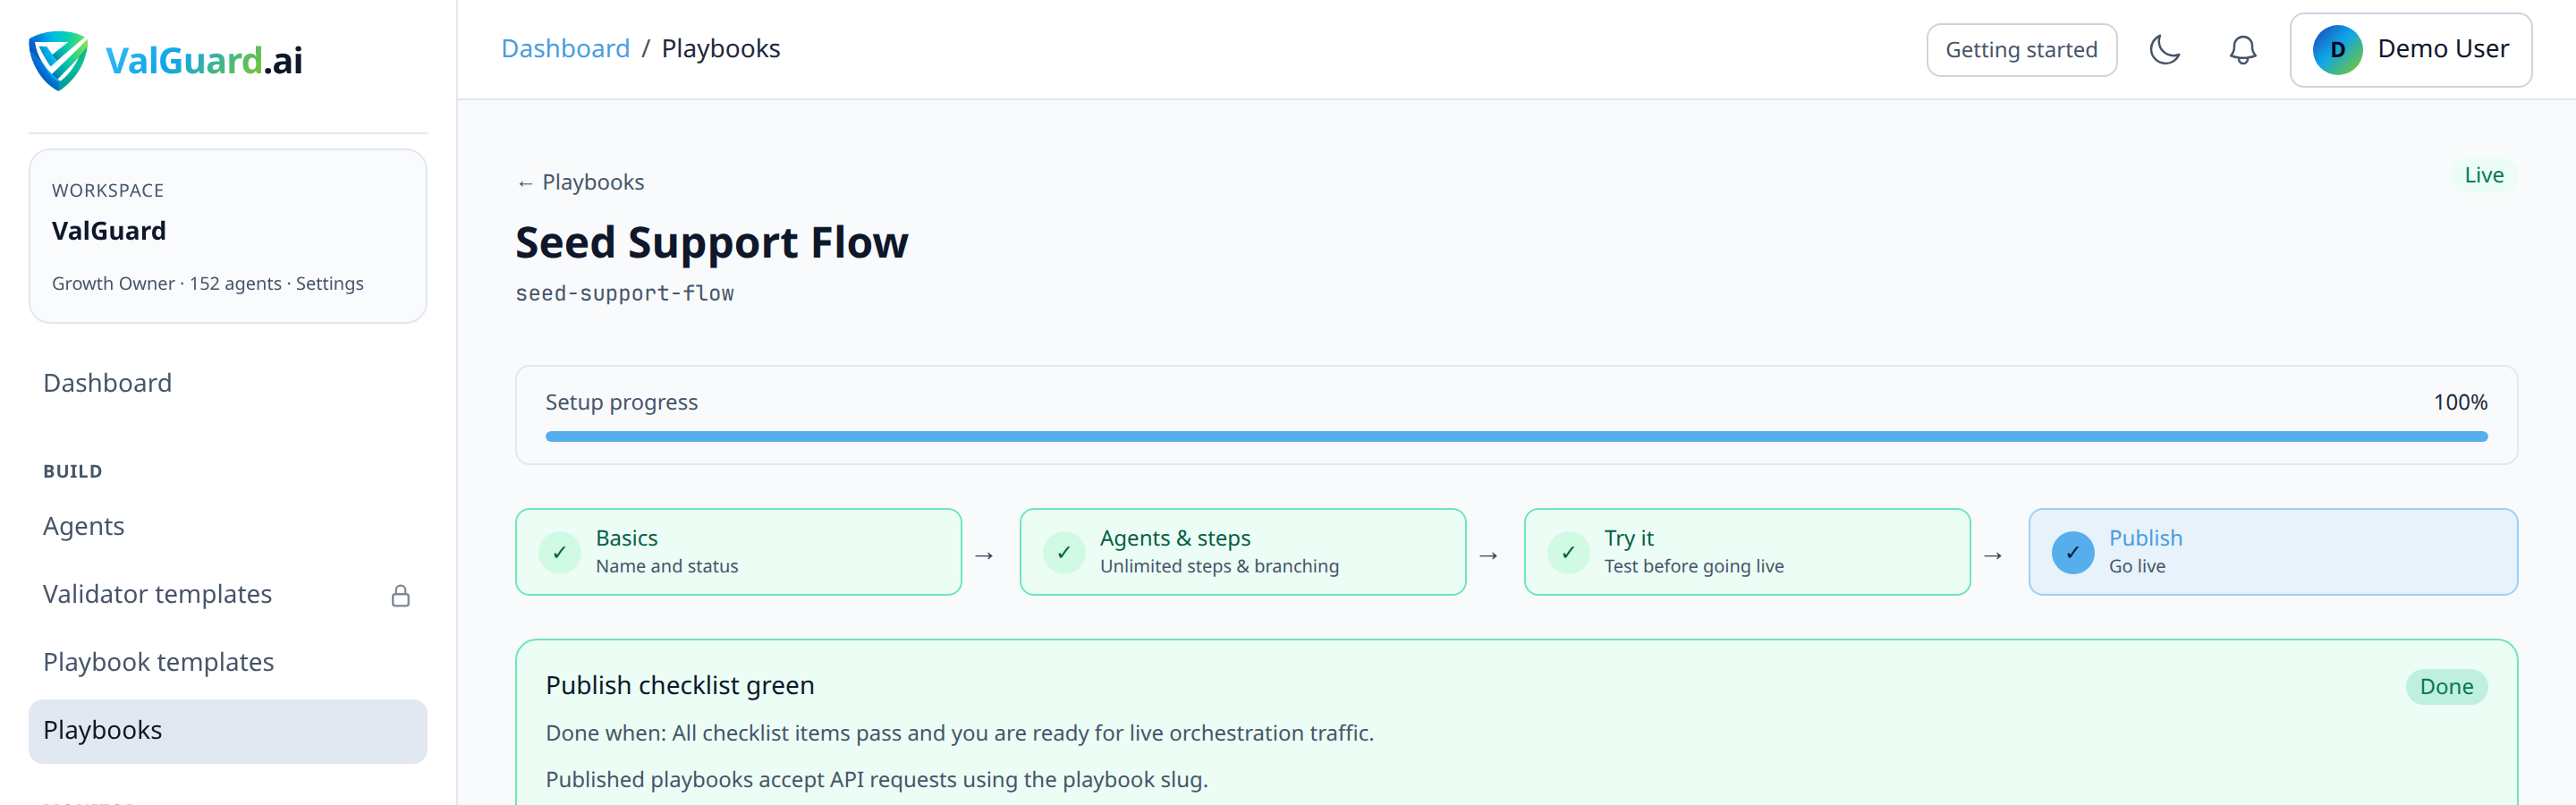
Step 9: Call it from your application with X-VG-Flow
Production calls use the playbook's slug in the
X-VG-Flowheader. Never combine this withX-VG-Agenton the same request; they're mutually exclusive targets.curl -si "$VG_PROXY/v1/chat/completions" \ -H "Authorization: Bearer $VG_API_KEY" \ -H "X-VG-Flow: invoice-processing" \ -H "Content-Type: application/json" \ -d '{"model":"openai/gpt-4o-mini","messages":[{"role":"user","content":"Process this invoice: Invoice #4471, Acme Supplies, $1,240.00, due 2026-08-01"}]}' ``` ### Step 10: Confirm the response shows the playbook path Successful responses include orchestration-specific headers showing which steps actually ran. ``` X-VG-Orchestration-Path: extract_invoice > validate_totals > approve X-VG-Target-Type: playbook4Diagram / Flow
5Configuration Examples
Simplified orchestration template shape (what the wizard generates under the hood):
id: invoice-processing display_name: Invoice Processing required_agents: - step_key: extract_invoice role_label: Extract invoice fields template_slug: invoice_extraction_agent suggested_agent_slug: invoice-extract - step_key: validate_totals role_label: Validate totals and required fields template_slug: numeric_consistency_agent suggested_agent_slug: invoice-validate graph: entry_step_key: extract_invoice steps: - step_key: extract_invoice node_type: agent agent_slug: "{{extract_invoice}}" input_mode: pass_through - step_key: validate_totals node_type: agent agent_slug: "{{validate_totals}}" input_mode: append_previous - step_key: approve node_type: terminal - step_key: review_handoff node_type: terminal routes: - from_step_key: validate_totals to_step_key: approve condition_type: on_validation_pass priority: 10 - from_step_key: validate_totals to_step_key: review_handoff condition_type: on_validation_block priority: 20 ``` **curl call with a message designed to fail validation:** ```bash curl -si "$VG_PROXY/v1/chat/completions" \ -H "Authorization: Bearer $VG_API_KEY" \ -H "X-VG-Flow: invoice-processing" \ -H "Content-Type: application/json" \ -d '{"model":"openai/gpt-4o-mini","messages":[{"role":"user","content":"Process this invoice: totally illegible scan, no amounts visible"}]}' ``` ``` X-VG-Orchestration-Path: extract_invoice > validate_totals > review_handoff6Testing and Verification
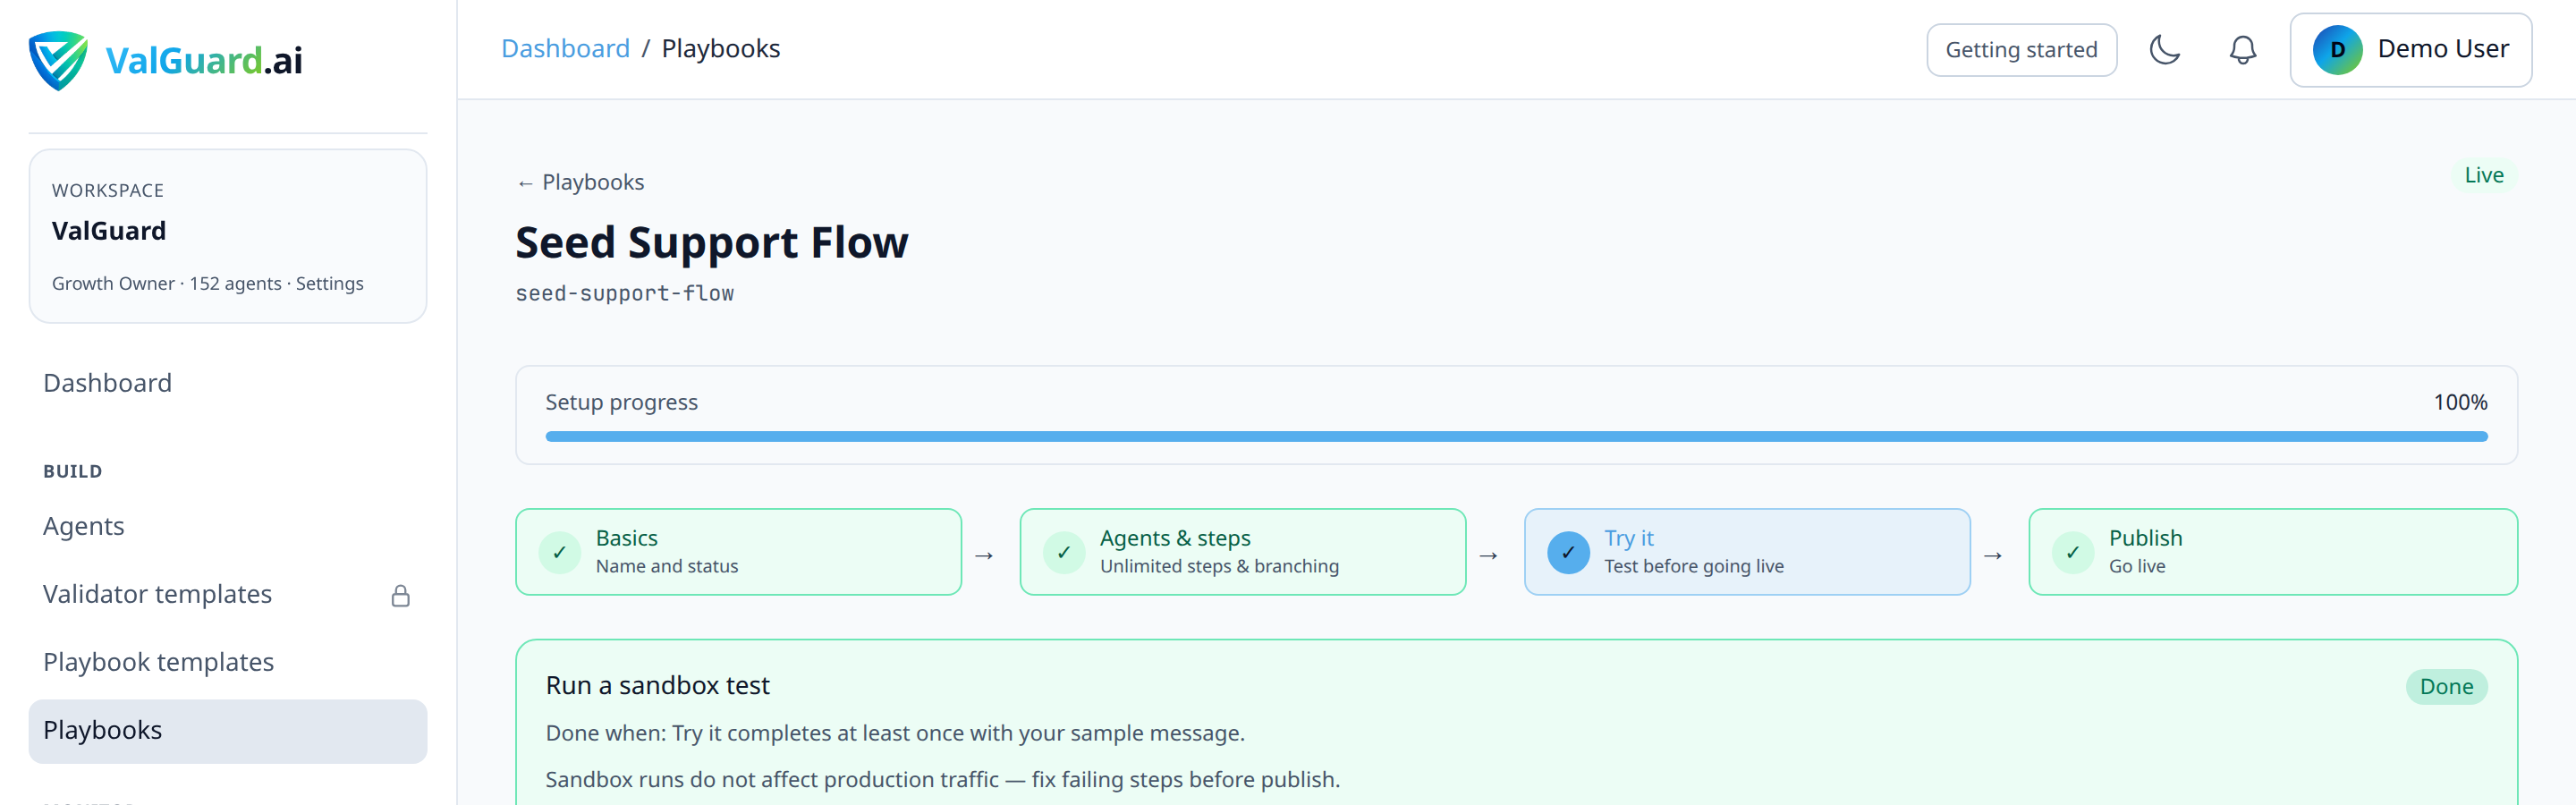
- Simulate happy path. Declare a Pass outcome on the validation step and confirm the timeline shows every step you expect, ending at your success terminal.
- Simulate failure path. Declare a Block outcome on the same step and confirm the graph takes the
review_handoffbranch, not the approval one. - One real Live run before announcing it. Simulate never calls a real agent, validator, or upstream LLM. It only proves the graph's routing logic. Run one real Live execution with an actual malformed message to confirm your validators genuinely produce a block in that case, not just that the graph would route correctly if they did.
7Troubleshooting
"Go Live is disabled / greyed out." Every step needs an assigned agent, and the graph needs at least one path from the entry step to a terminal step. Check the Storyboard view for any red "Assign agent" badges first.
"The playbook always takes the same branch regardless of input." Check route
priorityvalues. If two routes from the same step have condition types that could both technically apply, the lower-priority-number route (evaluated first) wins. Also confirm you're not accidentally usingalwayson a route that should be conditional."X-VG-Flow returns a 404 or 'target not found' error." Confirm the slug in the header exactly matches the playbook's slug (visible in the publish panel and the dashboard URL), and that the playbook is actually published (Go Live), not still a draft. Drafts are only reachable through Simulate, not real API calls.
"I sent X-VG-Agent and X-VG-Flow together and got an error." These headers are mutually exclusive. Decide per request whether you're calling a single agent or a playbook, and send only the corresponding header.
"A step's output doesn't seem to reach the next step correctly." Check that step's
input_mode.pass_throughsends the original playbook input,append_previousadds the prior step's output to the context, andreplace_with_previoususes only the prior step's output. A common mistake is leaving a step onpass_throughwhen it actually needs the previous step's extracted data viaappend_previous.8Best Practices
- Start from a template close to your use case, even if you'll customize heavily. The wizard's default validator packs per role are a faster starting point than building an agent from scratch.
- Keep your first playbook simple. A linear chain with one validation branch is enough to learn the publish/call cycle; add fan-out, repair loops, and sub-flows once this pattern feels routine.
- Always declare both a pass-case and a fail-case in Simulate before publishing, then confirm both with a real Live run. A graph whose routes have never been exercised, or whose validators have never actually been proven to fail on bad input, hasn't actually been tested.
- Name step keys descriptively, not
step1/step2.extract_invoice,validate_totals,review_handoffmake the graph self-documenting for the next person (including future you) who opens it. - Map to existing agents when you have them, rather than letting the wizard create near-duplicates. Fewer agents to maintain, and validator changes apply everywhere that agent is used.
9Advanced Options
Branching on extracted field values, not just validation pass/fail. Once the basic pattern is comfortable,
json_field_equalsandjson_field_existsroute conditions let you branch on the actual content of a step's output, for example, routing a support ticket to different downstream agents based on a classifiedcategoryfield, not just whether the classification step's validators passed.Nesting playbooks with sub_flow. If one part of your workflow is complex enough to deserve independent versioning and testing, a
sub_flownode lets you call another playbook as a single step in this one, useful for a shared KYC sub-flow reused across several onboarding playbooks rather than duplicated in each.Community and marketplace templates. Beyond the built-in template catalog, the playbook marketplace includes community-published templates for more specific use cases. Worth browsing before building a workflow from scratch, since someone may have already solved a very similar problem.
10Summary and Next Steps
Building your first playbook is mostly about the publish cycle, not the graph complexity: pick a template, let the wizard scaffold agents, fix any unassigned steps, verify both the pass and fail routes in Simulate (and confirm them with a real Live run), and publish with Go Live. Everything else (fan-out, repair loops, sub-flows) is the same underlying primitives (steps, routes, node types) applied to more ambitious shapes.
From here, chaining agents goes deeper on multi-step input passing between steps, and testing branches in sandbox mode covers Simulate in more depth, including how to build a reusable library of test fixtures for a graph before every publish, not just the first one.