
How to deploy your first agent
Building an agent in the dashboard and pointing real production traffic at it are two different milestones, and the gap between them is where most of the actual risk lives. This tutorial is the checklist for that gap: validating in shadow mode against real (or realistic) traffic, issuing a dedicated production API key, wiring your application to the API, and finally enabling enforcement, in that order, deliberately, rather than flipping everything on at once and hoping.
By the end, you'll know:
- Why deployment order matters: validate before you enforce, not the other way around
- How to issue and manage environment-specific API keys correctly
- How to point your application at the API with the right headers for either a single agent or a playbook
- Exactly what to watch in the first hours after enabling enforcement
- How to roll back quickly if something looks wrong
1How It Works
"Deploying" an agent in ValGuard doesn't mean provisioning new infrastructure. The gateway is already running and already serving other agents in your organization. Deploying your agent means three things happening in the right order: your validators have been observed against realistic traffic (shadow mode), your application has a dedicated credential pointed at the right target, and enforcement is turned on only once you trust the first two.
The critical ordering principle, covered in full in the shadow-mode-rollout tutorial: validate before you enforce. An agent in shadow mode runs every configured validator against every request but never blocks anything. You get real would-block data with zero risk, and you flip enforcement on only once that data looks acceptable. Deploying with enforcement on from the very first request means your first production traffic is your testing, which is a bet you don't need to make.
API keys are scoped per project, and separate keys per environment (development, staging, production) are a basic hygiene practice. A leaked development key shouldn't be able to affect production traffic, and revoking one environment's access shouldn't require touching the others.
2Prerequisites
- An agent with validators configured (see the validate-llm-output tutorial if you haven't attached any yet)
- Familiarity with shadow mode's mechanics (see the shadow-mode-rollout tutorial). This tutorial assumes you understand why the ordering matters and focuses on the deployment checklist itself
- Access to Dashboard → Billing & costs → API keys
- A staging environment or realistic test traffic source, if you want to validate in shadow before real users ever see the agent
3Step-by-Step Setup
Step 1: Confirm shadow mode is enabled before anything else
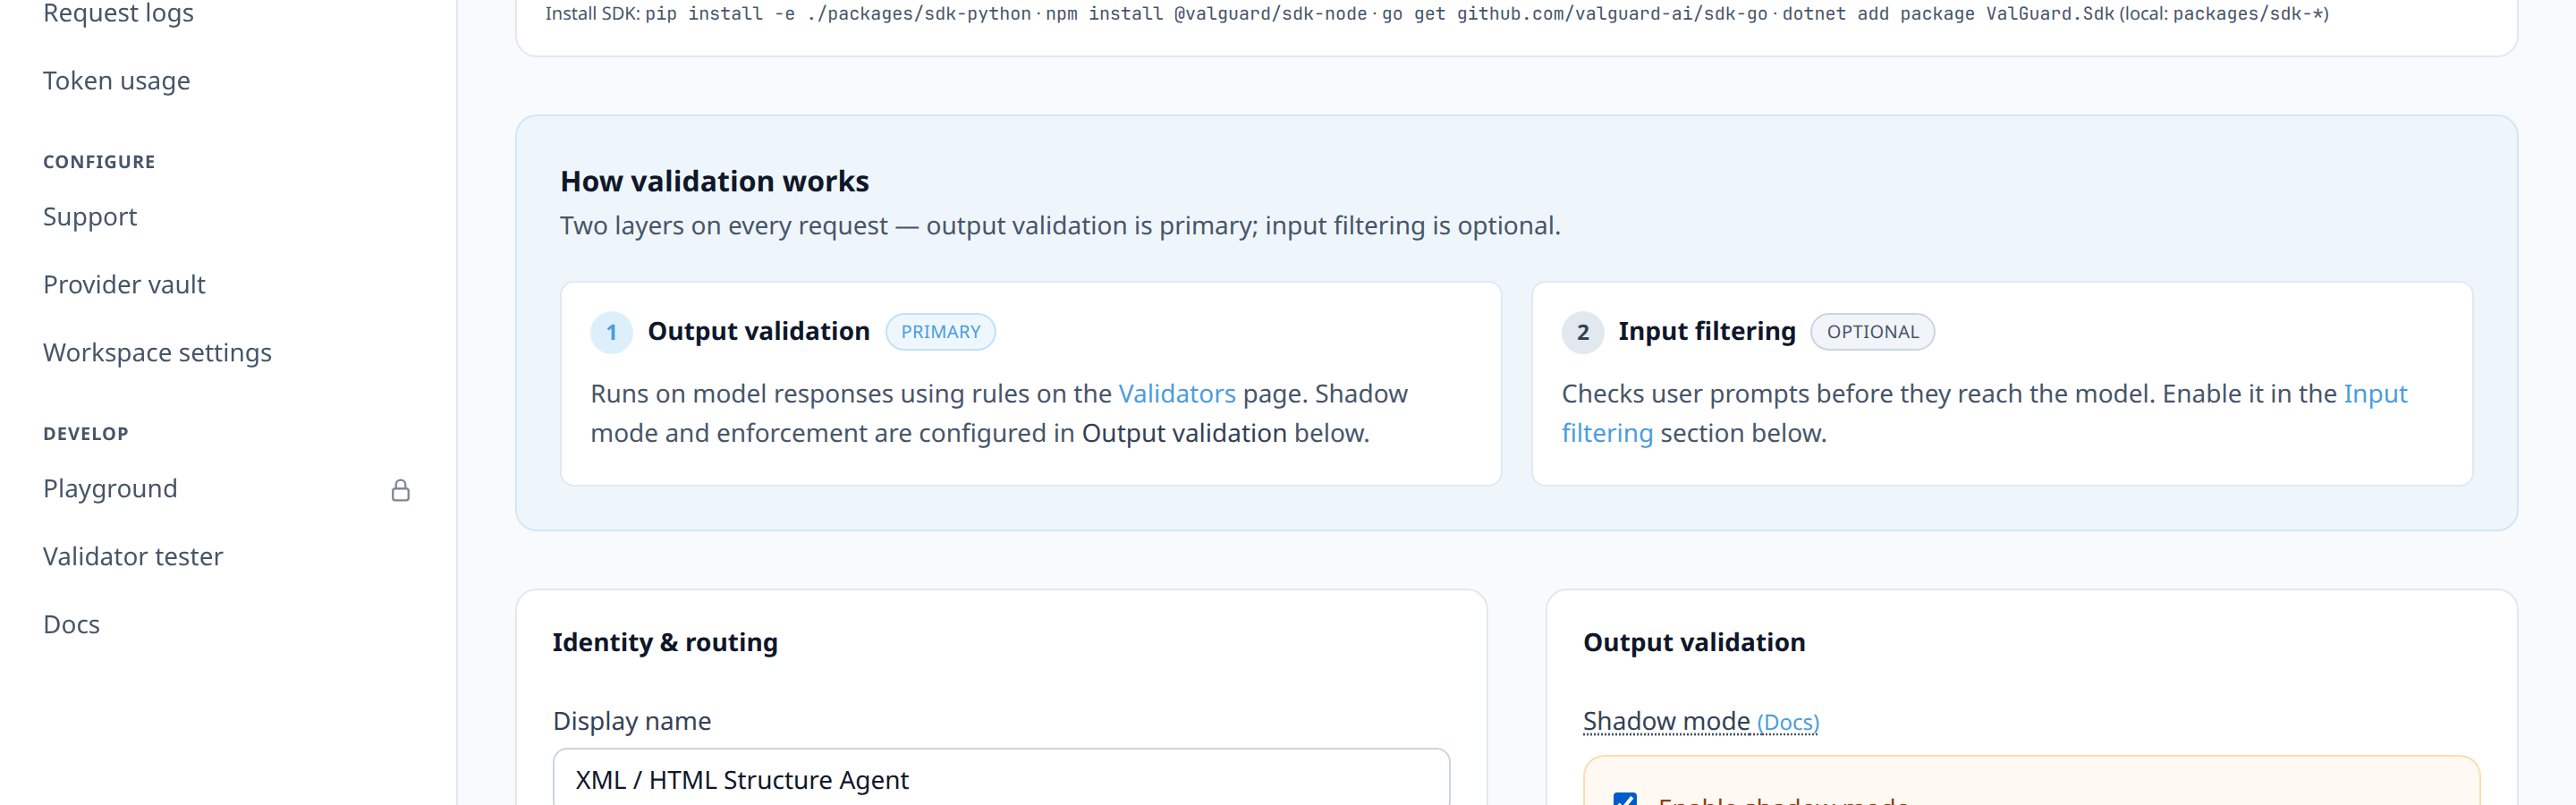
Open the agent's Settings and confirm Shadow mode is on. If you're deploying a brand-new agent with no existing traffic, this still matters. You'll route your earliest real or realistic traffic through it in shadow before ever trusting it to block anything.
Step 2: Route realistic traffic through the agent, still in shadow
If you have a staging environment, point it at the API now, before touching production. If you don't have staging traffic available, plan for a short shadow window against real production traffic immediately after wiring. The key point is that shadow mode makes even production traffic safe to route through before enforcement.
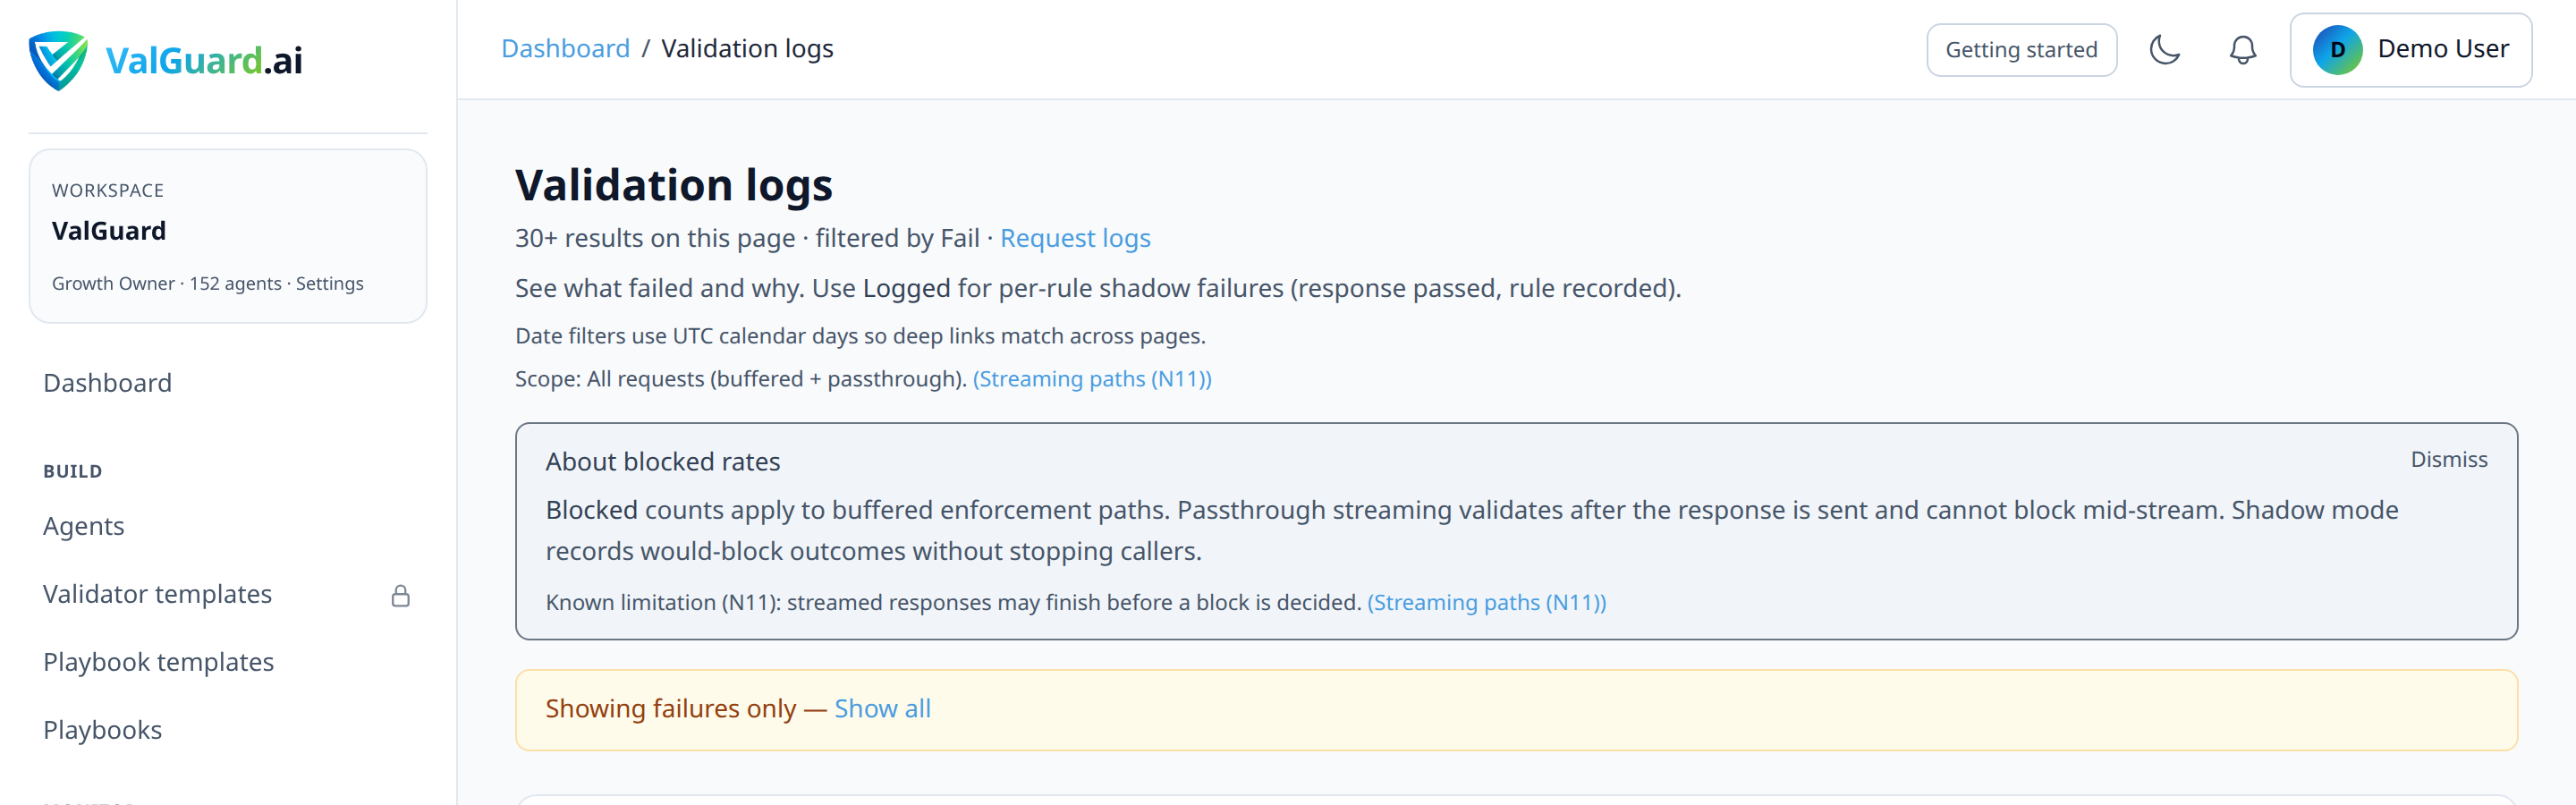
Step 3: Review validation logs for false positives
Give it enough time to accumulate a meaningful sample (see the shadow-mode-rollout tutorial for how long is "enough" for your traffic volume), then review Dashboard → Validation logs for anything that looks like a rule being too strict, rather than catching genuine problems.
Step 4: Create a dedicated production API key
Go to Dashboard → Billing & costs → API keys and issue a new key specifically for this deployment, named clearly (e.g.,
prod-invoice-extraction) rather than reusing a key from another environment or purpose.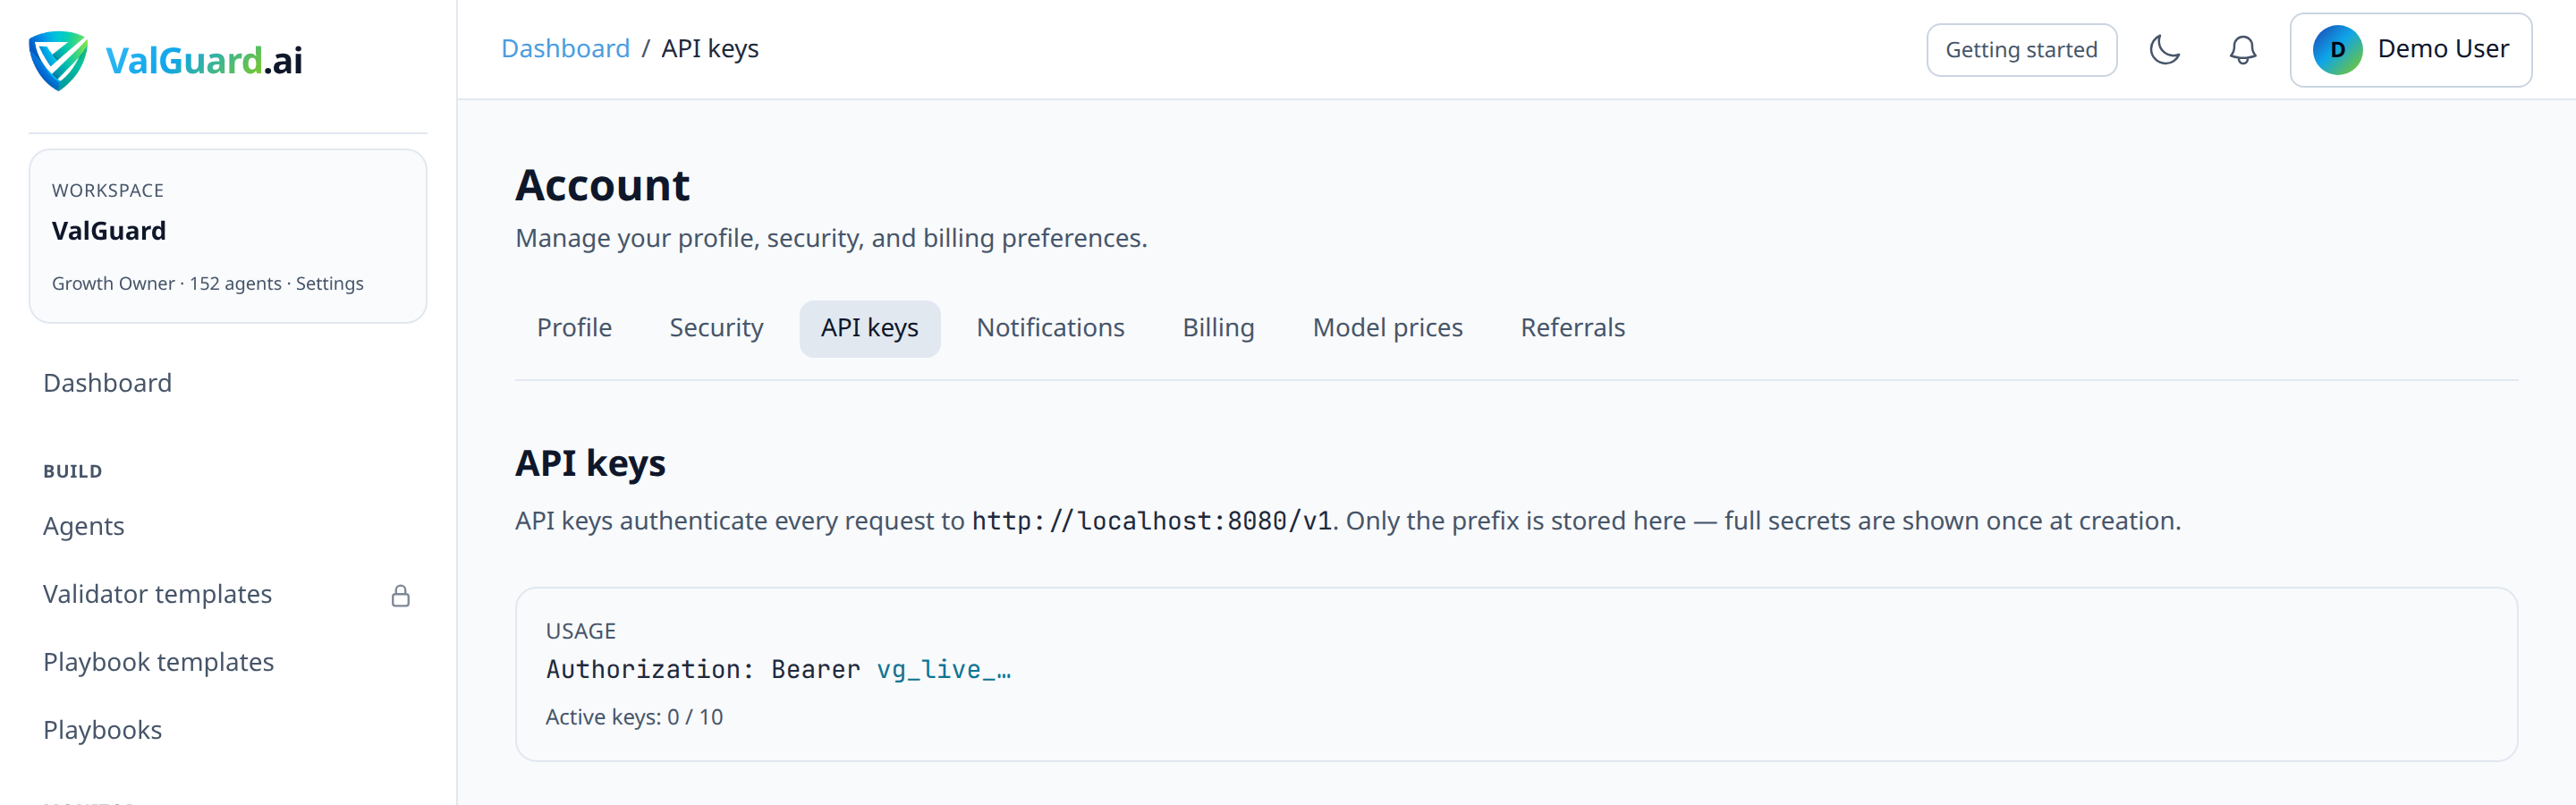
Step 5: Store the key in your application's secret store
Never commit API keys to source control. Use your platform's secret manager (environment variables backed by a proper secrets store, not a checked-in
.envfile) to make the key available to your application at runtime.Step 6: Point your application's base URL at the API
Configure your OpenAI-compatible SDK client with the API URL and the appropriate target header.
// Node.js (same pattern applies to Python, Go, C# SDKs)
const client = new OpenAI({
  apiKey: process.env.VG_API_KEY,
  baseURL: `${process.env.VG_PROXY}/v1`,
  defaultHeaders: { "X-VG-Agent": "invoice-extraction" },
});
For a playbook instead of a single agent, use
X-VG-Flowin place ofX-VG-Agent. Never both on the same request.Step 7: Ship with shadow mode still on
Deploy your application change with the new integration live, but shadow mode still enabled. This means your actual go-live to real users happens with zero risk of an unexpected block, while you continue gathering real production shadow data.
Step 8: Watch real production shadow data
With real users now hitting the agent (still in shadow), watch the would-block rate and specific failure reasons in the dashboard. This is the most representative data you'll get, more so than staging traffic, precisely because it's real.
Step 9: Enable enforcement
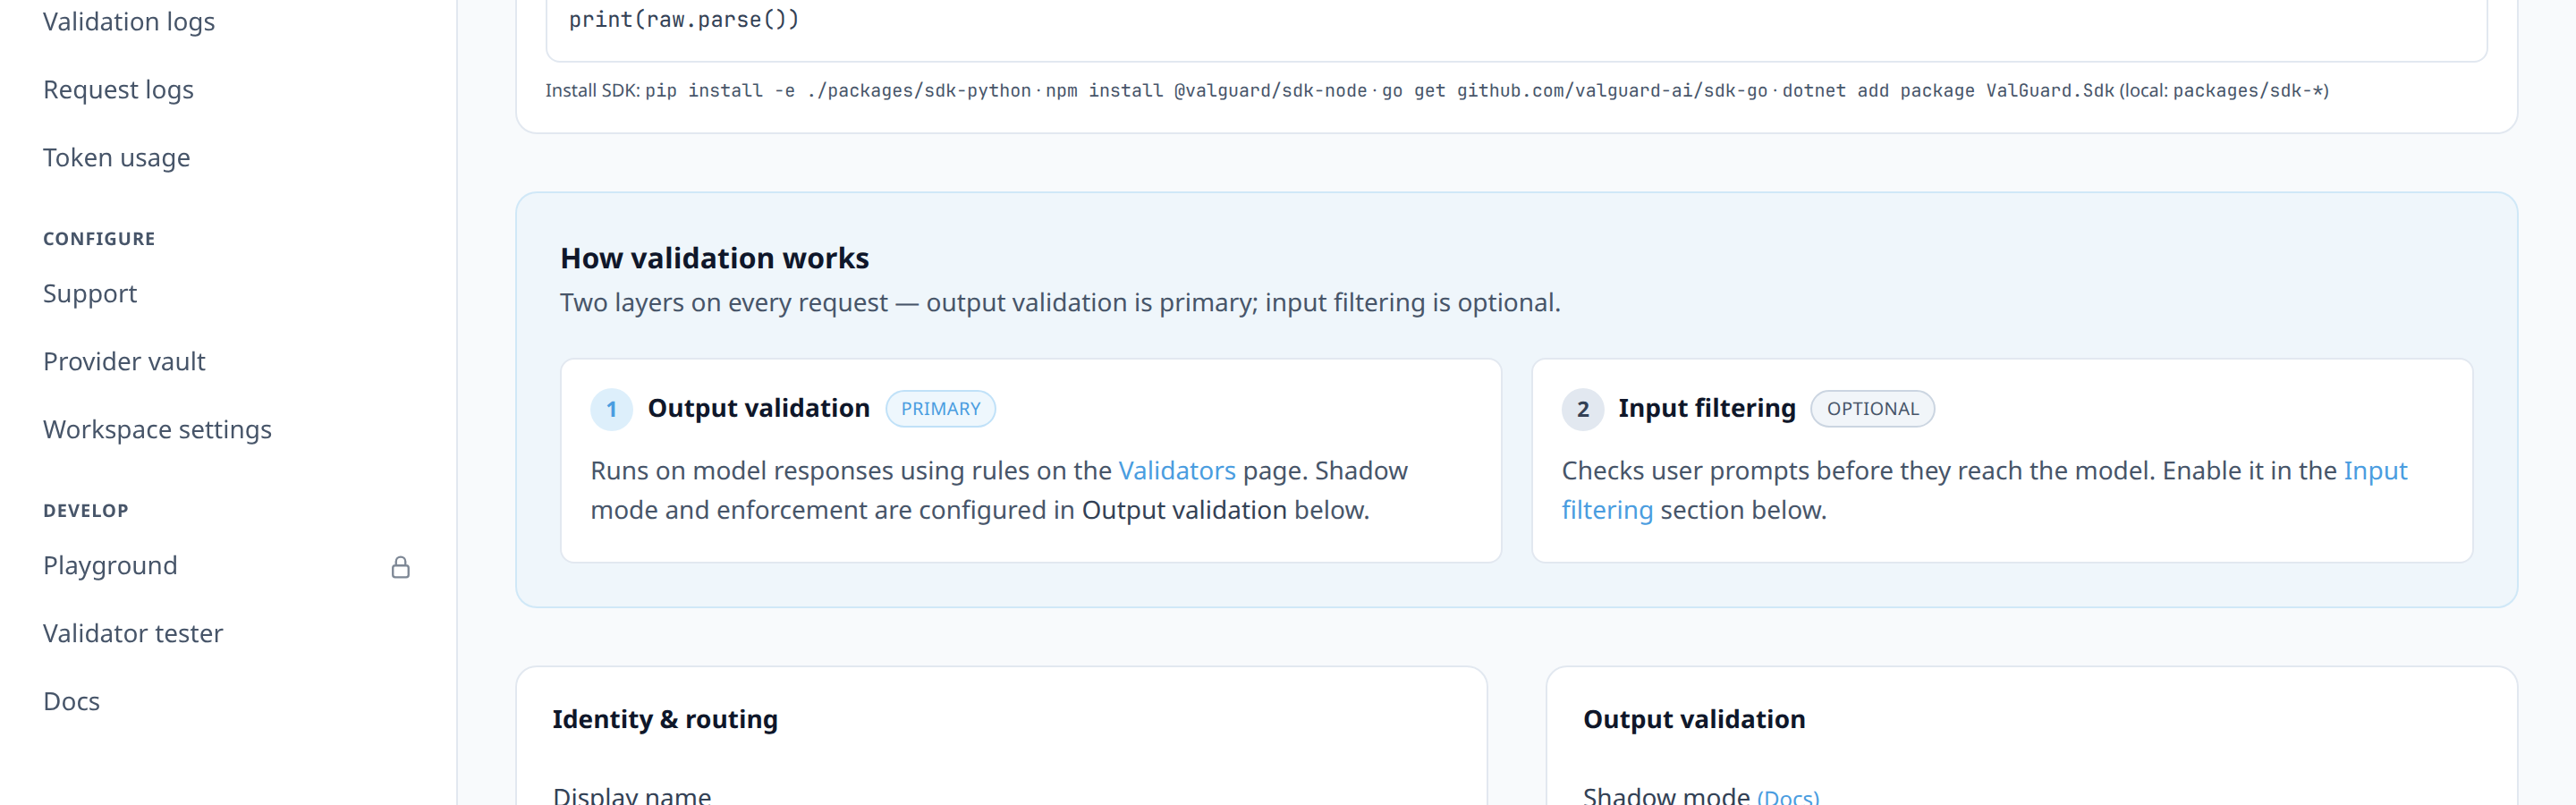
Once the would-block rate and specific failure patterns look acceptable against real production shadow data, open Settings → Output validation and uncheck Enable shadow mode. This is a single checkbox. No application-side changes needed, since the same requests that were shadow-logged now actually enforce.
Step 10: Monitor closely for the first hours, with a rollback plan ready
Watch Dashboard → Request logs and validation logs closely immediately after enabling enforcement. If the real block rate diverges meaningfully from what shadow predicted, re-enable shadow mode immediately. It's a single toggle and takes effect instantly, giving you a fast, safe rollback without needing an application deploy.
4Diagram / Flow
5Configuration Examples
Environment-specific client configuration:
# .env.production (never committed) VG_API_KEY=vg_live_... VG_PROXY=https://api.valguard.example ``` ```javascript const client = new OpenAI({ apiKey: process.env.VG_API_KEY, baseURL: `${process.env.VG_PROXY}/v1`, defaultHeaders: { "X-VG-Agent": "invoice-extraction" }, }); const completion = await client.chat.completions.create({ model: "openai/gpt-4o-mini", messages: [{ role: "user", content: "Extract fields from this invoice..." }], }); ``` **Rollback (single dashboard toggle, no deploy needed):** ``` Agent Settings → Shadow mode → On6Testing and Verification
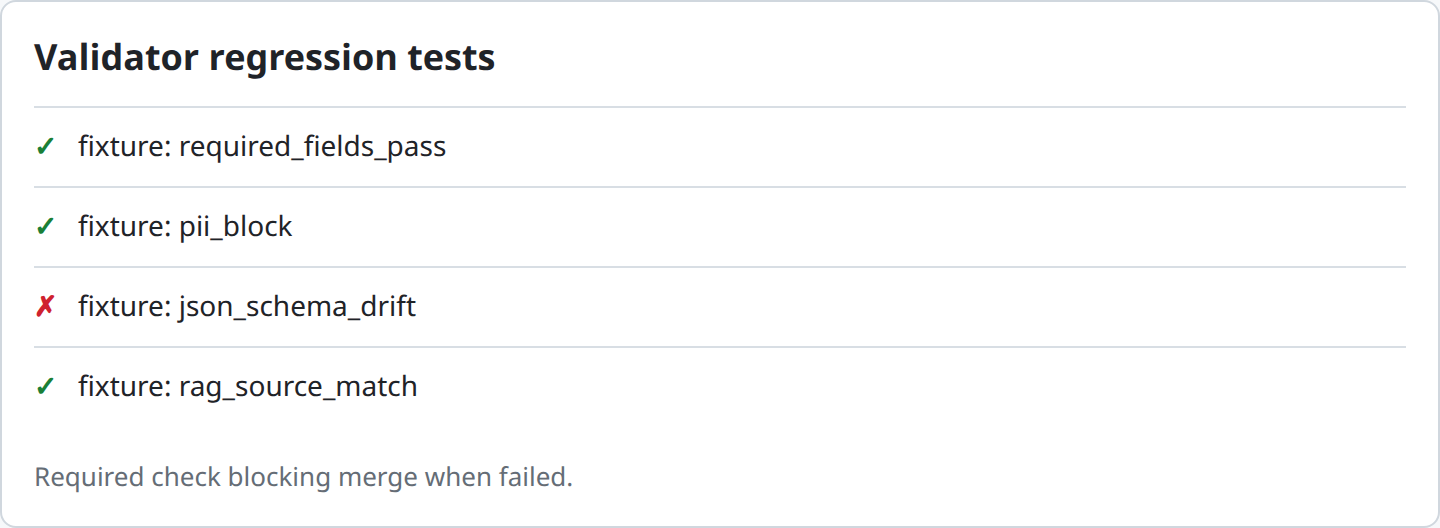
- Staging smoke test before any production traffic. If you have a staging environment, confirm the integration works end to end there first (correct headers, correct base URL, a real completion returned) before routing any production traffic at all.
- Shadow data sanity check. Before enabling enforcement, spot-check a handful of individual shadow-logged requests in Validation logs, not just the aggregate rate, to confirm the would-block reasons make sense.
- Post-enforcement block rate comparison. In the first hours after enabling enforcement, compare the real block rate against what shadow predicted. They should be close; a significant divergence is your signal to roll back and investigate.
7Troubleshooting
"My application gets an authentication error against the API." Confirm you're using the correct API key for the target environment, and that it hasn't been revoked. Check Dashboard → Billing & costs → API keys for the key's status.
"Requests succeed but nothing appears in validation logs." Confirm the
X-VG-Agent(orX-VG-Flow) header value exactly matches the target's slug. A typo here routes to a different (or nonexistent) target rather than erroring obviously."I enabled enforcement and now legitimate traffic is being blocked." Re-enable shadow mode immediately (a single toggle, no deploy needed) and revisit the specific rules causing blocks. This is exactly the rollback path this tutorial's ordering is designed to make fast and safe.
"I accidentally sent both X-VG-Agent and X-VG-Flow on the same request." These are mutually exclusive targets. Decide per request whether you're calling a single agent or a playbook, and send only the corresponding header. Sending both produces undefined routing behavior.
"My staging environment behaves differently from what I expect in production." Confirm both environments are pointed at agents with the same validator configuration. A staging agent that's been tweaked independently of its production counterpart will naturally produce different shadow data.
8Best Practices
- Never skip the shadow-mode window, even for a "simple" agent you're confident in. The entire value of this deployment order is not having to rely on confidence alone.
- Use separate API keys per environment, named clearly, and revoke a key immediately when an environment is decommissioned or a key is suspected compromised.
- Deploy the application integration before enabling enforcement, not after. This decouples "did the integration ship correctly" from "did enforcement introduce a problem," so if something goes wrong post-enforcement, you already know it's not a wiring issue.
- Keep a rollback plan documented and known to your team. "Re-enable shadow mode" is the answer, and everyone who might be on call should know it without having to look it up under pressure.
- Watch real production shadow data, not just staging, before enabling enforcement. Real traffic is the most representative data you'll get, and staging alone can miss patterns that only show up with genuine user behavior.
9Advanced Options
Canary rollout by traffic percentage. For very high-stakes agents, some teams route only a percentage of production traffic to the new agent initially (via their own application-level routing logic, since ValGuard doesn't natively split traffic by percentage) before moving to 100%, layering a canary approach on top of the shadow-then-enforce discipline.
Coordinating deployment with validation webhooks. Configure a validation webhook (see that tutorial) subscribed to
validation.blockbefore enabling enforcement, so you get pushed alerts the moment real blocking starts, rather than relying on manually watching a dashboard during the critical first hours.Multi-agent deployment sequencing. If you're deploying several related agents at once (say, all the steps of a new playbook), consider whether they can be validated and enforced independently in sequence, rather than flipping the entire playbook to enforcement simultaneously. This isolates which specific agent is responsible if something goes wrong.
10Summary and Next Steps
Deploying an agent is an ordering discipline more than a technical challenge: validate in shadow against realistic traffic, issue a dedicated production credential, wire your application, ship with shadow still on, watch real shadow data, and only then enable enforcement, with a one-toggle rollback ready the entire time. Following this order converts "I hope this works" into "I have evidence this works, and a fast way back if I'm wrong."
From here, rolling out shadow mode safely covers the shadow/enforce mechanics referenced throughout this checklist in full depth, and monitoring your flows covers what to actually watch in the days and weeks after deployment, not just the first few hours.