
How to configure RBAC and team permissions
The moment more than one person touches a ValGuard organization (an engineer building agents, a compliance reviewer checking validator packs, a finance lead watching billing), you need a real answer to "who's allowed to do what?" that's better than "everyone shares one login." Giving every teammate full owner access means anyone can rotate API keys, change billing, or delete a validator that's blocking fraud in production. Giving nobody access beyond the founder doesn't scale past a two-person team.
ValGuard's role-based access control (RBAC) is intentionally simple: three roles, clear boundaries, and an invite flow that doesn't require sharing credentials. This tutorial walks through configuring roles for your organization, inviting teammates, understanding exactly what each role can and cannot do, and auditing who has access before it becomes a problem.
By the end, you'll know:
- The three roles ValGuard supports and the precise capability boundary between them
- How to invite a teammate by email and manage pending invites
- How to change an existing member's role, and the guardrails that prevent you from locking yourself out
- How to remove access when someone leaves the team
- How to think about role assignment for common team structures (engineering, compliance, finance)
1How It Works
Every ValGuard organization has members tracked in an
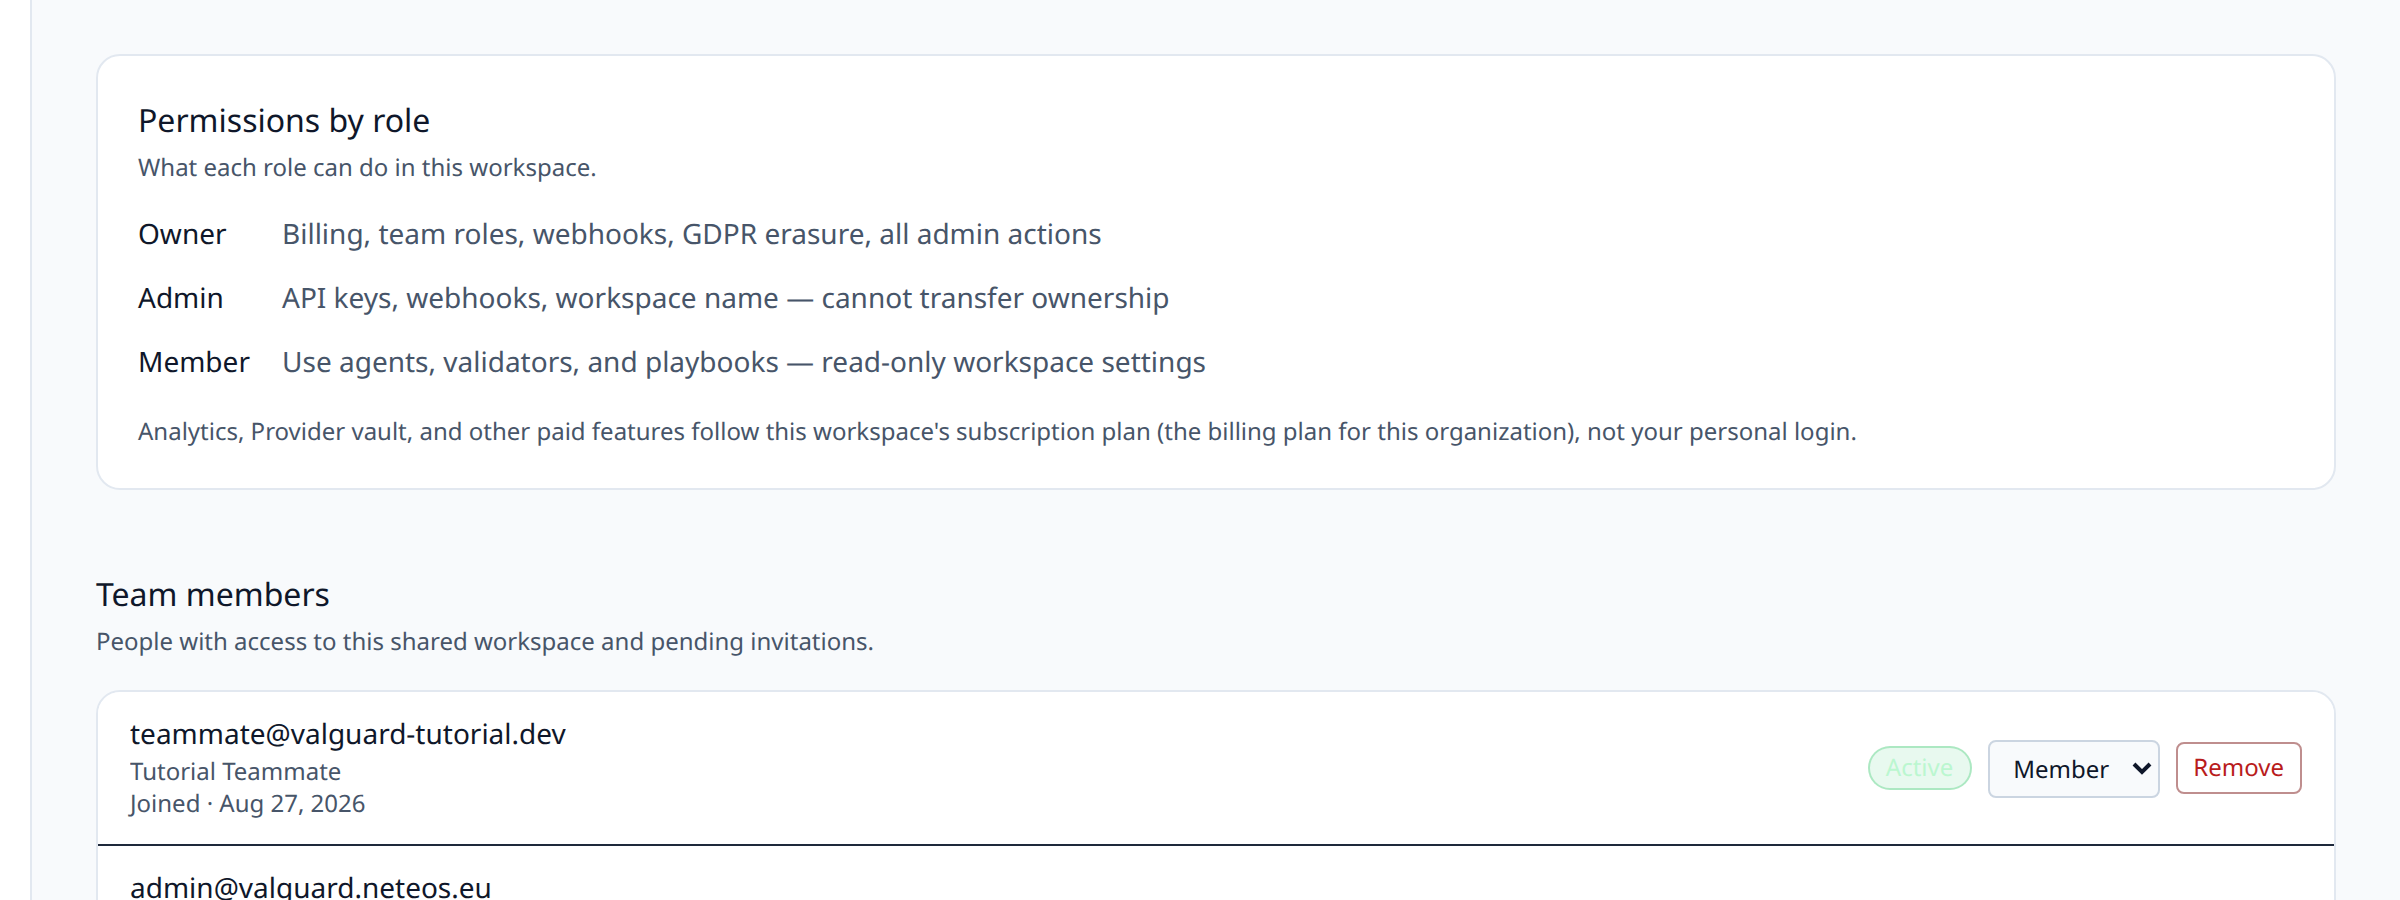
org_membersrelationship between users and the organization, with arolecolumn that's one of three values: owner, admin, or member. There's exactly one meaningful hierarchy here, not a flexible permission matrix. This is a deliberate simplicity tradeoff that makes it easy to reason about who can do what, at the cost of not supporting fully custom per-feature permissions.Role Can do Cannot do Owner Everything: billing, transfer/change team roles, webhooks, GDPR erasure, all admin actions Nothing is restricted. There is exactly one set of owner-level capabilities Admin Manage API keys, configure webhooks, rename the workspace, manage agents/validators/playbooks Cannot transfer ownership, cannot change another admin's or the owner's role Member Use agents, validators, and playbooks day-to-day (create, edit, test) Read-only on workspace settings, cannot manage billing, invite/remove teammates, or touch webhooks Every organization has exactly one owner at creation (the person who created it), and role changes are themselves permission-gated: only an owner can promote a member to admin, demote an admin back to member, or remove someone from the organization. This is enforced server-side, not just hidden in the UI. The same API route that lists members also rejects a role change from anyone below owner.
A few protective rules exist specifically to prevent you from locking yourself (or your organization) out:
- You cannot change your own role. This prevents an owner from accidentally demoting themselves with no one else able to reverse it.
- You cannot remove yourself from the organization. Ownership transfer, when needed, is a distinct, deliberate action rather than something that can happen as a side effect of a routine cleanup.
- A member's role can never be silently escalated to owner through the members API. The owner role is set at organization creation and changed only through an explicit ownership-transfer path, not the same role dropdown used for admin/member.
2Prerequisites
- An existing ValGuard organization (you'll need owner access to invite teammates from the dashboard and to change roles; admins can manage API keys and webhooks but cannot promote/demote members)
- The email addresses of the teammates you want to invite
- A rough plan for how you want to split responsibilities (at minimum: who besides you should be able to touch billing and webhooks, i.e., who should be admin versus member)
3Step-by-Step Setup
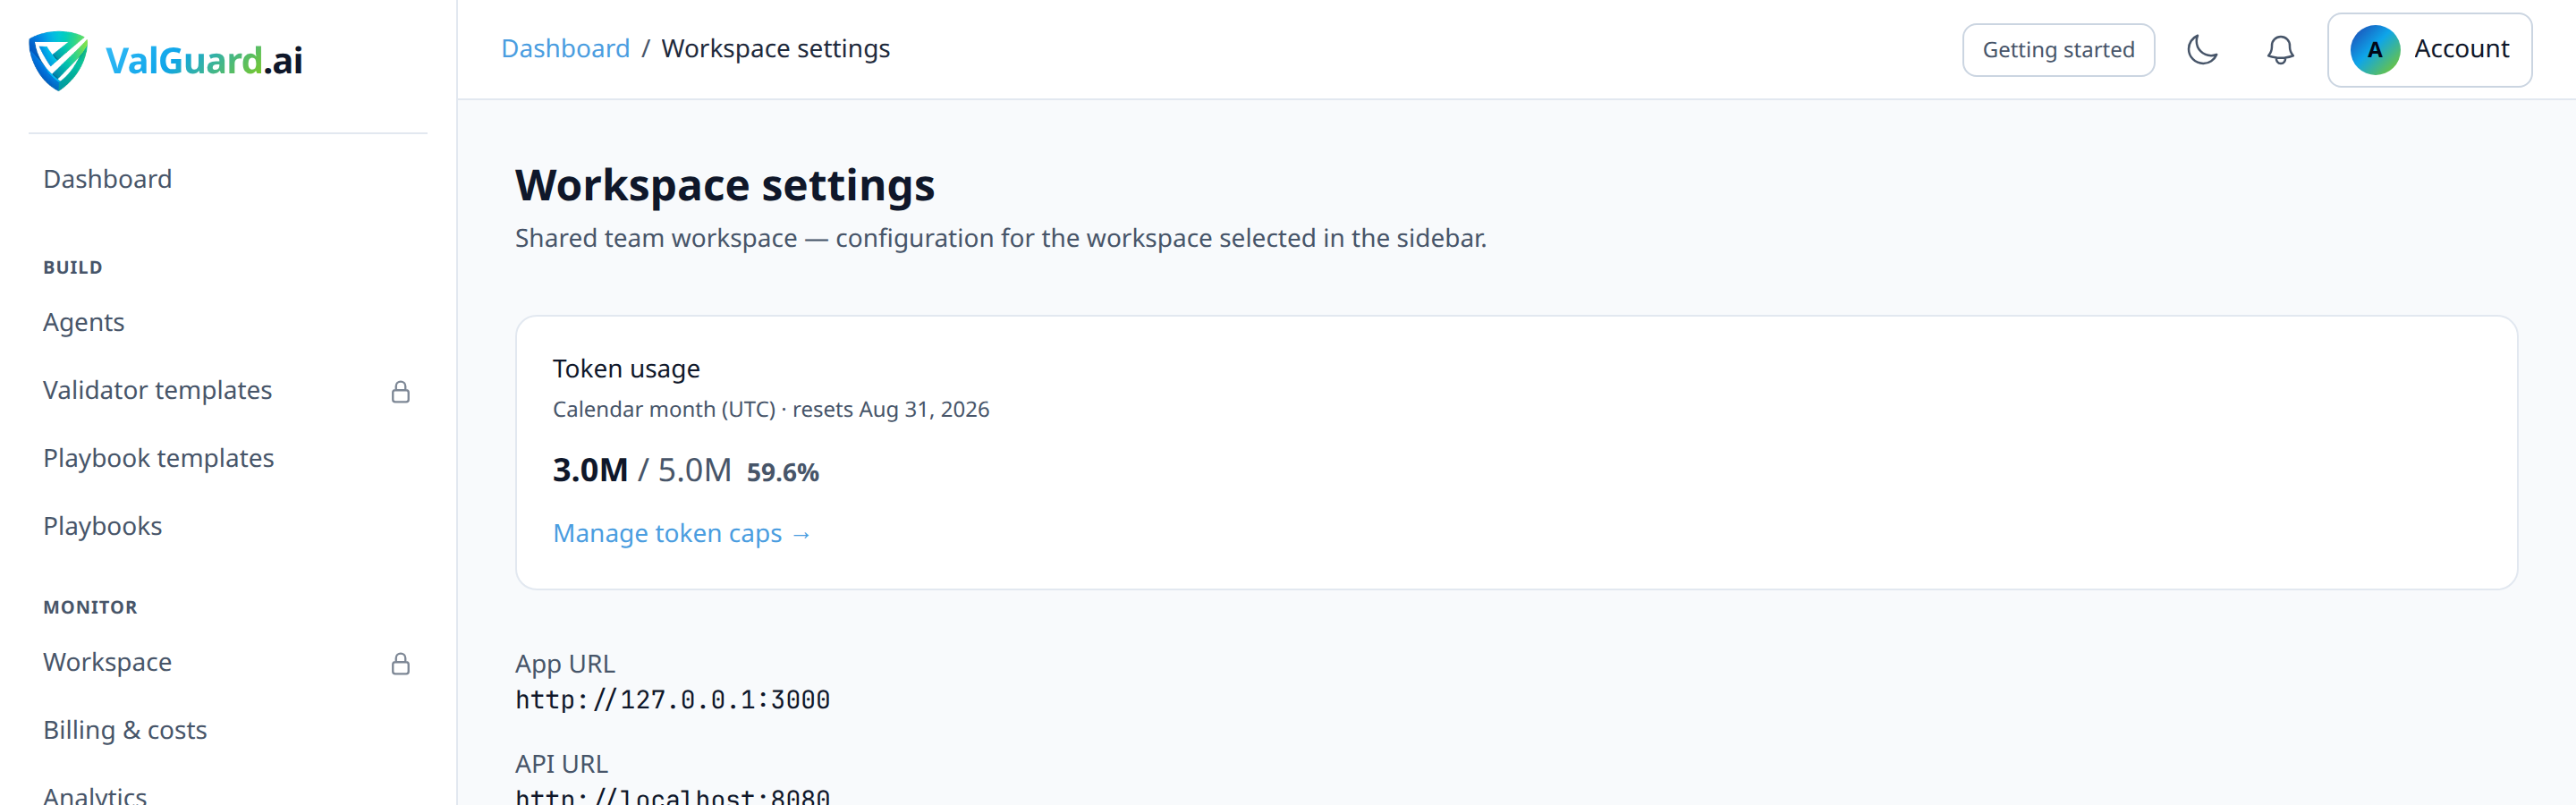
Step 1: Open workspace settings
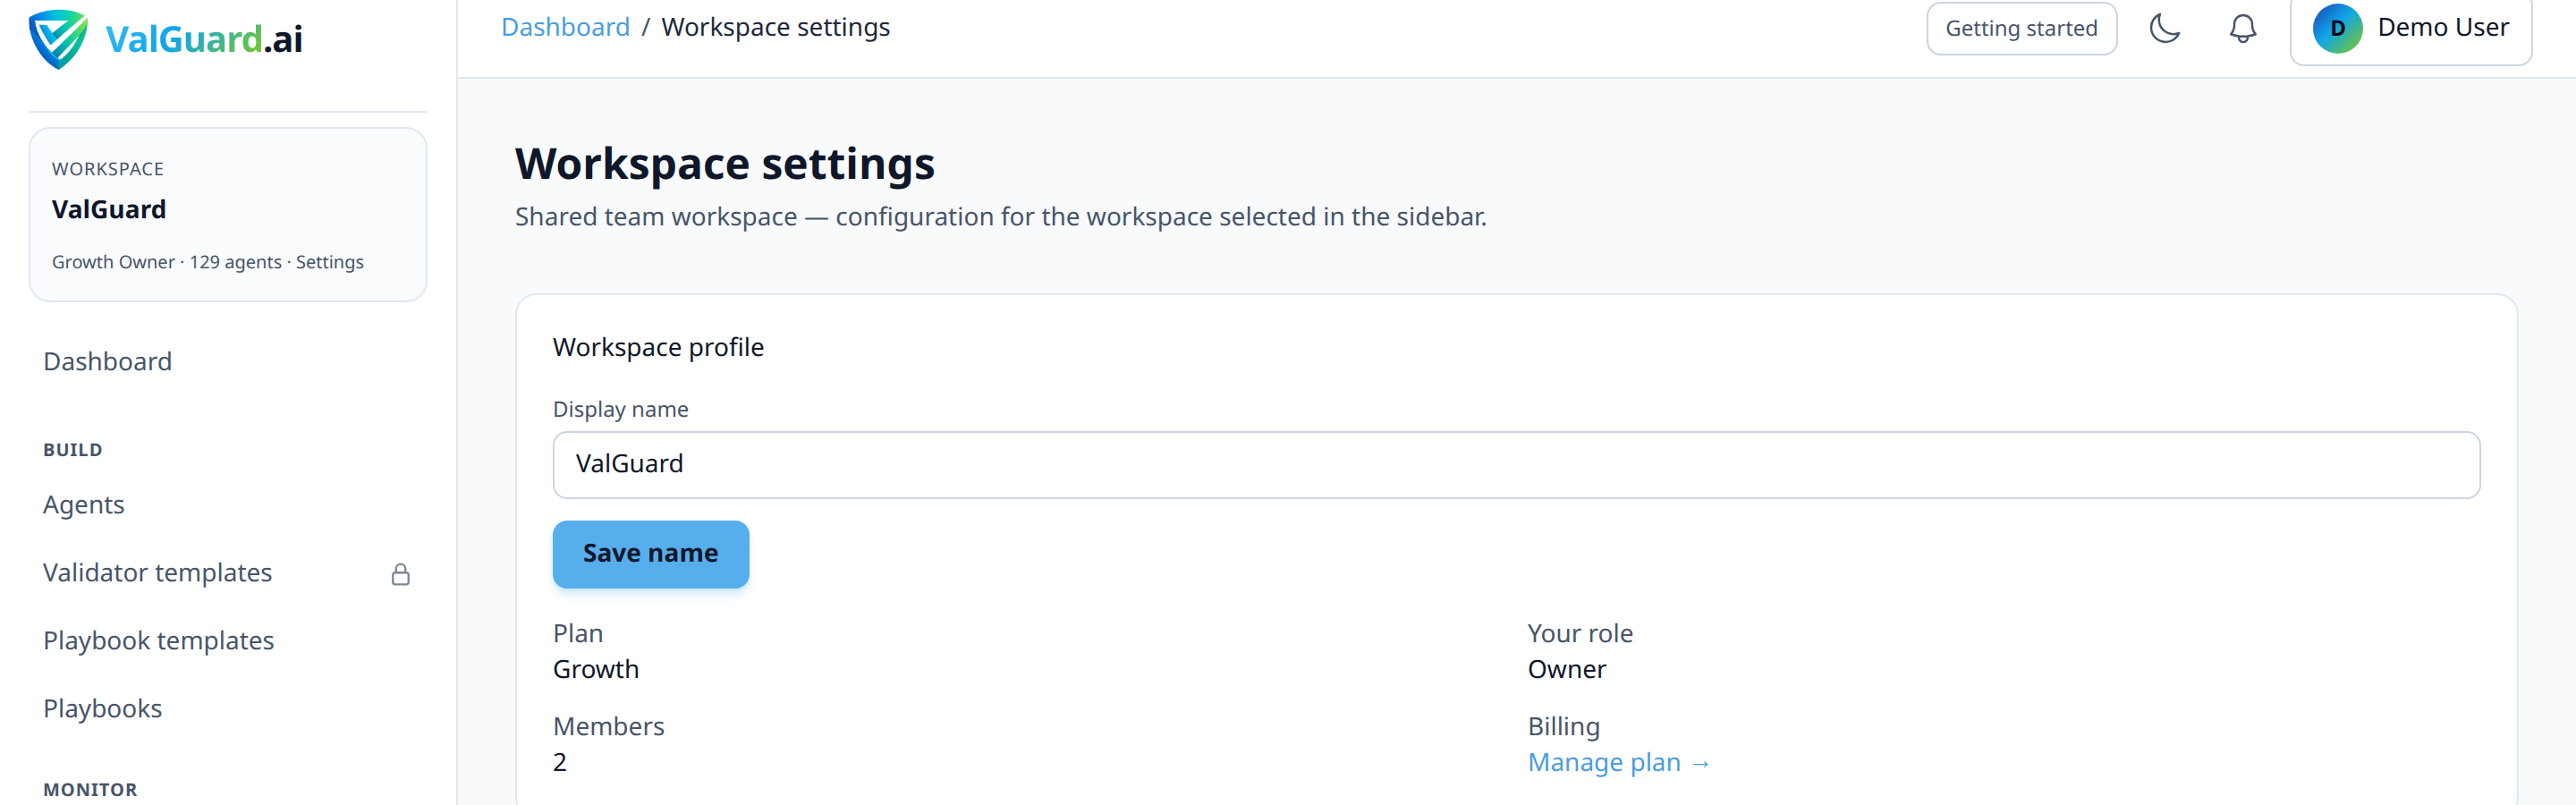
Go to Dashboard → Settings. The team management section is visible to every member, but editing controls only appear for owners and admins.
Step 2: Review current members and roles
Scroll to the team section to see every current member, their role, and when they joined.
Step 3: Invite a teammate by email
Use the invite form (visible to owners in Dashboard → Settings) to send an invitation.

# Conceptual shape of what the dashboard sends — you won't call this directly,
# but it's useful to understand what's happening under the hood
curl -si "$APP_URL/api/org/invites" \
  -H "Cookie: $SESSION_COOKIE" \
  -H "Content-Type: application/json" \
  -d '{"email": "teammate@example.com", "role": "member"}'
If your organization has transactional email configured, the invite is sent directly to that address. If not, the dashboard gives you a shareable accept link to send manually. Either way, no credentials are shared, and the invite carries its own expiration.
Step 4: Track and manage pending invites
Pending invites appear in their own list with the option to revoke before they're accepted.
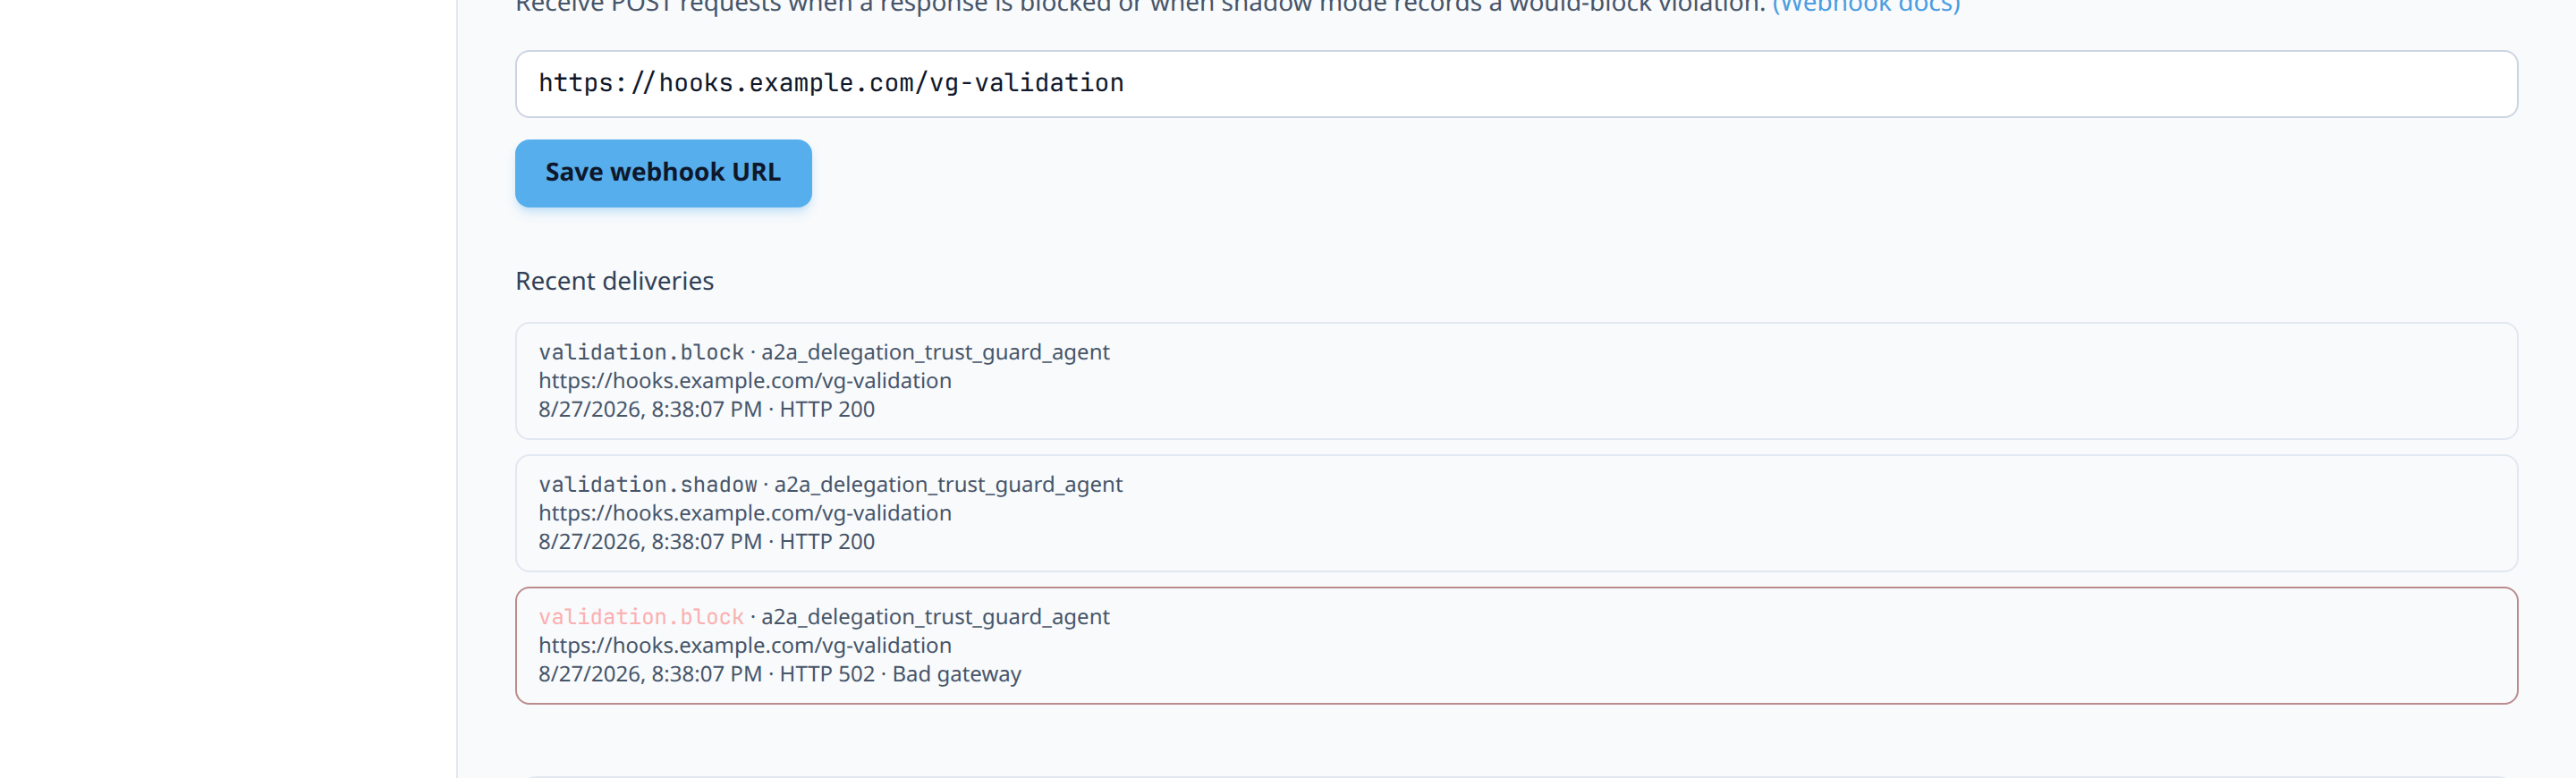
Invites expire automatically after 7 days. Revoke manually if you sent one to the wrong address or a role changed before it was accepted.
Step 5: Decide on a role for each new teammate
Before the invite is accepted, decide deliberately:
- Admin: for teammates who need to manage API keys, configure webhooks, or rename the workspace, but don't need billing or role-management access
- Member: for anyone building or testing agents, validators, and playbooks day-to-day without needing to touch organization-level settings
A good default for most engineering teammates is member; reserve admin for a small number of people who genuinely need webhook/API-key management, and owner for the one person accountable for billing and the org's existence.
Step 6: Change an existing member's role
As an owner, open a member's row and change their role.
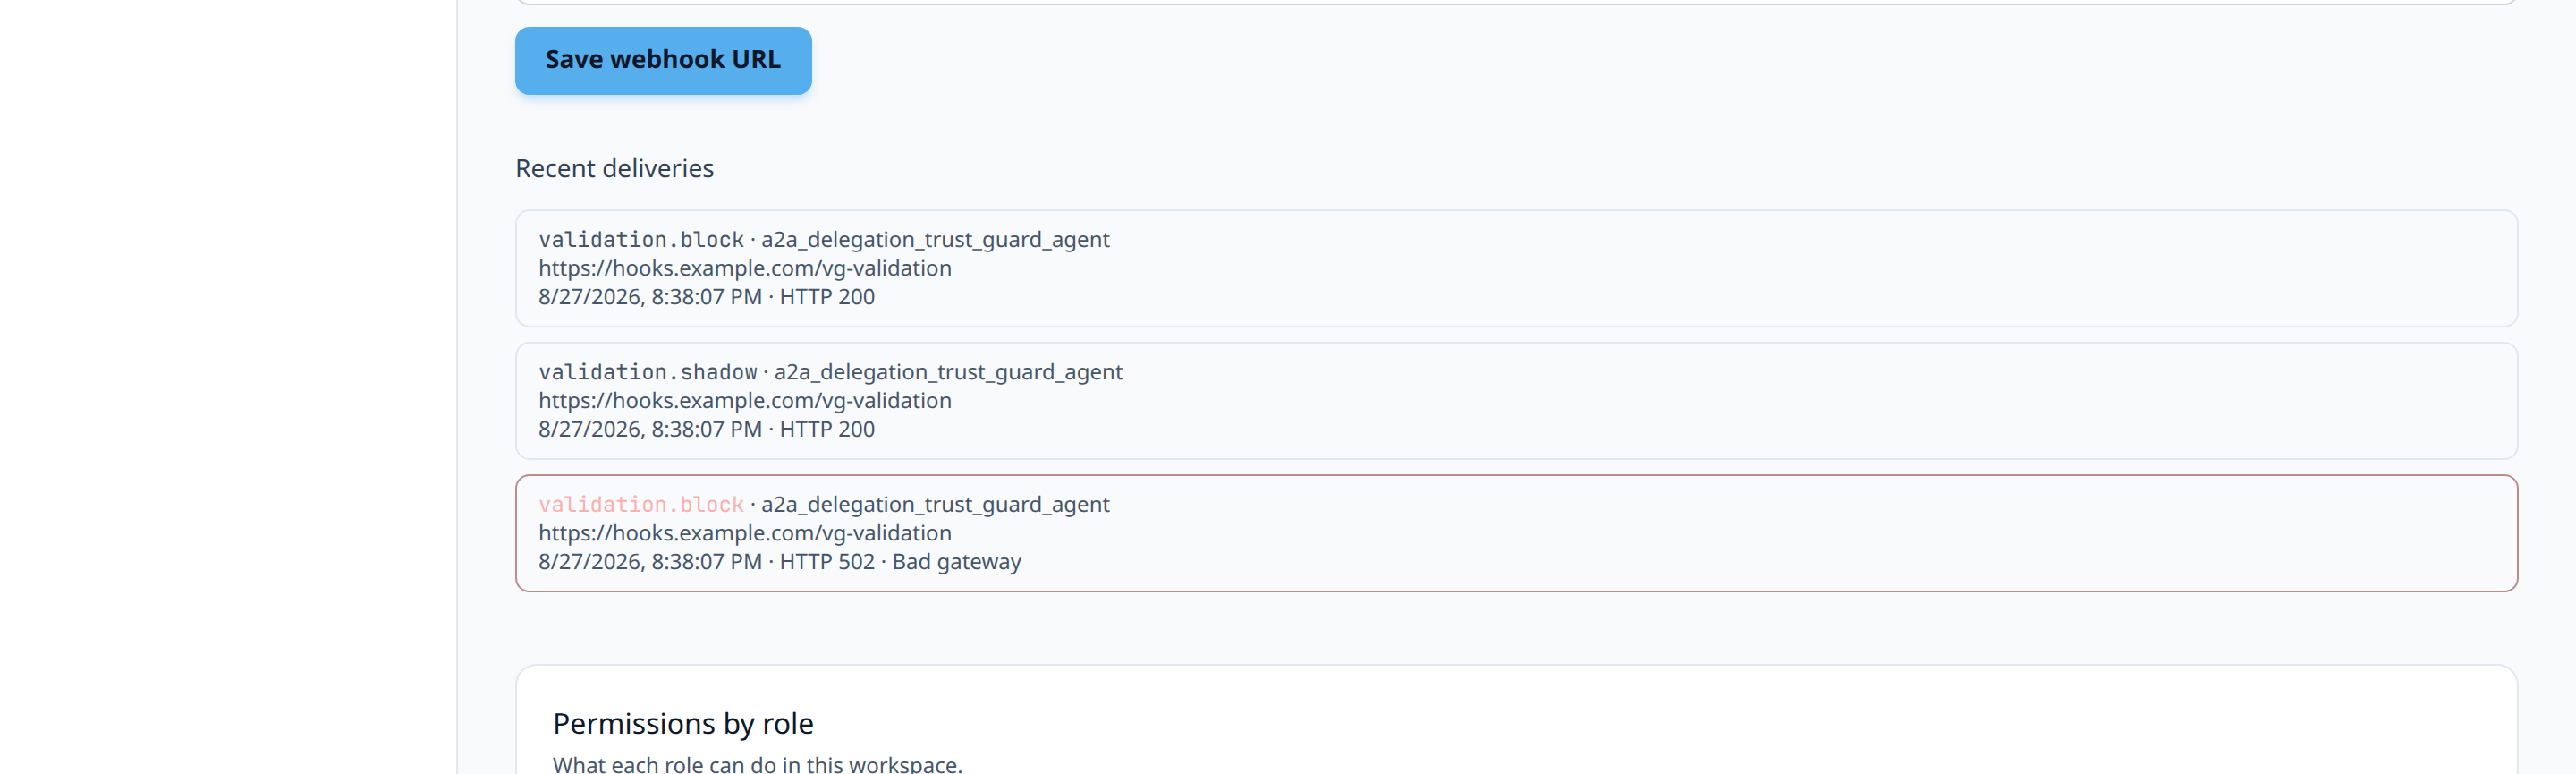
Note the guardrails: you cannot change your own role from this panel, and only an owner (not an admin) can promote or demote anyone.
Step 7: Remove a member who has left the team
Use the remove action on that member's row.
Removal is immediate. Their session-based access to the dashboard for this organization ends right away. If they were also holding personal API keys tied to their user account rather than the organization, review your API keys list separately (see Step 9).
Step 8: Map roles to real team structures
A few common patterns:
- Small team (2–5 people): one owner (founder/lead), everyone else as member; promote one trusted teammate to admin if you need someone else able to rotate keys while you're out.
- Engineering + compliance split: engineers as member (building agents/validators), a compliance lead as admin (reviewing webhook configuration and workspace-level settings) without giving them billing access reserved for the owner.
- Agency or consultancy managing a client's workspace: your team as admin (full operational control, no billing/ownership), client stakeholder as owner (billing accountability stays with the client).
Step 9: Review API keys separately from team roles
Team roles govern dashboard access. API keys are a separate, project-scoped credential. Reviewing Dashboard → Account → API keys periodically (especially after removing a team member) is a distinct but related access-hygiene step, since a departing teammate may have created keys that should be revoked independently of removing their dashboard access.
4Diagram / Flow
5Configuration Examples
Member list response shape (conceptual):
{ "members": [ { "user_id": "usr_1a2b", "role": "owner", "email": "founder@acme.com", "name": "Jordan Lee" }, { "user_id": "usr_3c4d", "role": "admin", "email": "ops@acme.com", "name": "Priya Shah" }, { "user_id": "usr_5e6f", "role": "member", "email": "dev@acme.com", "name": "Sam Torres" } ], "your_role": "owner", "organization": { "id": "org_9f1c", "name": "Acme Corp", "plan": "growth" } } ``` **Role change request (owner only):** ```json { "user_id": "usr_5e6f", "role": "admin" } ``` **Rejected role change (attempting to change your own role):** ```json { "error": "cannot change own role" } ``` **Rejected removal (attempting to remove yourself):** ```json { "error": "cannot remove yourself" }6Testing and Verification
- Invite round-trip. Send a test invite to an email address you control (or a teammate's), confirm it appears in the pending invites list, accept it, and confirm the new member shows up with the role you selected.
- Permission boundary check. Log in as an admin (not owner) and confirm the role-change and member-removal controls are visibly disabled or absent. Admins should be able to view the member list but not modify roles.
- Self-protection guardrails. As the owner, attempt to change your own role or remove yourself from the member list and confirm both actions are rejected with a clear error rather than silently succeeding.

7Troubleshooting
"An invited teammate says the link expired." Invites expire after 7 days. Revoke the stale invite and send a new one rather than trying to reuse an expired link.
"I can see the member list but can't change anyone's role." Role changes require owner access specifically. Admin is not sufficient, even though admins can see and manage several other settings. Confirm with whoever holds the owner role, or have them promote you if that's the intended structure.
"I need to remove a member but the remove action isn't working." Confirm you're not trying to remove yourself (this is explicitly blocked) or a member with the
ownerrole (owners cannot be removed through the standard member-removal action; that requires an ownership transfer first)."A removed teammate's API keys still seem to work." Team role removal revokes dashboard/session access to the organization; it does not automatically revoke API keys that teammate may have created. Review Dashboard → Account → API keys and revoke any keys tied to the departing teammate explicitly.
"I invited someone with the wrong role." If the invite hasn't been accepted yet, revoke it and re-send with the correct role. If they've already accepted, change their role directly from the member list rather than removing and re-inviting them.
8Best Practices
- Default new teammates to
member, and promote toadmindeliberately only when someone specifically needs webhook or API-key management. Resist the temptation to make everyone admin "just in case." - Keep the owner role tied to accountability, not seniority. The owner should be whoever is accountable for billing and the organization's existence, which isn't always the most senior engineer.
- Review your member list on a schedule, not just when someone joins or leaves. Stale access (a contractor who finished a project months ago) is a common, quiet risk.
- Revoke API keys separately when offboarding, since removing dashboard access doesn't automatically revoke previously issued API keys.
- Treat pending invites as part of your access surface. An unrevoked pending invite sent to the wrong address is a dangling risk until it expires or is revoked. Don't assume the 7-day expiry is fast enough for sensitive workspaces.
- Default new teammates to
9Advanced Options
Structuring multi-workspace access for agencies. If you manage several client organizations, keep each client's ValGuard organization separate rather than consolidating everything under one workspace. This keeps role boundaries (and billing) cleanly scoped per client, and a teammate leaving your agency only requires revoking access per organization they were added to, not disentangling a single shared workspace.
Pairing role reviews with your validation webhook audit. Since webhook configuration is an admin/owner-level capability, a periodic review of "who has admin or owner access" is a natural companion to a periodic review of "which webhooks are configured and where they point." Both are the kind of security-relevant configuration that benefits from a scheduled second look rather than only being checked at setup time.
Coordinating role changes with GDPR erasure requests. GDPR erasure (deactivating the organization and scheduling data deletion) is an owner-only action with real consequences. If your organization has more than one person who could plausibly need to trigger this, make sure your ownership assignment reflects who's actually accountable for that decision, not just who happened to create the account first.
10Summary and Next Steps
ValGuard's RBAC model trades flexibility for clarity: three roles, a clean capability boundary, and guardrails that prevent you from accidentally locking yourself out. Setting it up well is less about the mechanics (which are a few clicks) and more about the judgment call of who genuinely needs admin-level access versus who just needs to build and test agents day to day.
From here, pairing this with a review of your validation webhooks configuration makes sense, since webhook management is one of the specific capabilities gated to admin and owner. Knowing who can change where your block/shadow alerts get sent is part of the same access-hygiene story as knowing who's on your team at all.